I’m not stopping until I’ve Office Spaced this F-cking thing.
Update: Well.. now my ink cartridge chip resetter has died.. I guess I am f@cked.
Update: My roommate says I can use his printer so that’s cool. He has ALOT of ink.
I’m not stopping until I’ve Office Spaced this F-cking thing.
Update: Well.. now my ink cartridge chip resetter has died.. I guess I am f@cked.
Update: My roommate says I can use his printer so that’s cool. He has ALOT of ink.
Here’s a thing I figured out/learned.
If your prints are turning out like WAY too dark.. I imported my PDF into Photoshop then in the print window chose Hard Proofing / CMYK and the color accuracy is like WAY better! Also ‘printer handles color’ which I think is the general default anyway.
The photo isn’t great, but trust me, it’s a well worth while difference.
These are the best inkjet DIY cards I have made yet. I reduced the core from 80lb cardstock to 32lb paper but it’s still too thick after the glue dries. The next cards I make will have either 28 or 20lb paper core.
They feel so nice I may not even sleeve them, but I really should since if any moisture touches them they will bleed instantly, also they will likely scuff very easily.
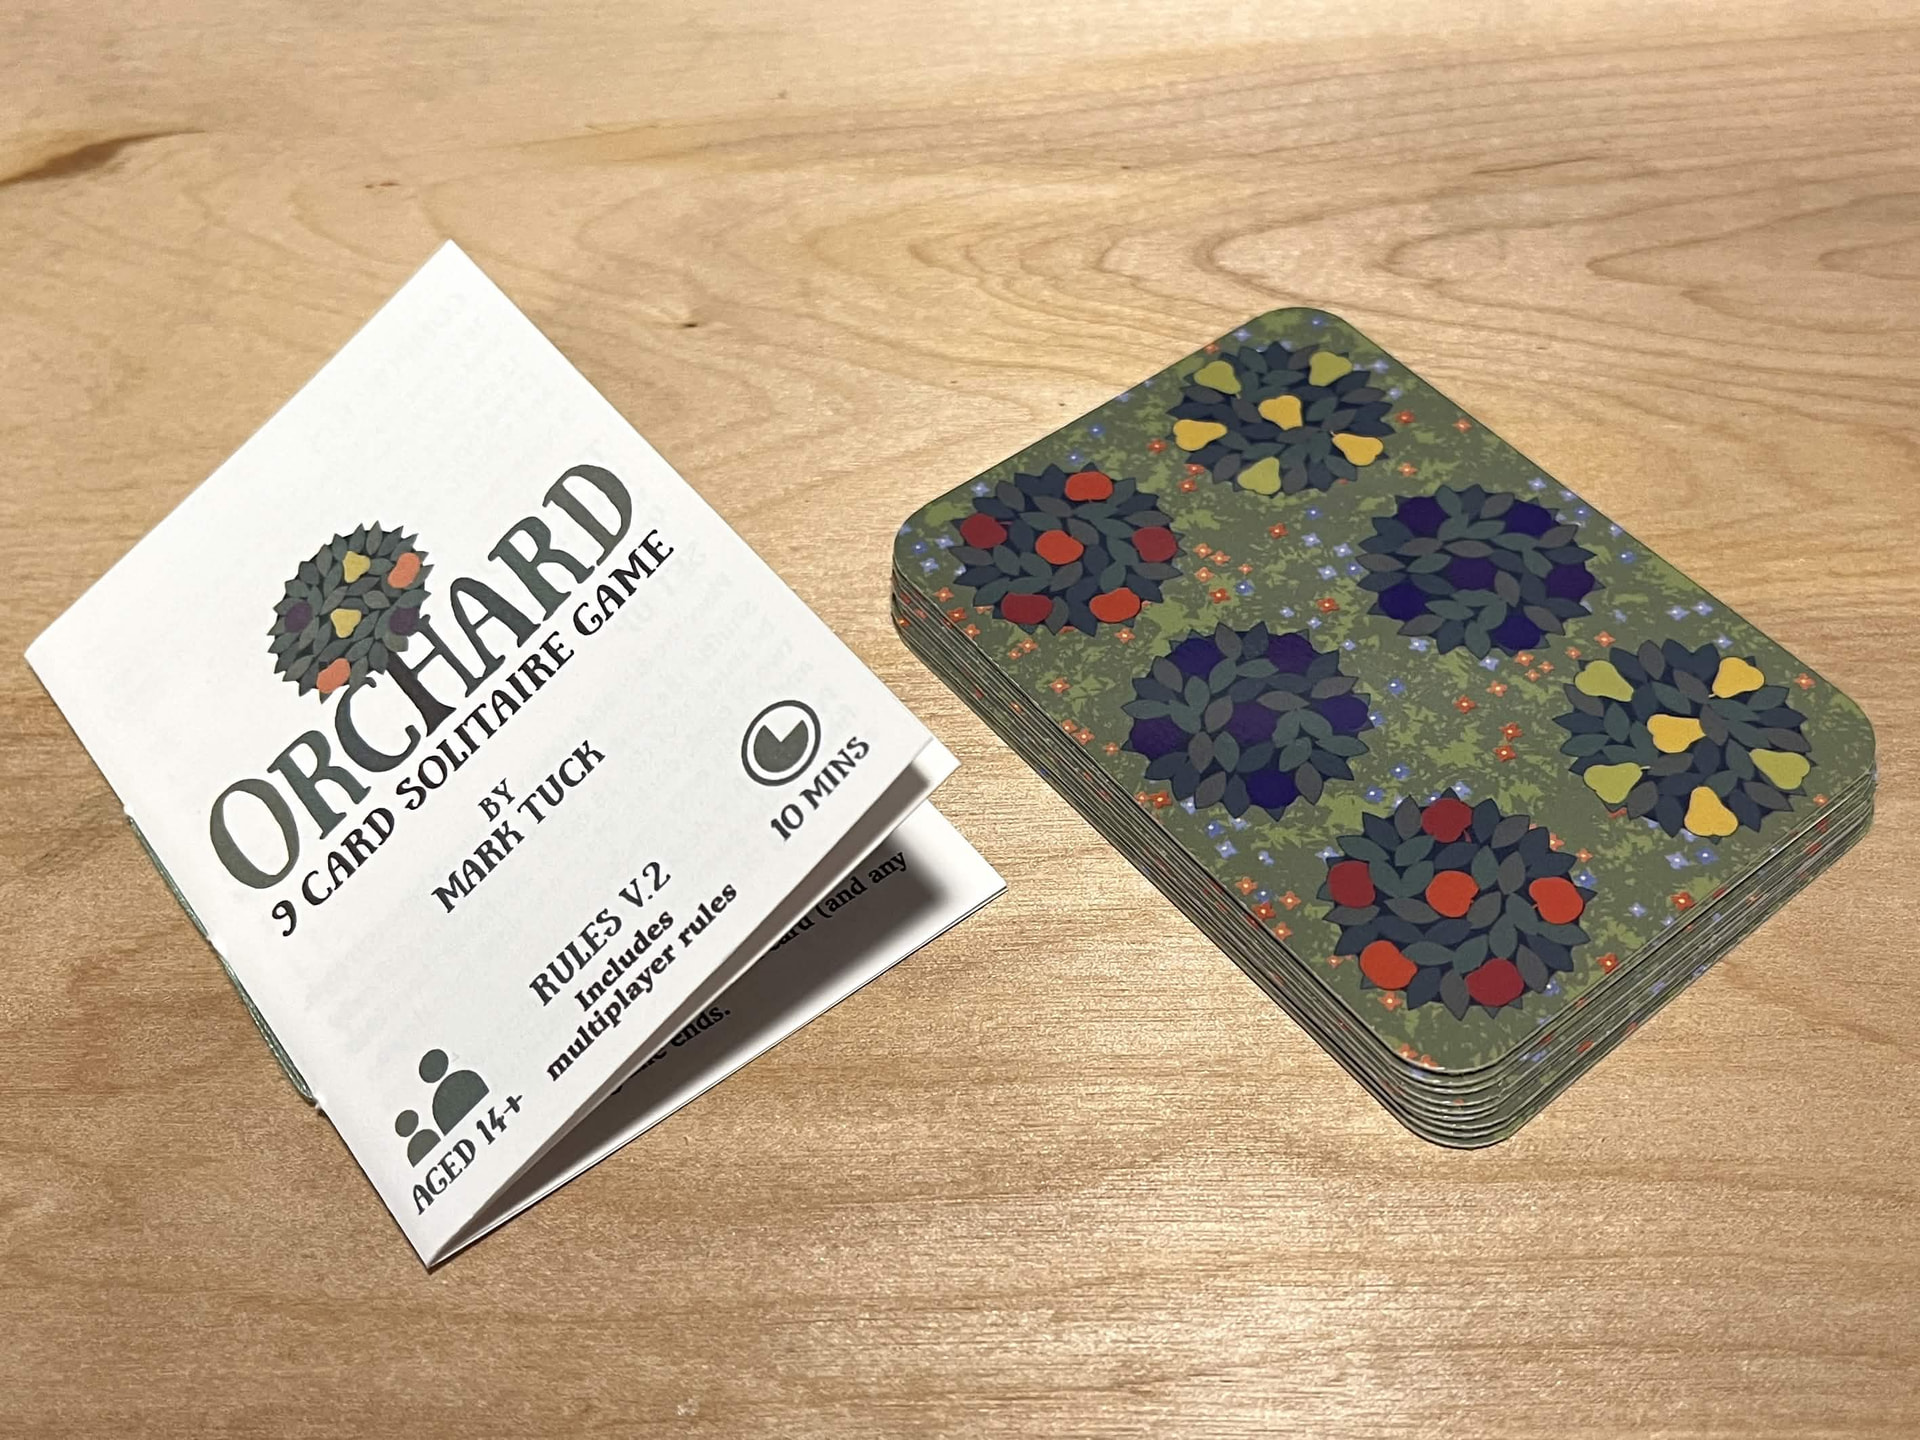
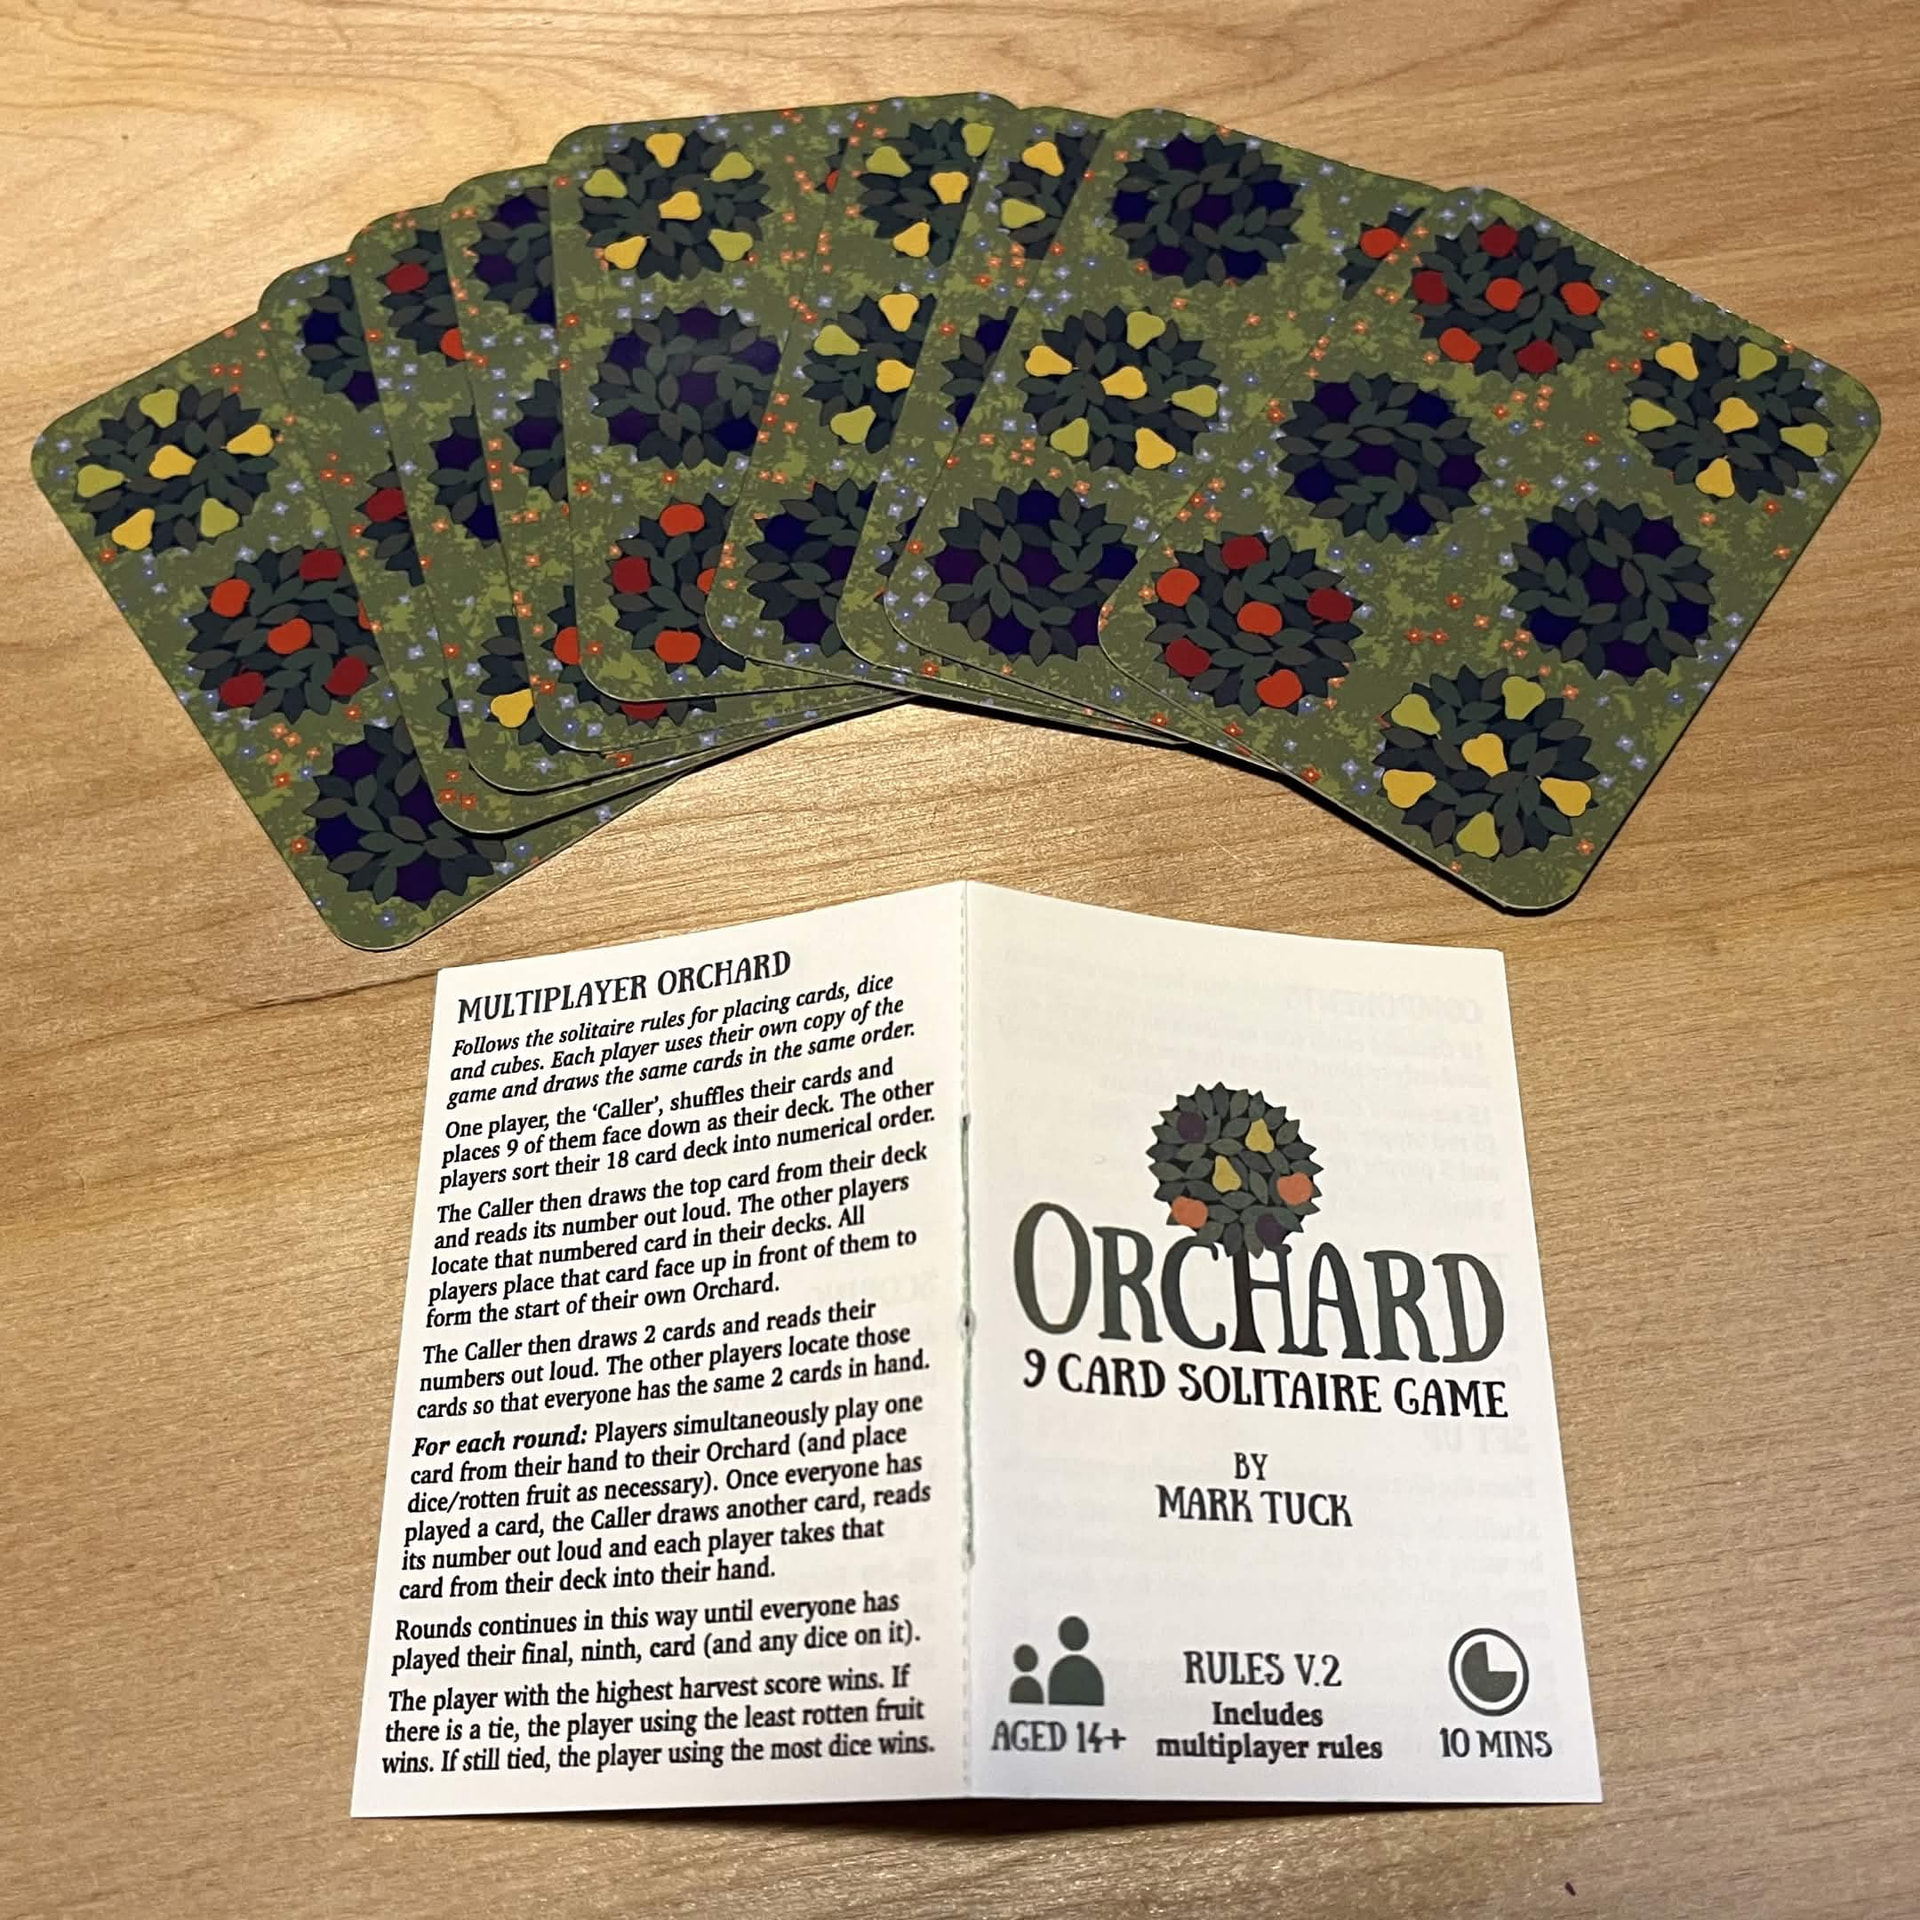
I’ve wanted to try this game for nearly three years now and discovered it’s being shared as PnP for free by the creator on BGG:
https://boardgamegeek.com/boardgame/245487/orchard-9-card-solitaire-game/files
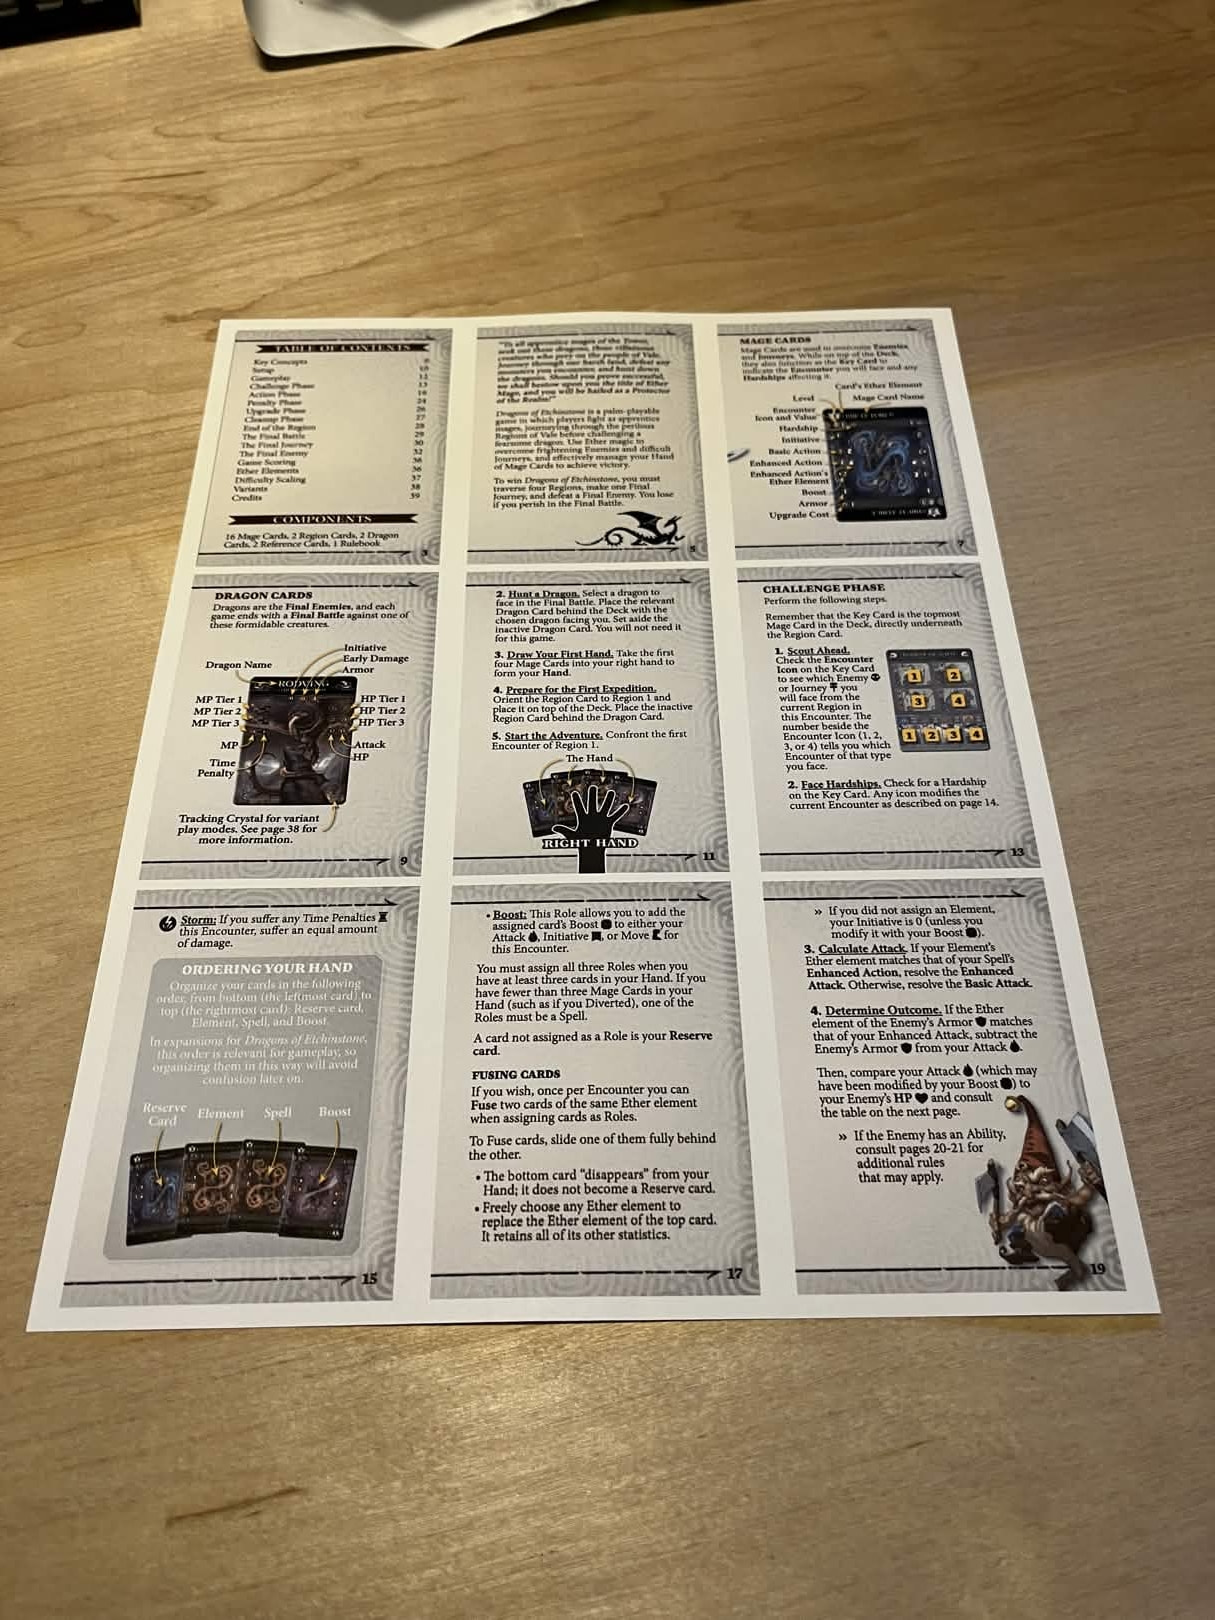
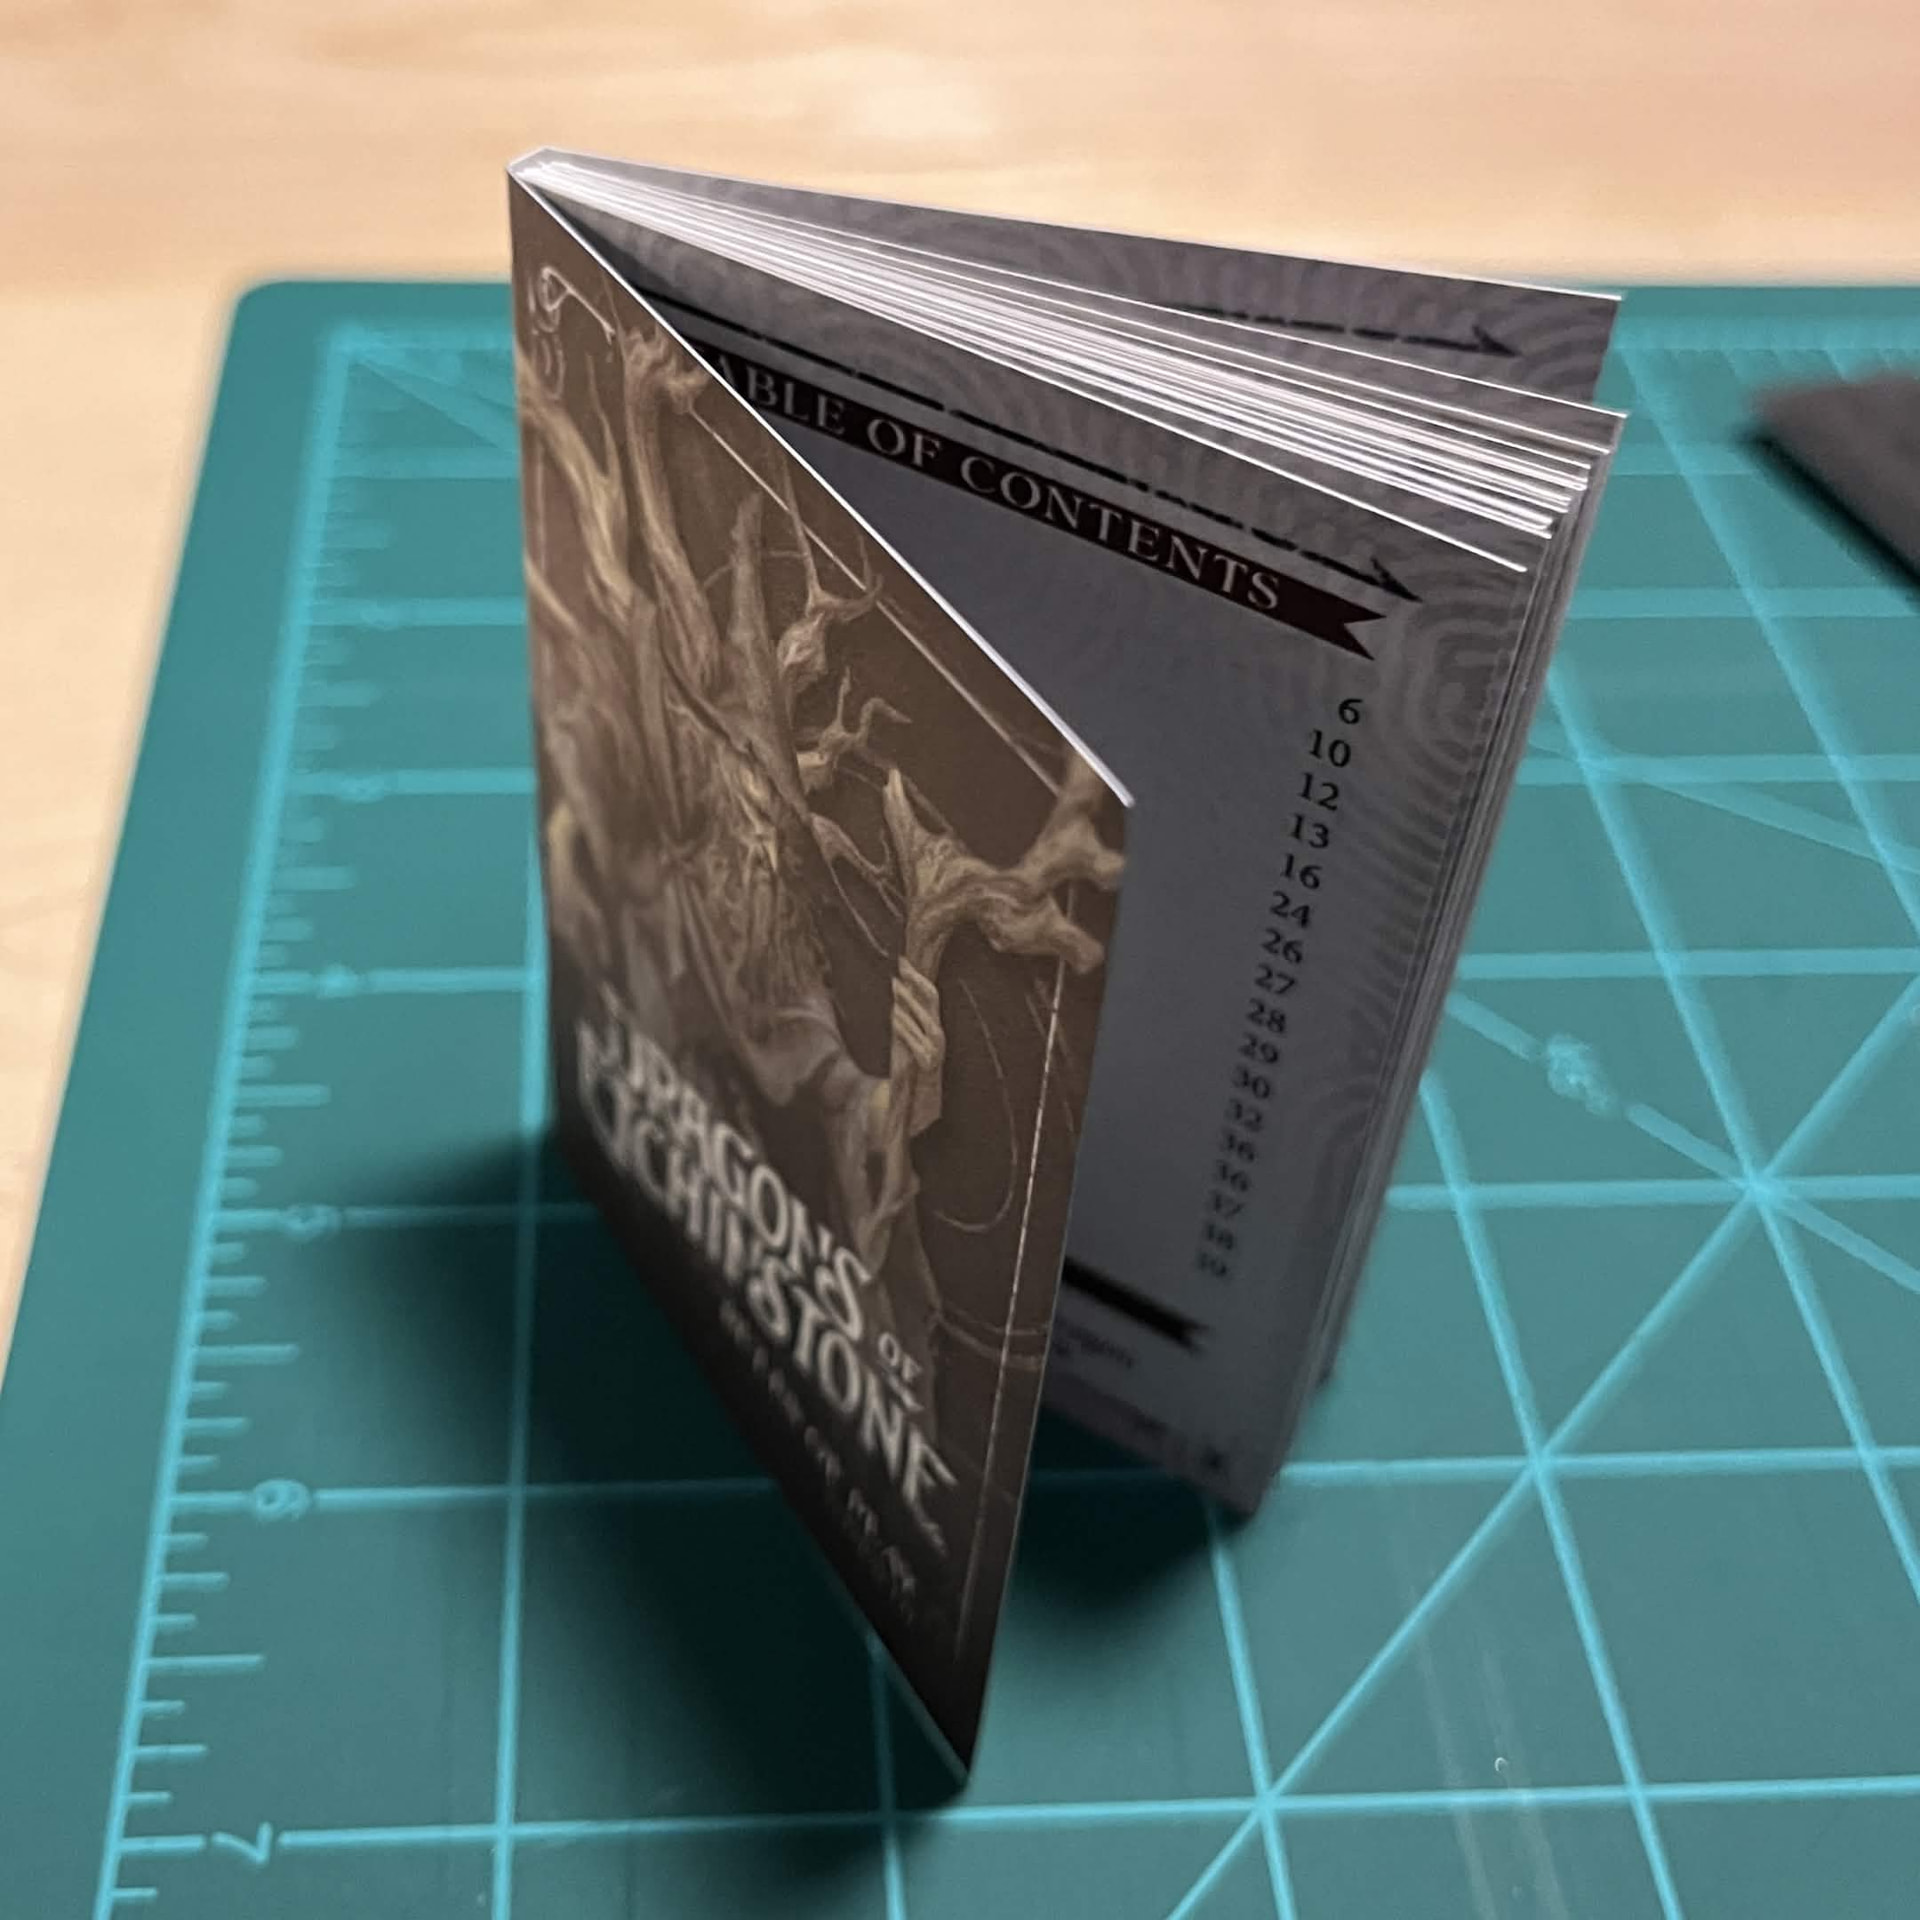
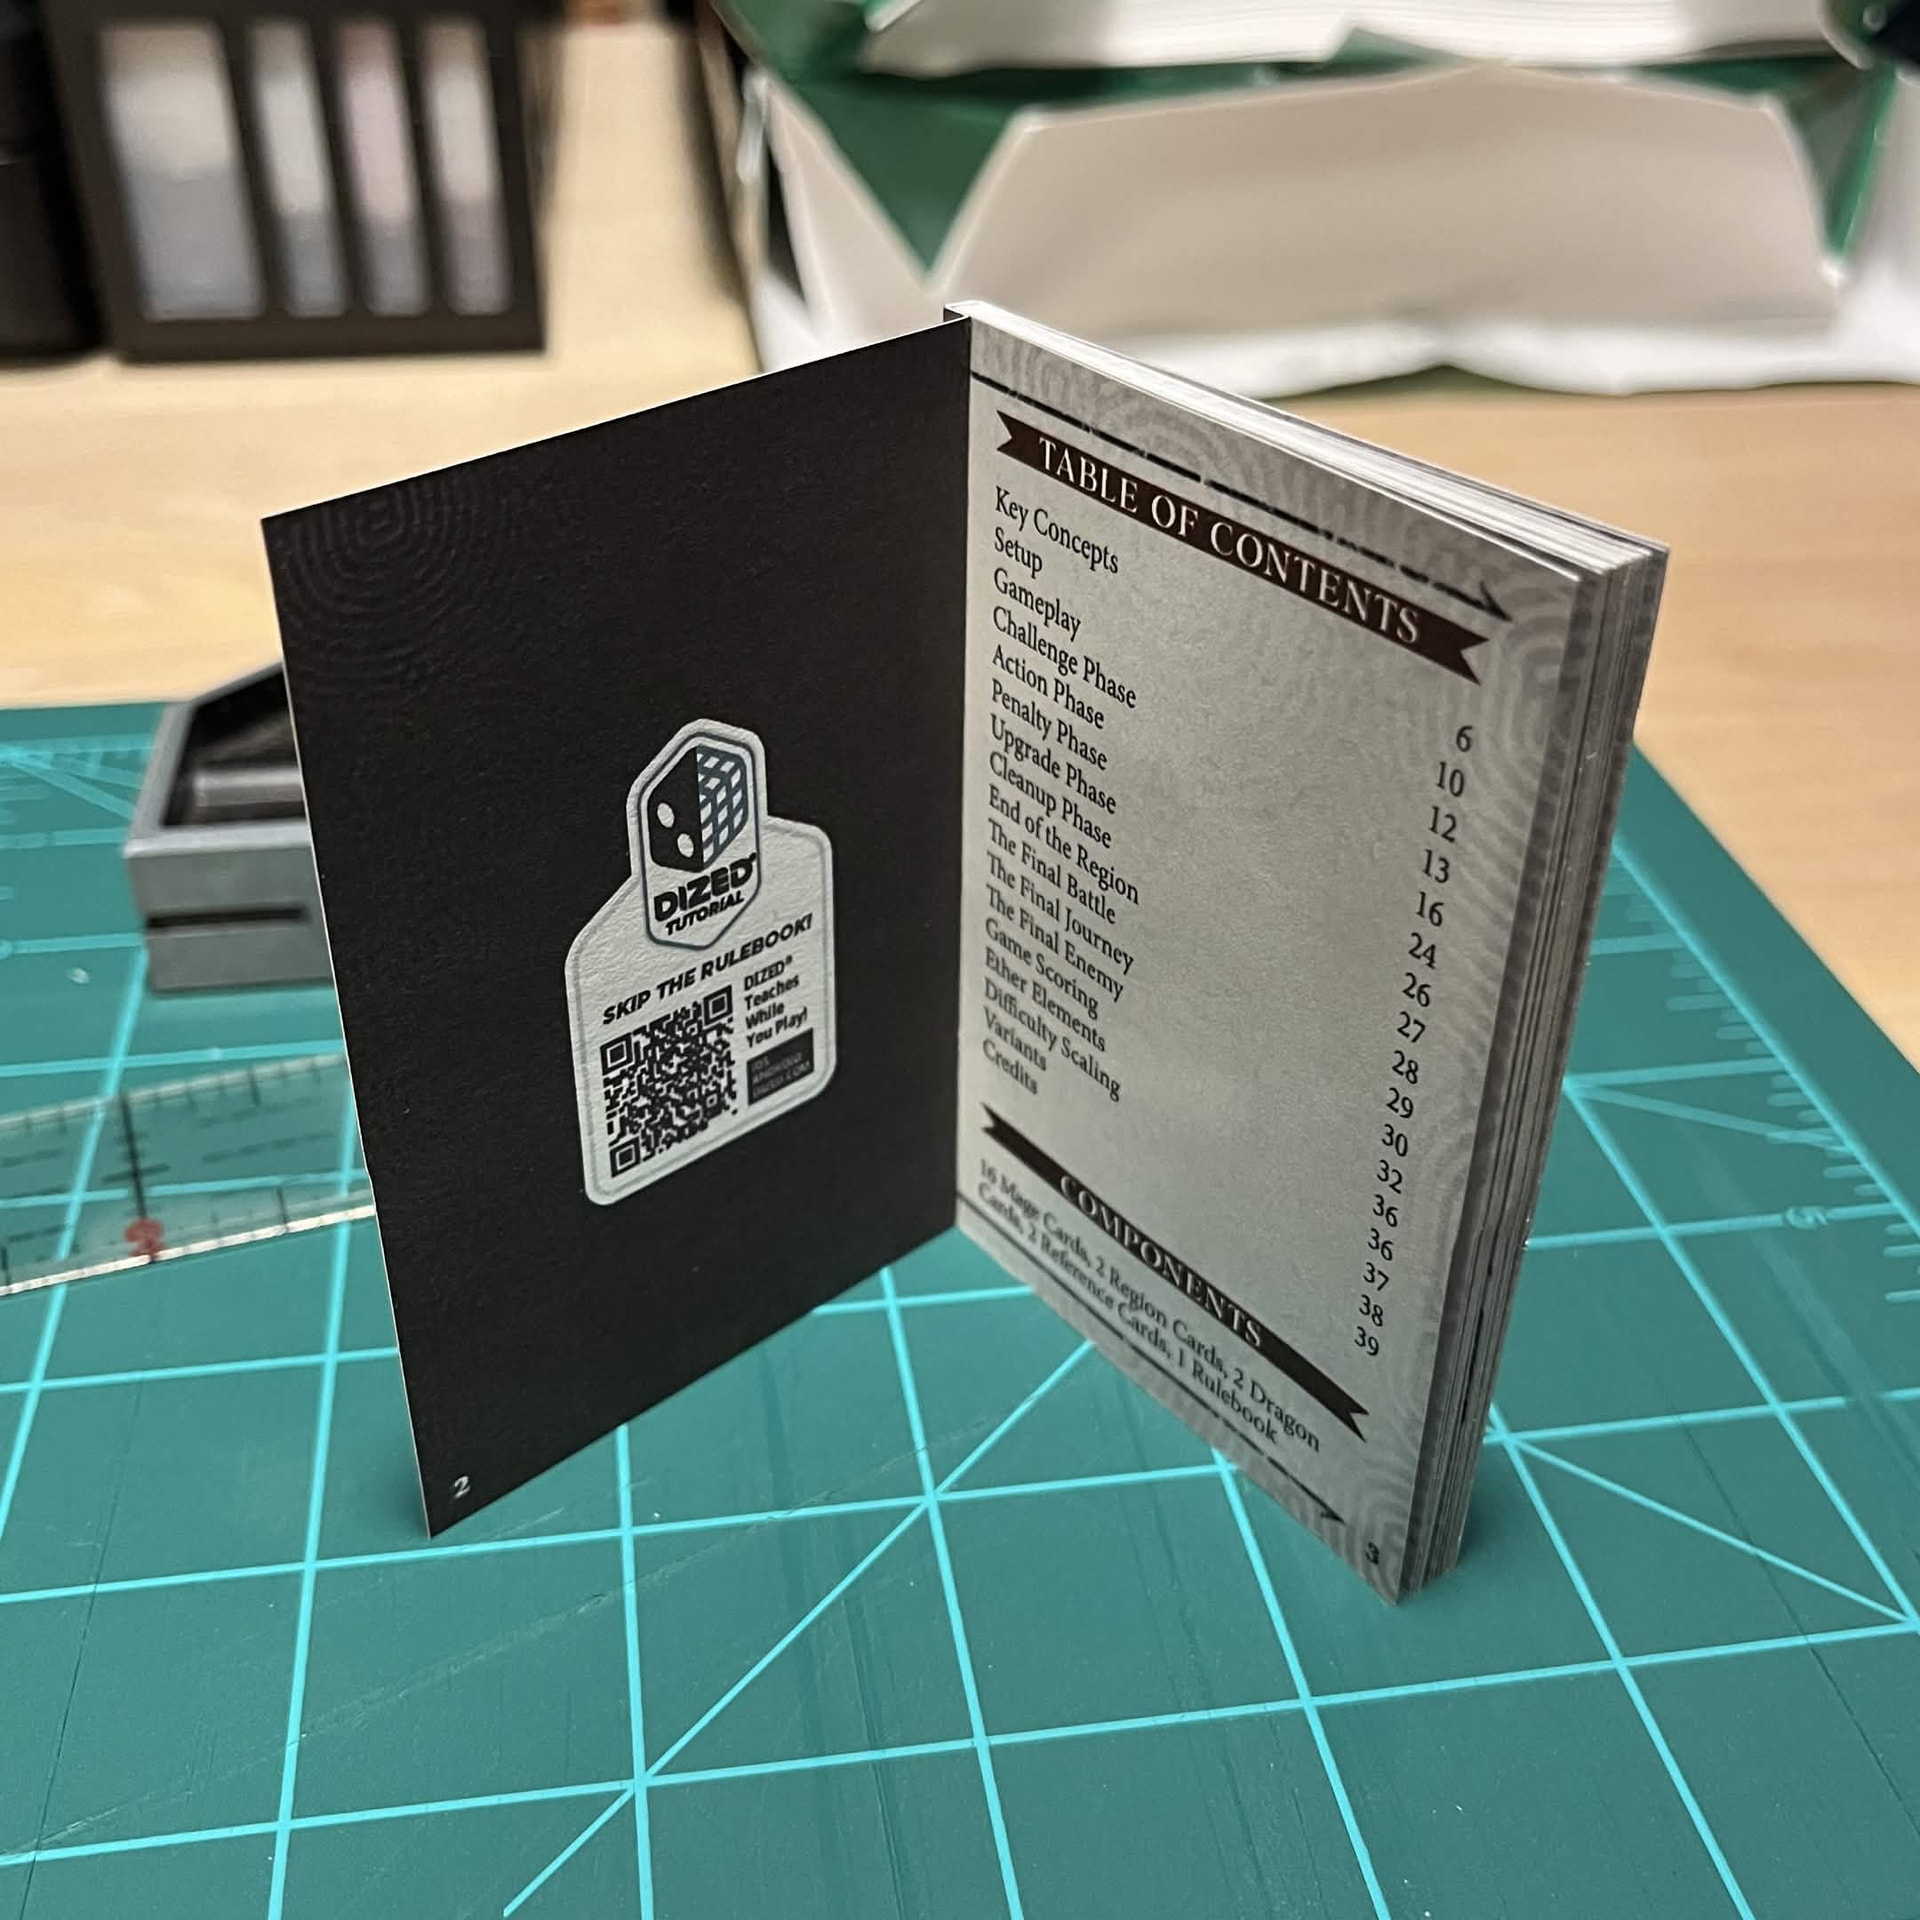
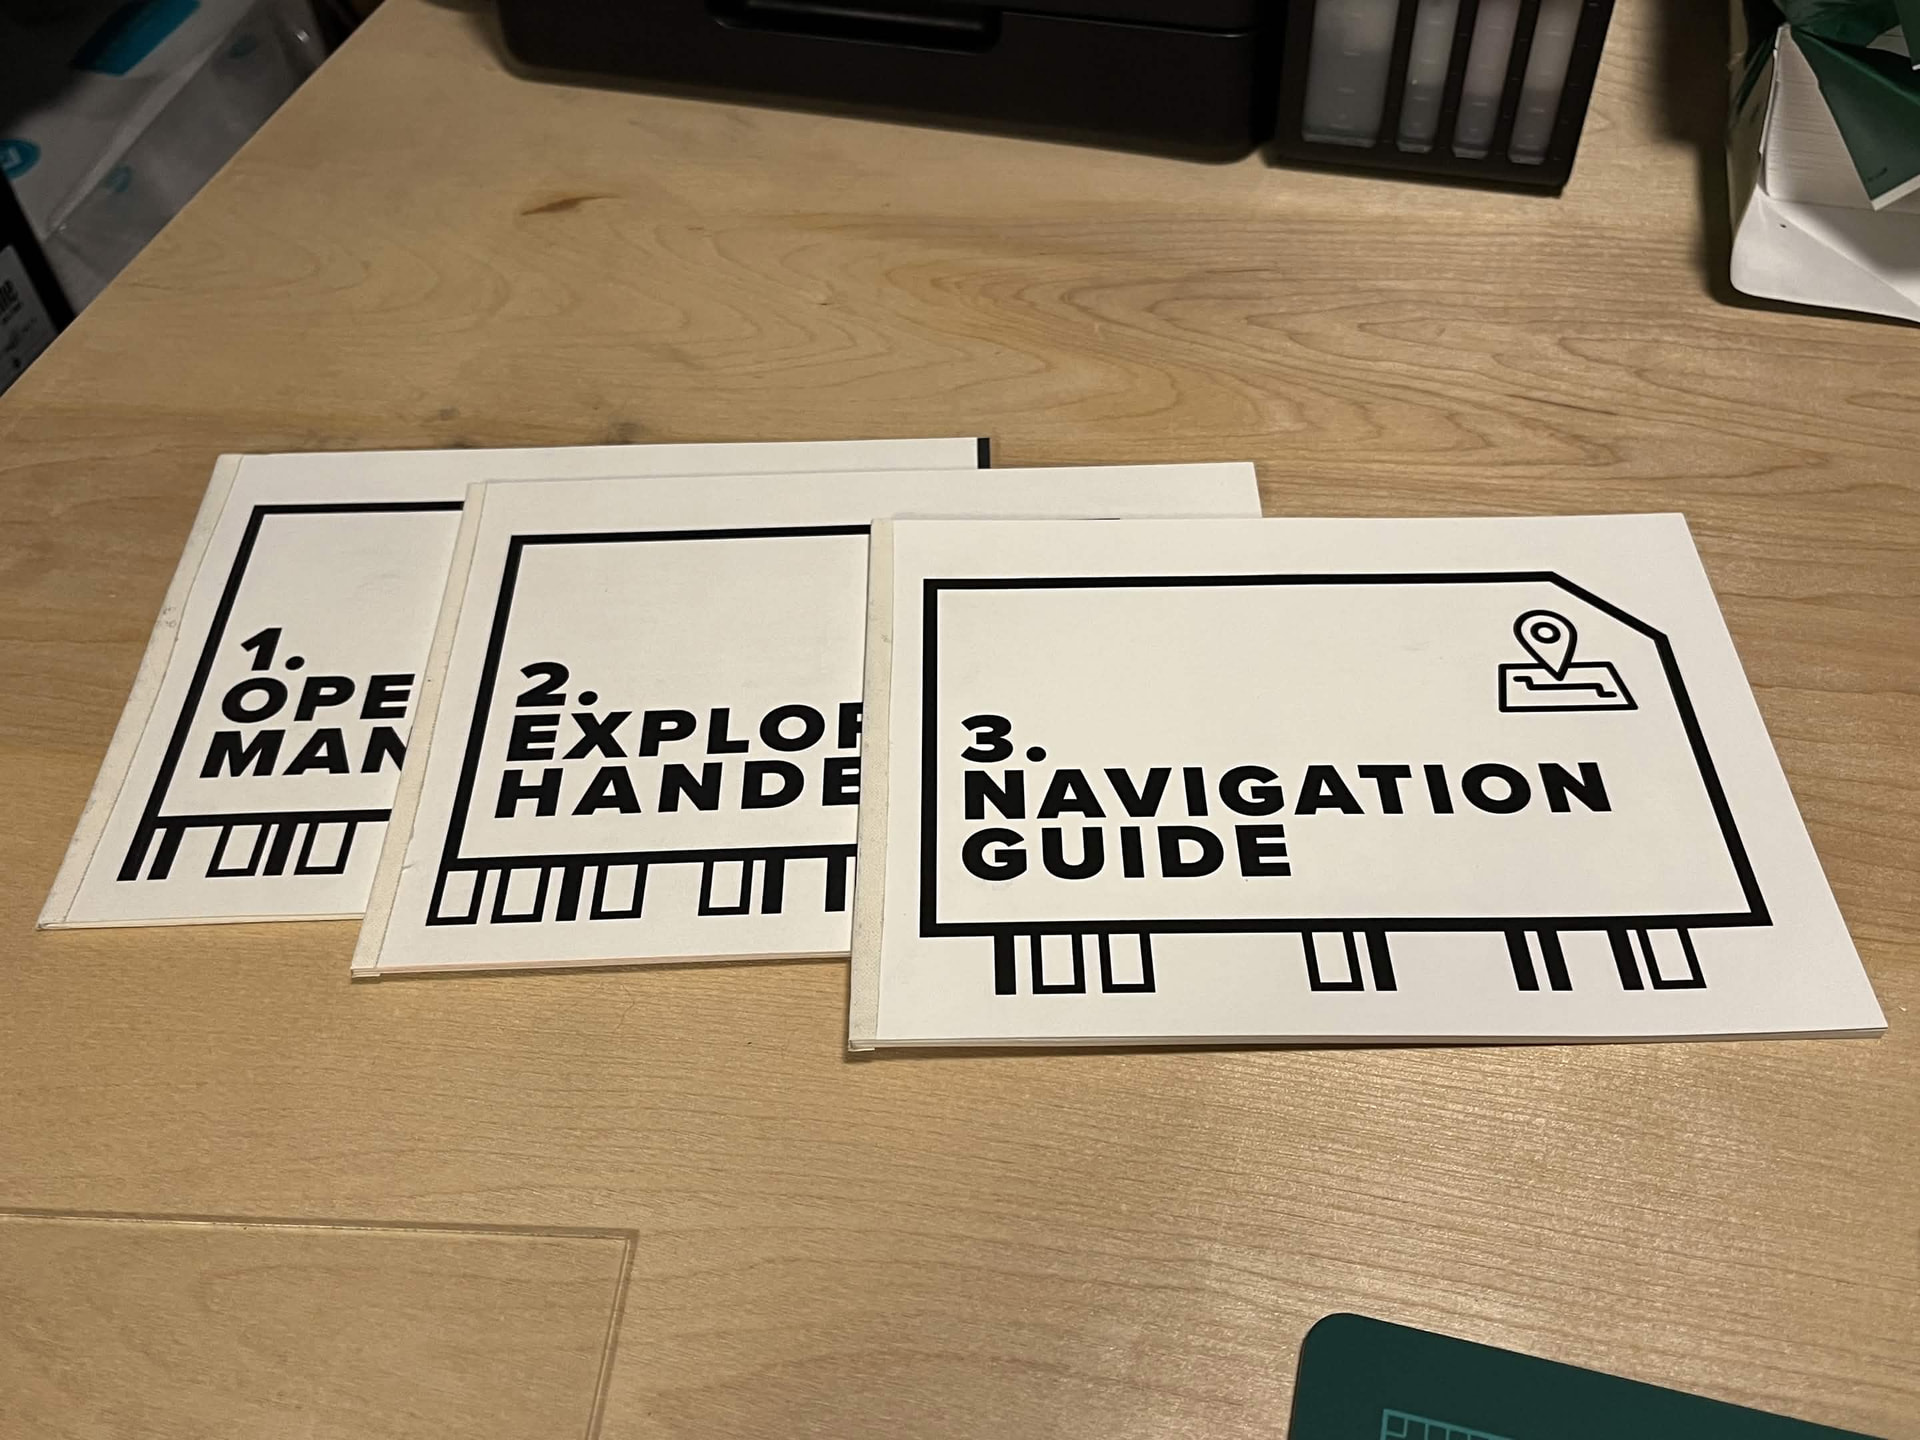
Preparing to tackle the smallest paperback yet. Will be for the Pokemon reskin for Dragons of Etchinstone.
I kind of have a stack of various books and card projects going at the same time now that I have access to a printer again. I love this Epson EcoTank and definitely plan to buy one, when I can afford such things. In the meantime I can use my roommates as much as I want. Score!
I love a good tool and man. I am continually blown away by the depth of bookmaking functions that is standard in every printers’ preferences.
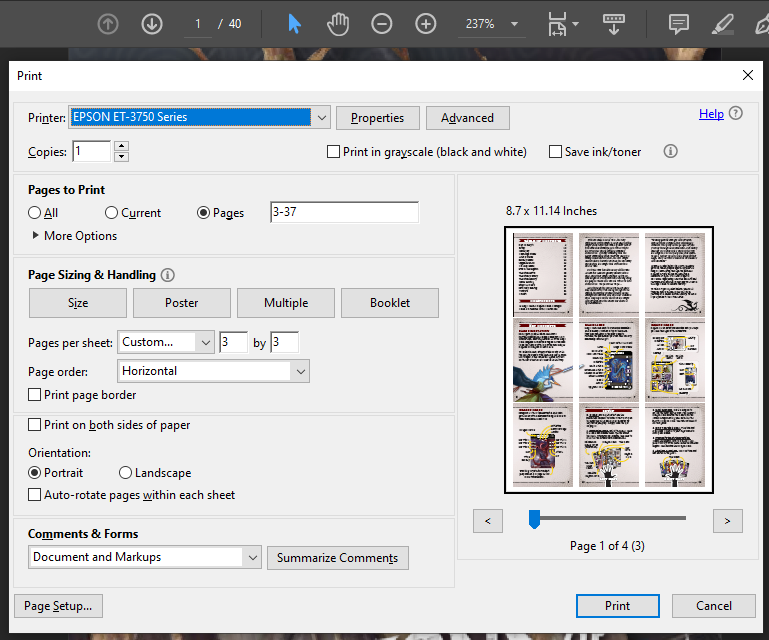
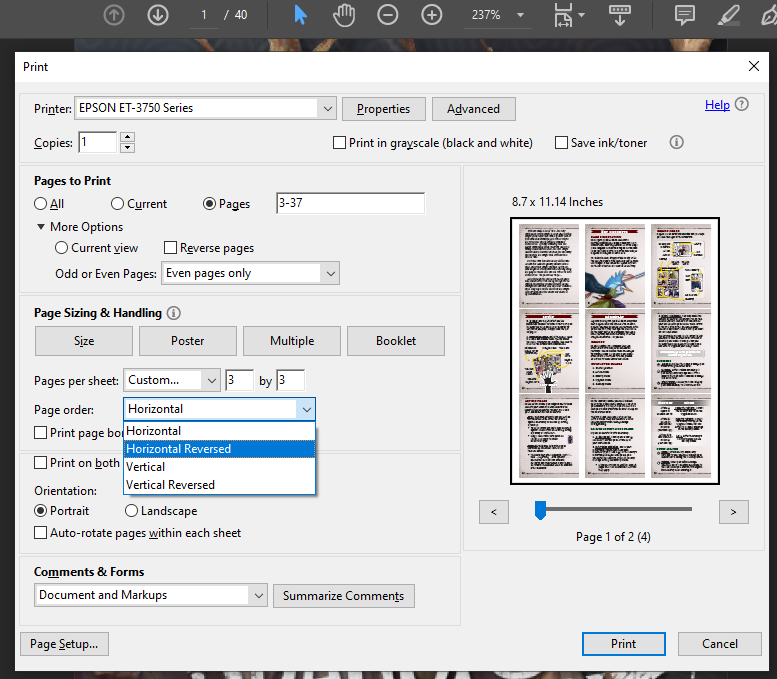
This is my first attempt at fitting this many pages on a single sheet, so this is how I do it in case anyone is interested in such things.
WIP
Excited about this one. Thought I’d share this photo cause I like how it looks, before it potentially all goes wrong. XD
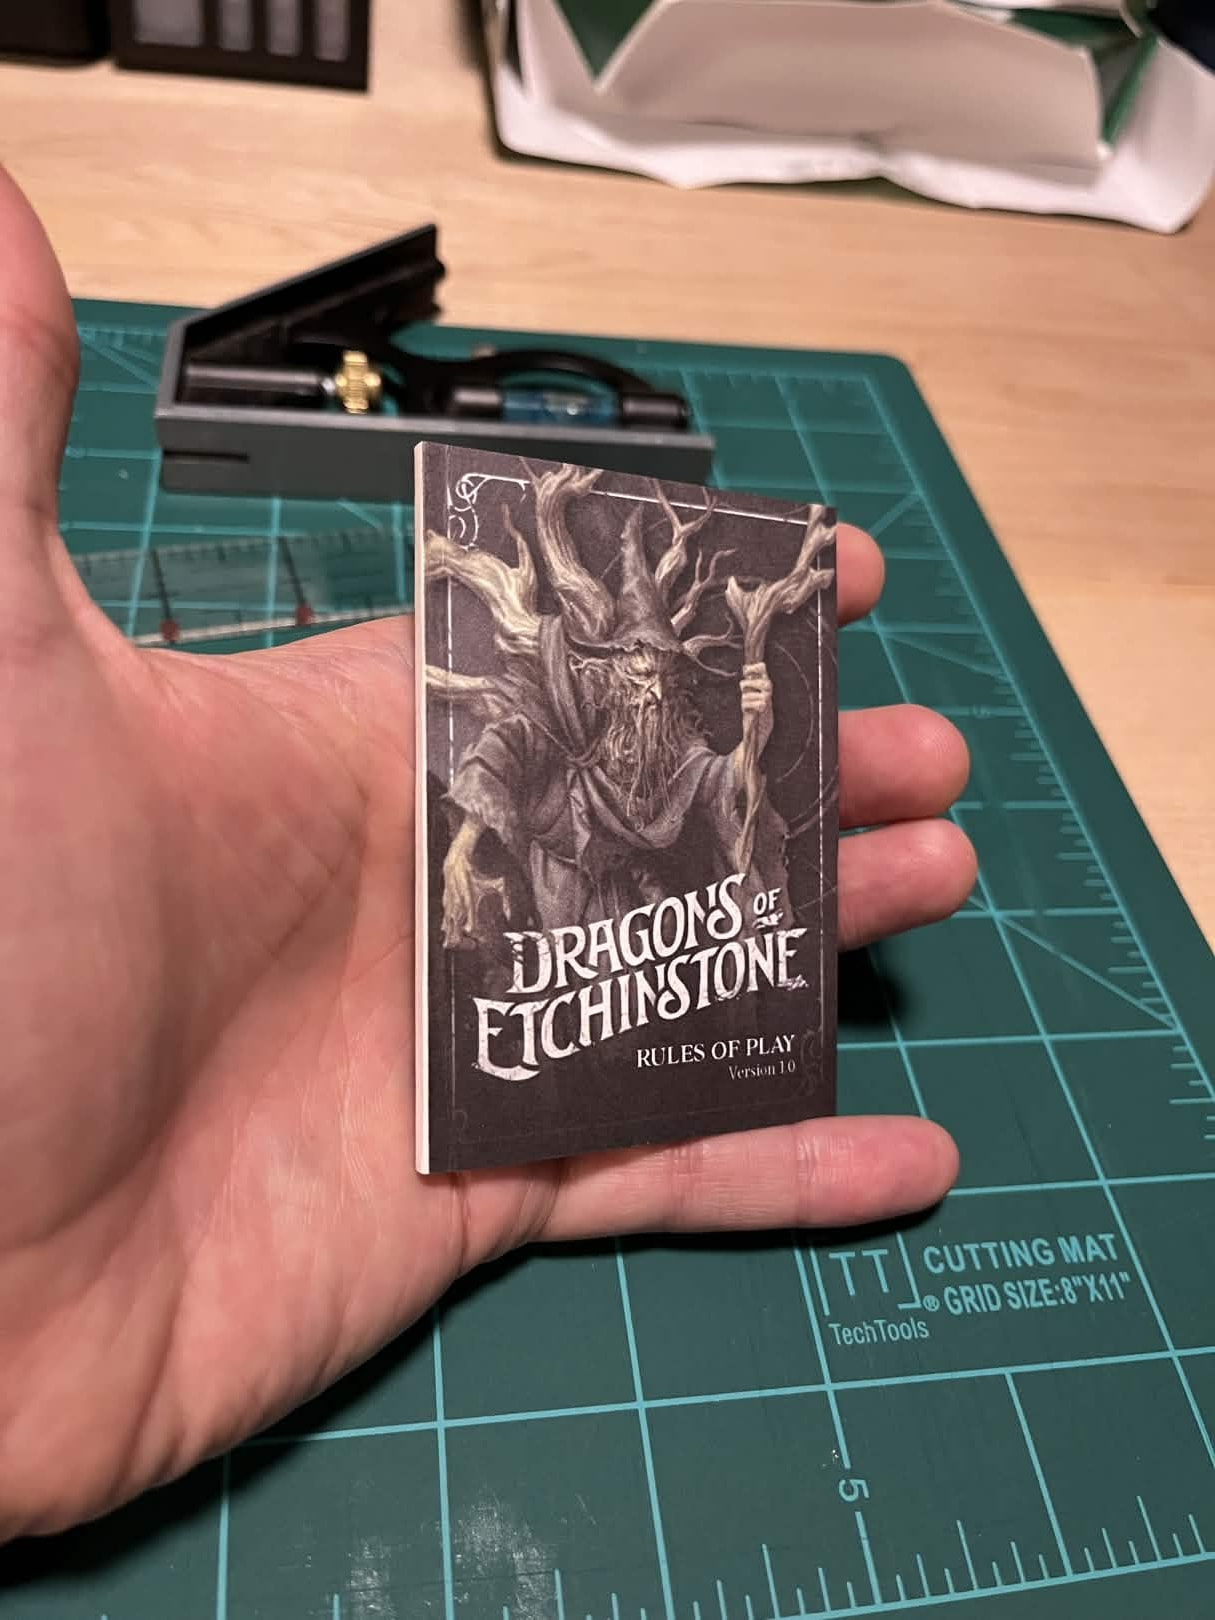
Okay, this was deeply satisfying.
I wasn’t going to make the three additional books in the series but now I think I will.
That’s so tiny!
Very cute.
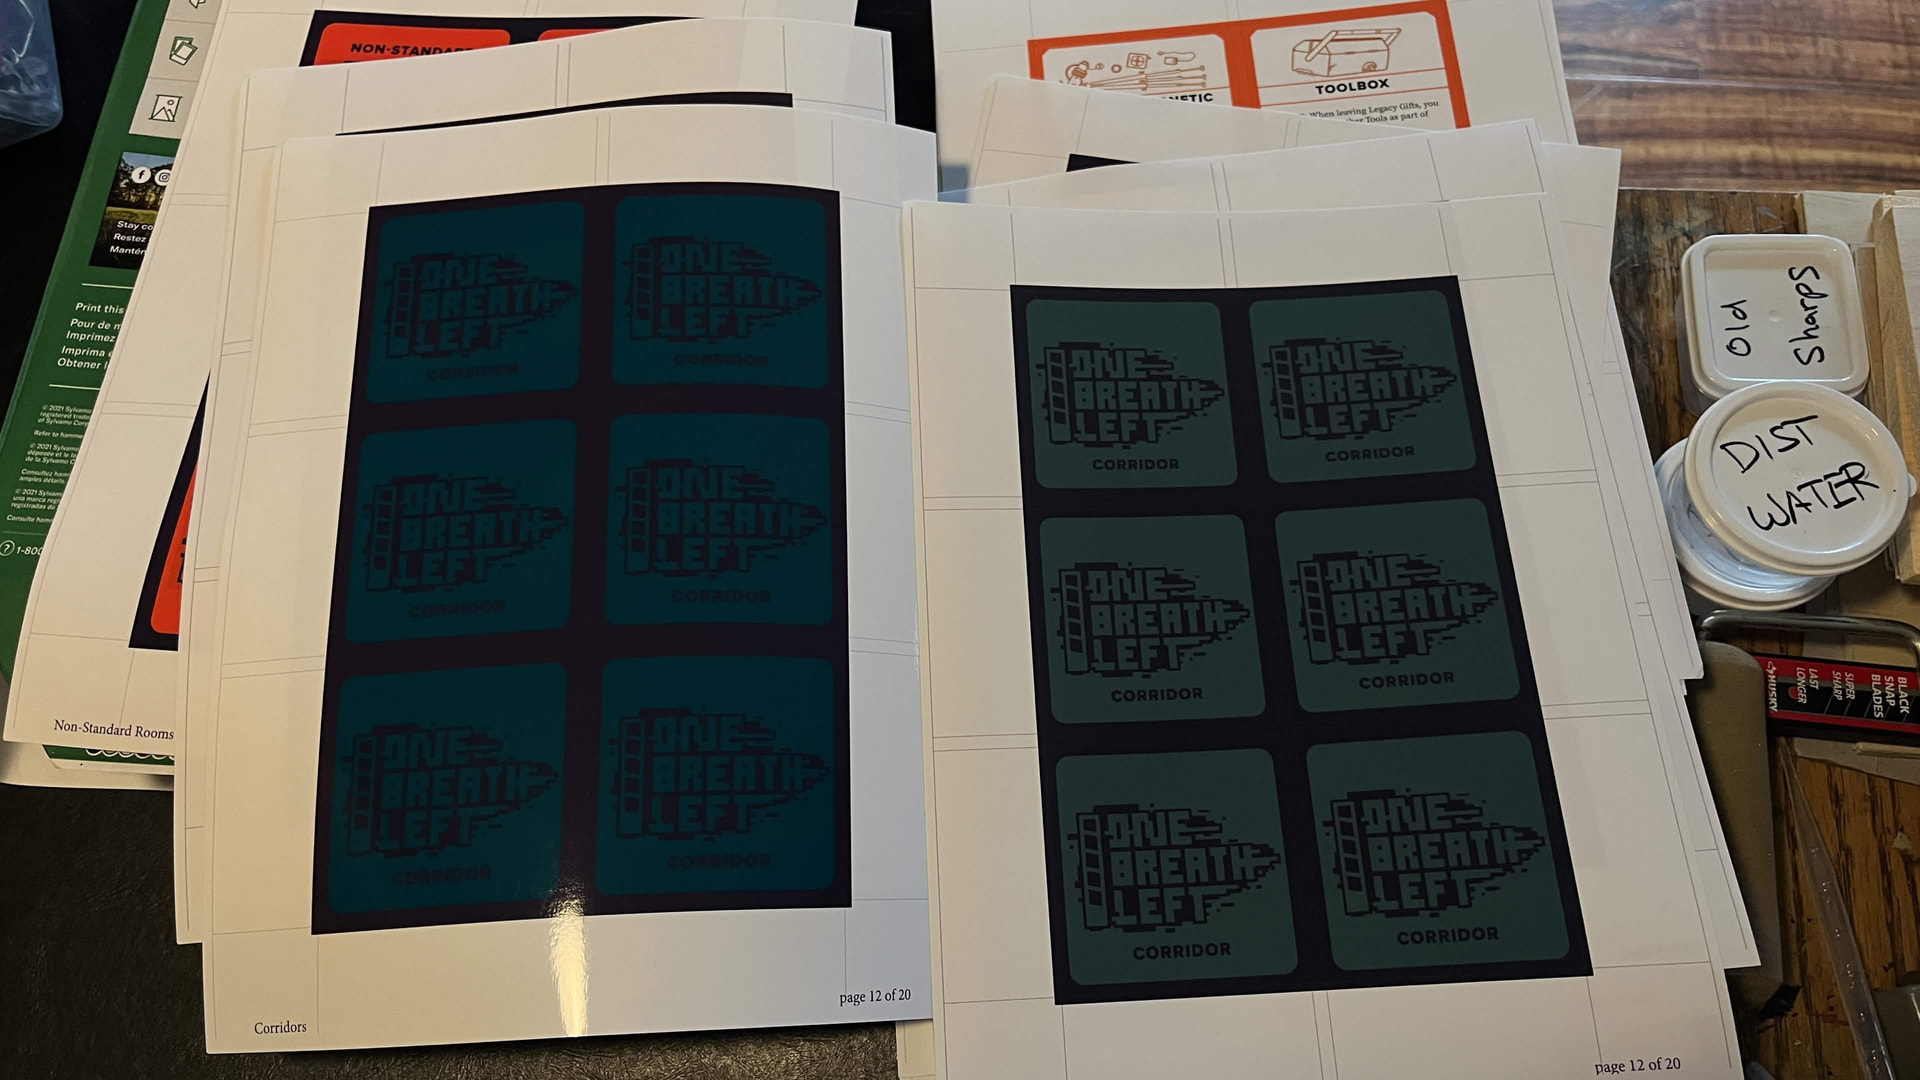
Another experiment. These I did for One Breath Left:
https://stoutstoatpress.itch.io/one-breath-left
I didn’t want to go through FedEx for such simple b&w covers and a sheet of legal sized cardstock is not long enough to fit the front and back with the spine in one. I just did the fronts and backs individually and tried using linen tape for the spine on the outside of the booklet.
It has a certain aesthetic quality I suppose.
Going to use this in conjunction with Space Aces as per Daniel’s recommendation, or at least that is what prompted me to invest in both games.
Now that I step back and look at the finished product here I think I could get away with applying the linen tape to the inside (body) of the booklet then carefully gluing the cover over top of the linen tape so that it is hidden on the front and back facings of the books. Will make a mental note to try that at some point.
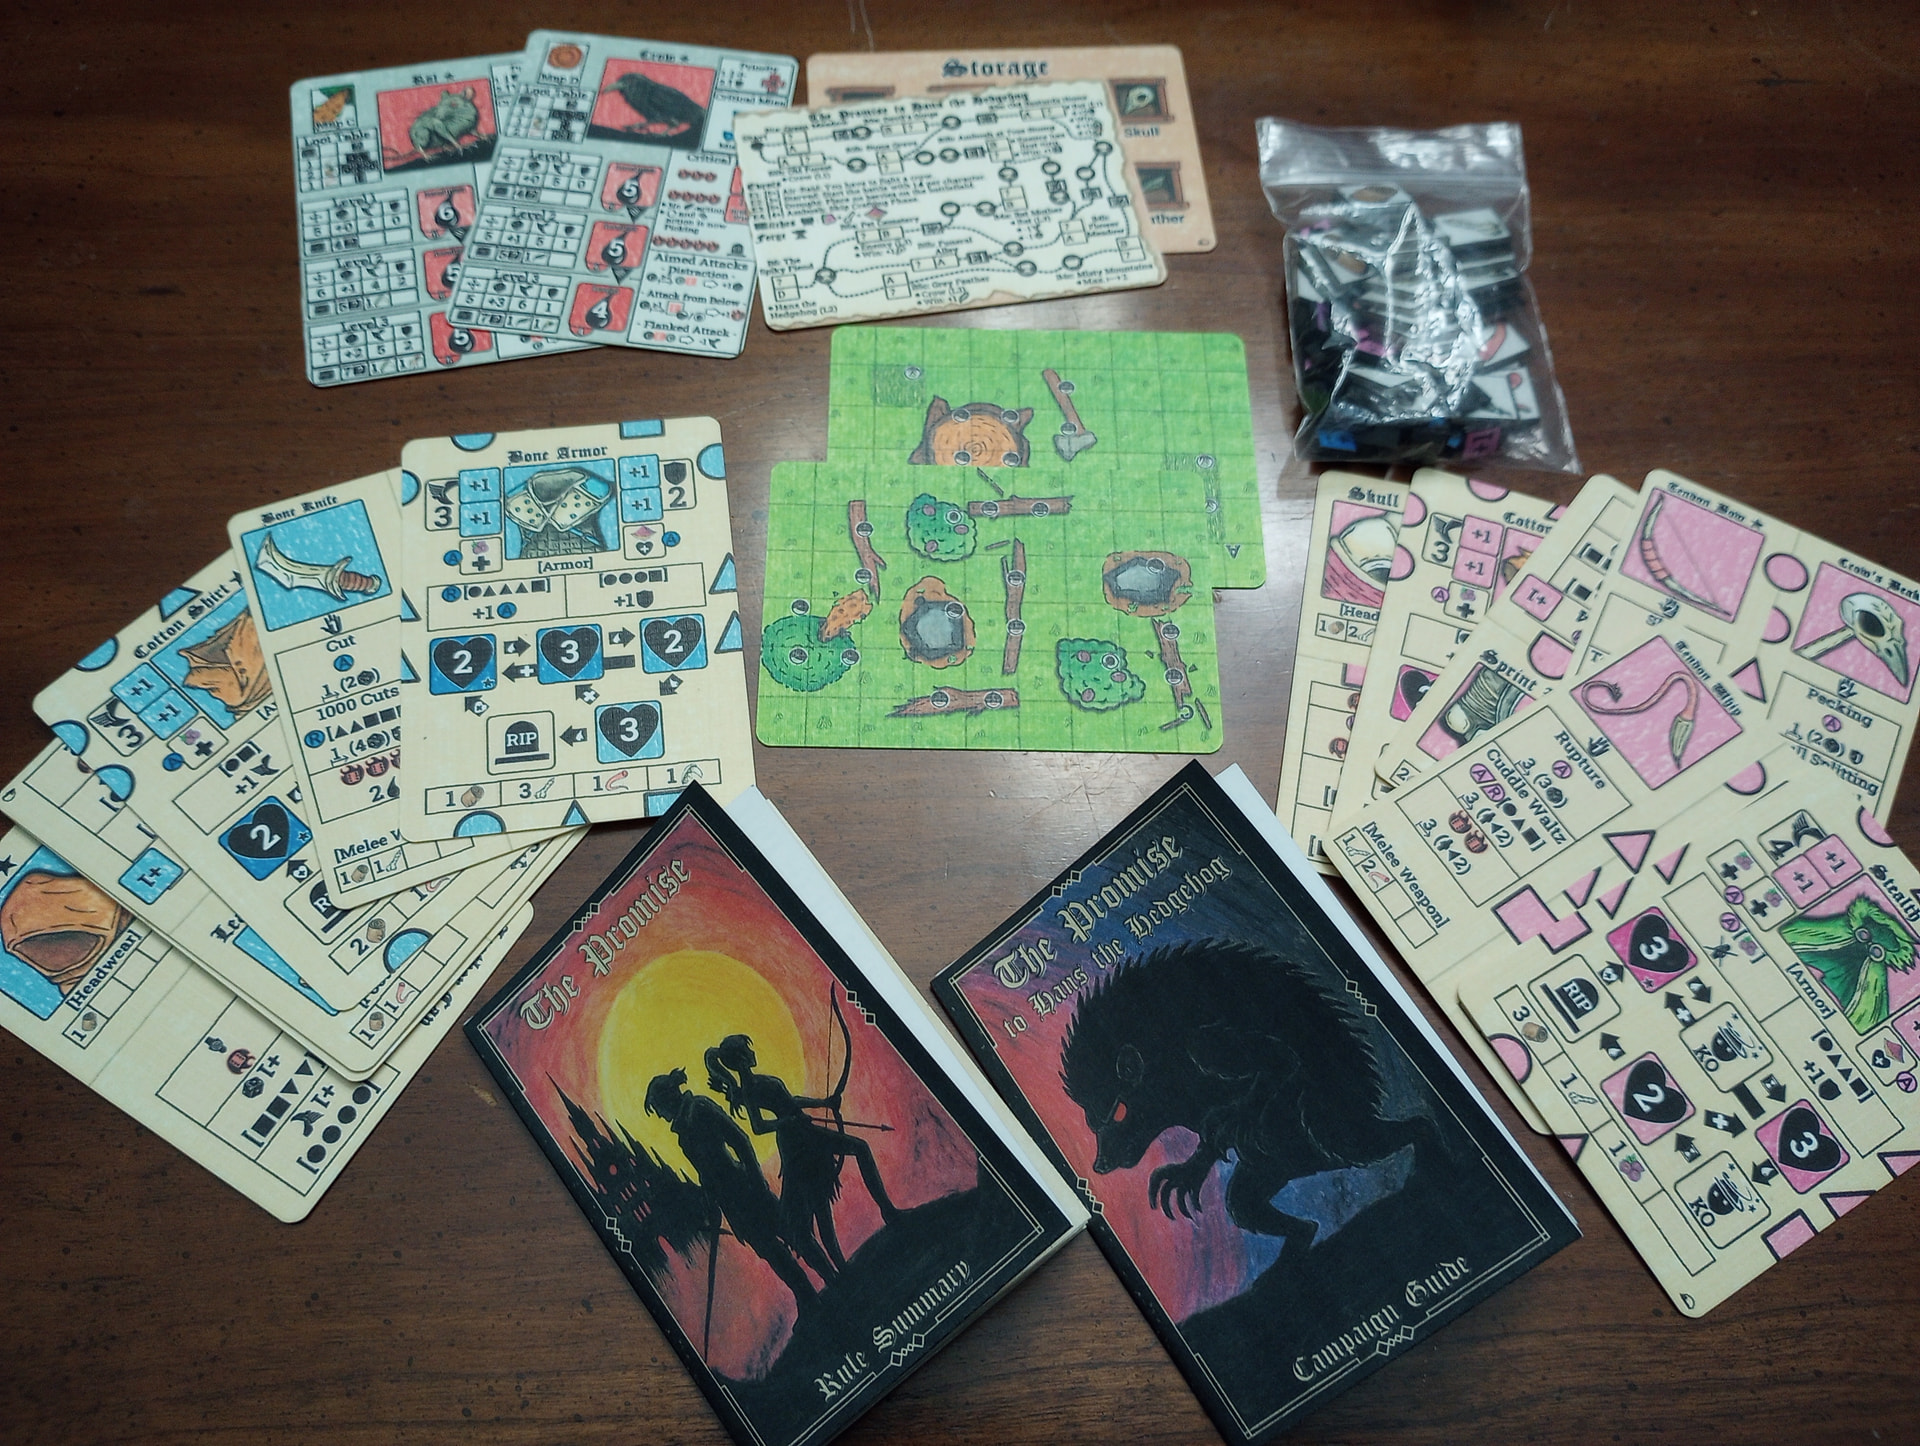
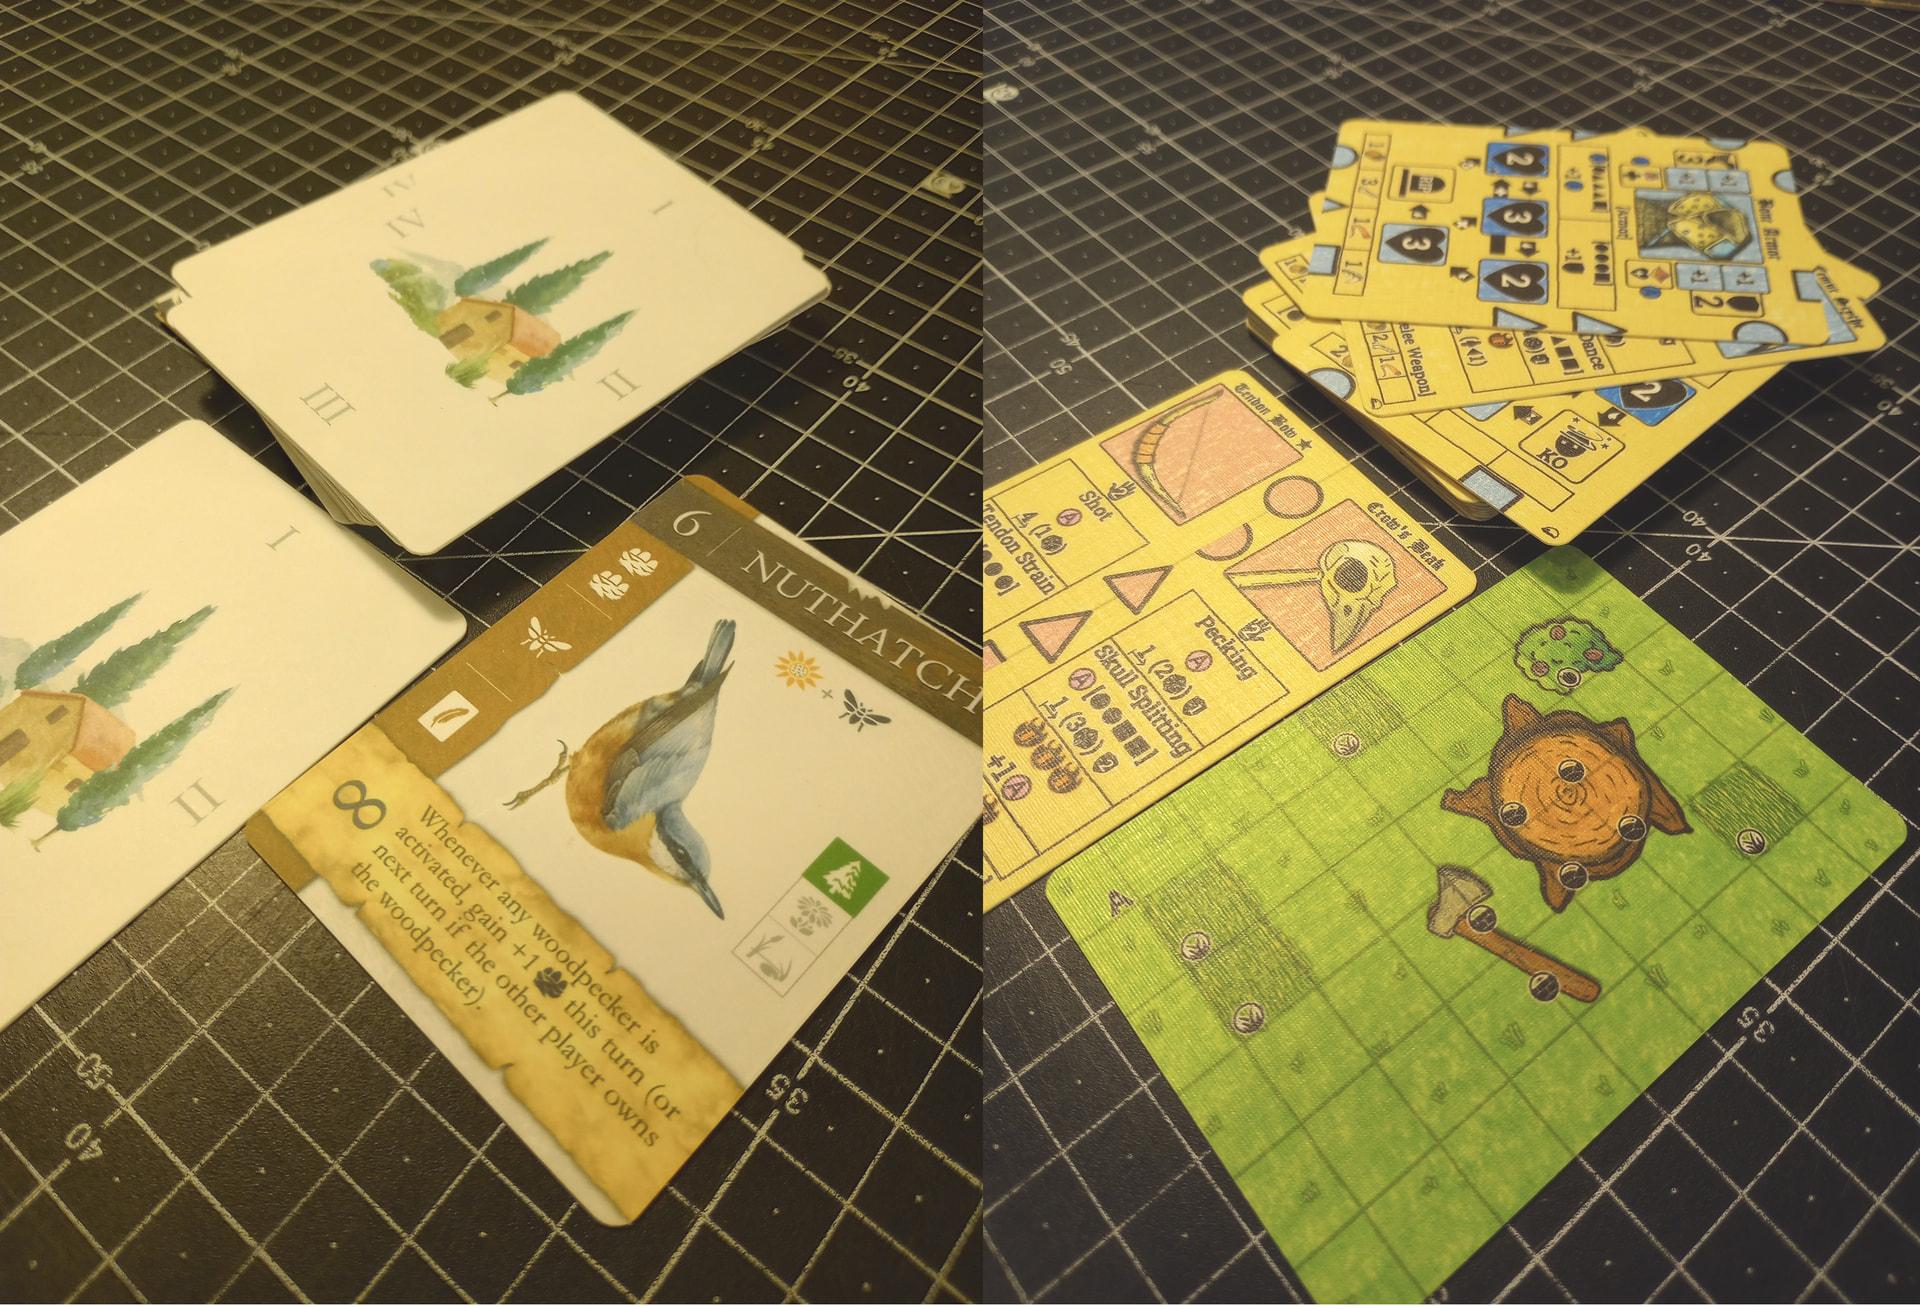
A couple weeks ago I was able to craft my PNP copy of Grimm Games’ 2-handed solo (or 2-player co-op) skirmish game with a tiny footprint, The Promise. I’ve made a post elsewhere in the forum about the design and gameplay, I’m here to drop a few notes about the crafting.
Here’s the finished product:
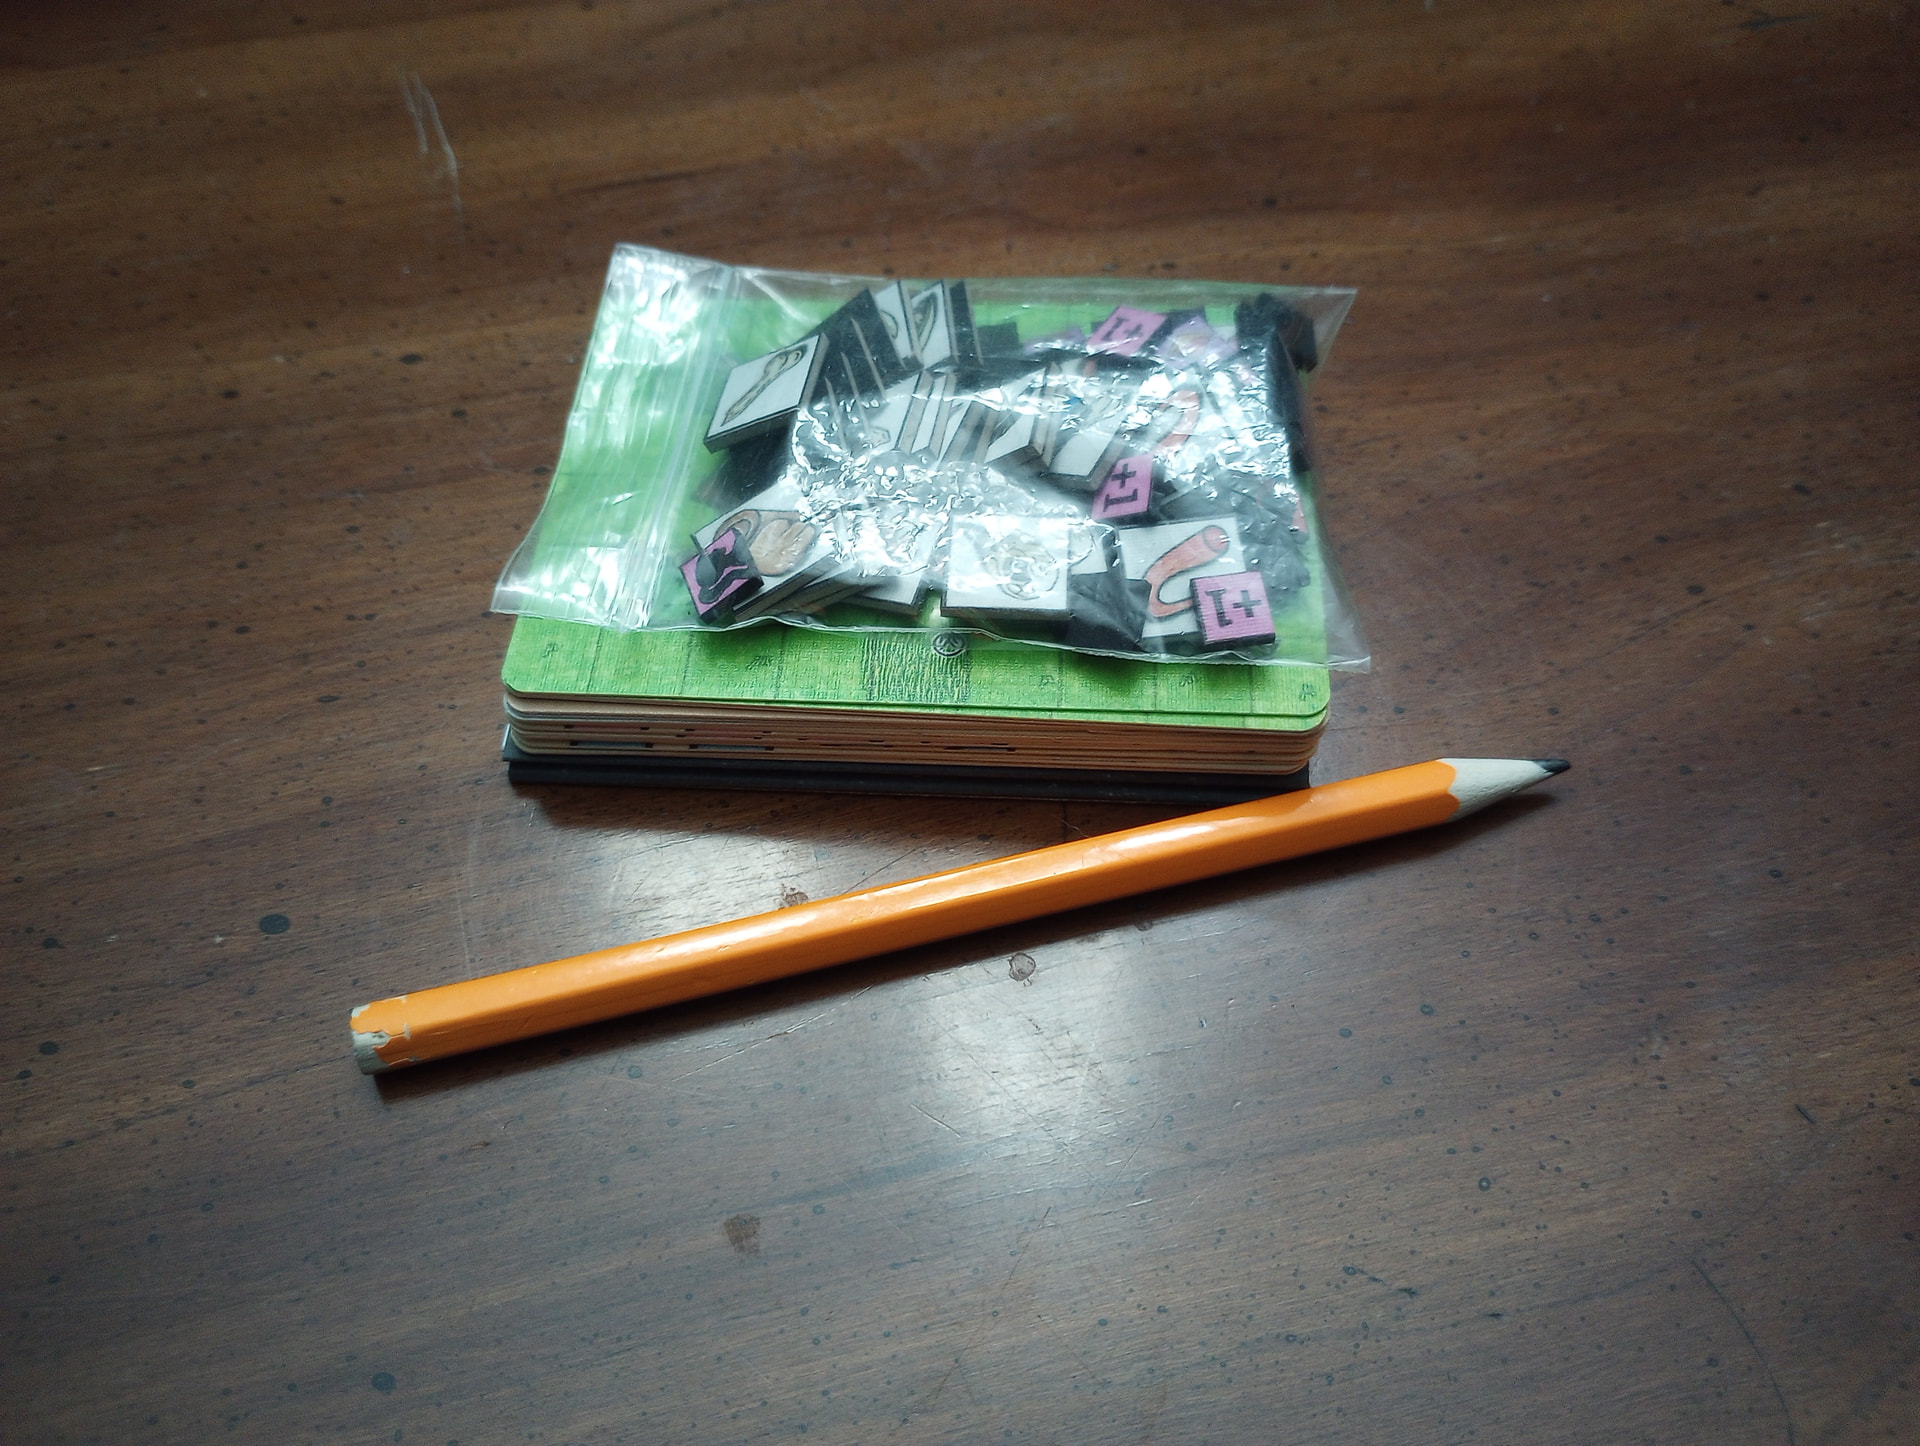
While it seems to offer quite a bit of interesting, strategic gameplay, it’s a very compact package. The PNP files provide options for easily increasing the size of the combat maps and chits if you don’t want to squint so much, but I sort of like being hunched over it at the table. Pencil here only for scale, tweezers used to move chits not shown. (Not joking.) You might lose a tiny bit of image resolution if you scale up the cards but I think they would be readable. It was a one-day build for me even with the bells and whistles, and would be pretty quick for just about anyone, I think.
I am stoked to check out this recommended YT video on how to make playing cards at home. Linen paper sounds dope!
Update: Very useful video! I learned a few really good tips. I am not sure about the linen paper though. Not exactly sure if that is necessary or what kind of qualities it would add especially if I am just spraying glossy sealer over it anyway.
I was really stoked to see how he utilized the cutter guide lines though, I can’t believe that never occurred to me! (Not cutting all the way to the end of the page!)
Very nice writeup. One small question, because you wrote about the process, that you normally create gutterfold files. When did you download my game, because I offer since 2-3 weeks gutterfold files for the Promise. I will also soon update Grimm World. I created a tool to create the PnP files and did it no longer manually. So it is easy to provide also this kind of layout.
Feel free to checkout my gutterfold file and please give me feedback if this would work for you or how they should look like. I am happy about any feedback.
I personally prefer linen paper every time, if it’s done right. It adds a texture to the cards that makes them pleasant to handle – it’s the kind of texture that professional, large scale printers like Bicycle Playing Cards go to lengths to simulate using their proprietary “Air-Cushion” finish.
It’s hard to catch this in a photo, but see below. Both made using Staines’ basic methods, but on the left I used a 32lb/120gsm untextured white paper and a “matte” coat, and on the right I used linen paper and a “semi-gloss” coat. Zoom in. All that granularity on the cards on the right is not just visual, it is tactile. I have learned (a) that I prefer the glossier options over matte, (b) that the correct ambient humidity during application is critical – to high and this all becomes a cloudy soup– (c) that it works a little better if you do several light passes/applications, rather than 1 heavy one.
Only additional note I would make is that it’s tough to find linen paper without a water mark. If you leave large regions of your cards without any ink, then you may be able to see the watermark at the right angle. This has rarely impacted me, but it’s notable.
Hello, Raoul!
I had downloaded my copy of the files back in December, so maybe I missed the addition of a gutterfold version. I see it now. I would probably be happy using those files for an 18-card game, but I am very picky, so if I were thinking about printing up a larger game and wanted it to look good, I would probably make two changes. Both of these changes amount to enforcing elements of the gutterfold Template that “Dining Table Print & Play” has linked in the description of the youtube video I shared above.
I would add some bleeds on the left and right side of each image of a card front/back. This would. That way, even if the gutter fold becomes slightly mis-aligned, I know I won’t accidentally get 1 cards’ image on the wrong card.
Second, I would probably expand the distance between the cards’ bottoms/tops and the gutterfold, leaving more space in the “gutter.” The larger that space is, the easier it is to get the cardstock situated in a way that will work for all the cards, even if the edge of the cardstock isn’t perfectly aligned to the fold-line in the gutter.
But a lot of people are not as picky as me ![]()
Thank you for the feedback. I will check if I can change my PDF creation tool to add your feedback. Gutterfold was very tricky to implement, so that it work. I have to check how good it works.
That’s cool and thanks for the follow up.
A down side that strikes me is it looks like it also effects the clarity of the inkjet printing process by adding tiny scan lines. Would you say this is accurate?
I will still keep it in mind for an expirement.
Nope – in all the photos I have posted of the cards I made for The Promise, you will find not a single scan-line or strip of the card that has not correctly received its due of inkjet ink. What you are seeing in this image is the physical texture of the linen threads that are embedded in the linen paper and that run across the card. Their reflectance is being amplified by the semi-gloss sealant. In other top-down photos I have posted, you don’t see them as clearly. In this photo you do, because I have specifically attempted to position my camera such at it catches the light to show how the linen paper adds this texture.
edit: Some of the Card art itself has colored blocks that are done in a pencil-sketch style, so there are white streaks visible between some colored streaks. But that is intended.
I have always loved the canvas texture on older Fantasy Flight games. Would you say this is similar? I am presuming the grain on the linen is more of a single direction rather that horizontal and parallel.
I think what you are calling “canvas texture” is more widely known as a “linen finish” on cards, and I believe what Fantasy Flight was doing was using a stamp to simulate the physical texture in their plastic-coated cards that you get automatically by using actual linen paper. My friend, I think you want linen paper.
Linen threads in linen paper run both horizontally and vertically. I could take a photo but you can google linen paper texture and see it quicker. I bought a ream of this Neenah brand paper years back and it has served me very well – but again, I must note that it does have a watermark.
That’s okay, I got it. Sounds really cool for the right project. As I move up in quality I will keep this in mind for a special project. Once again, I really got a lot out of that instructional video so thanks so much for sharing it here!
Here it is again for any future users: