DIY Books, Cards, Papercraft, Game Components, Etc

I don’t know how much value there is in sharing all my failures here but here goes..
I really thought I had it here with the razor saw being that it’s perfectly flat. I expected it to fail but then the finish look perfect and FINALLY perfectly 90°!

However when I took it out of the press..

Also, much to my surprise, the saw took WAY longer than my plunge cutter. This took over an hour. Thankfully its just another test edge.
I may have to throw in the towel for now with this and just have it guillotine cut, if FedEx even offers that service.

UPDATE: So I called FedEx and it’s about $7 to have a book cut, which defeats the price investment and defeats my joy of doing this at home.
I got up to take a piss.. thinking, Nah.. I aint goin out like that… I’ll think of something in the bathroom.
I went through the door past my other desk and glanced over at my hobby knife on the way. In the bathroom as I closed the door, “IIIIVEEE GOT IIIIIIITTT!!”
Craft blades #17 and #18. Chisel blades.
I’m on the hunt now.

2 Likes

Okay, here comes the final CHAPTER of this paperback endeavor.

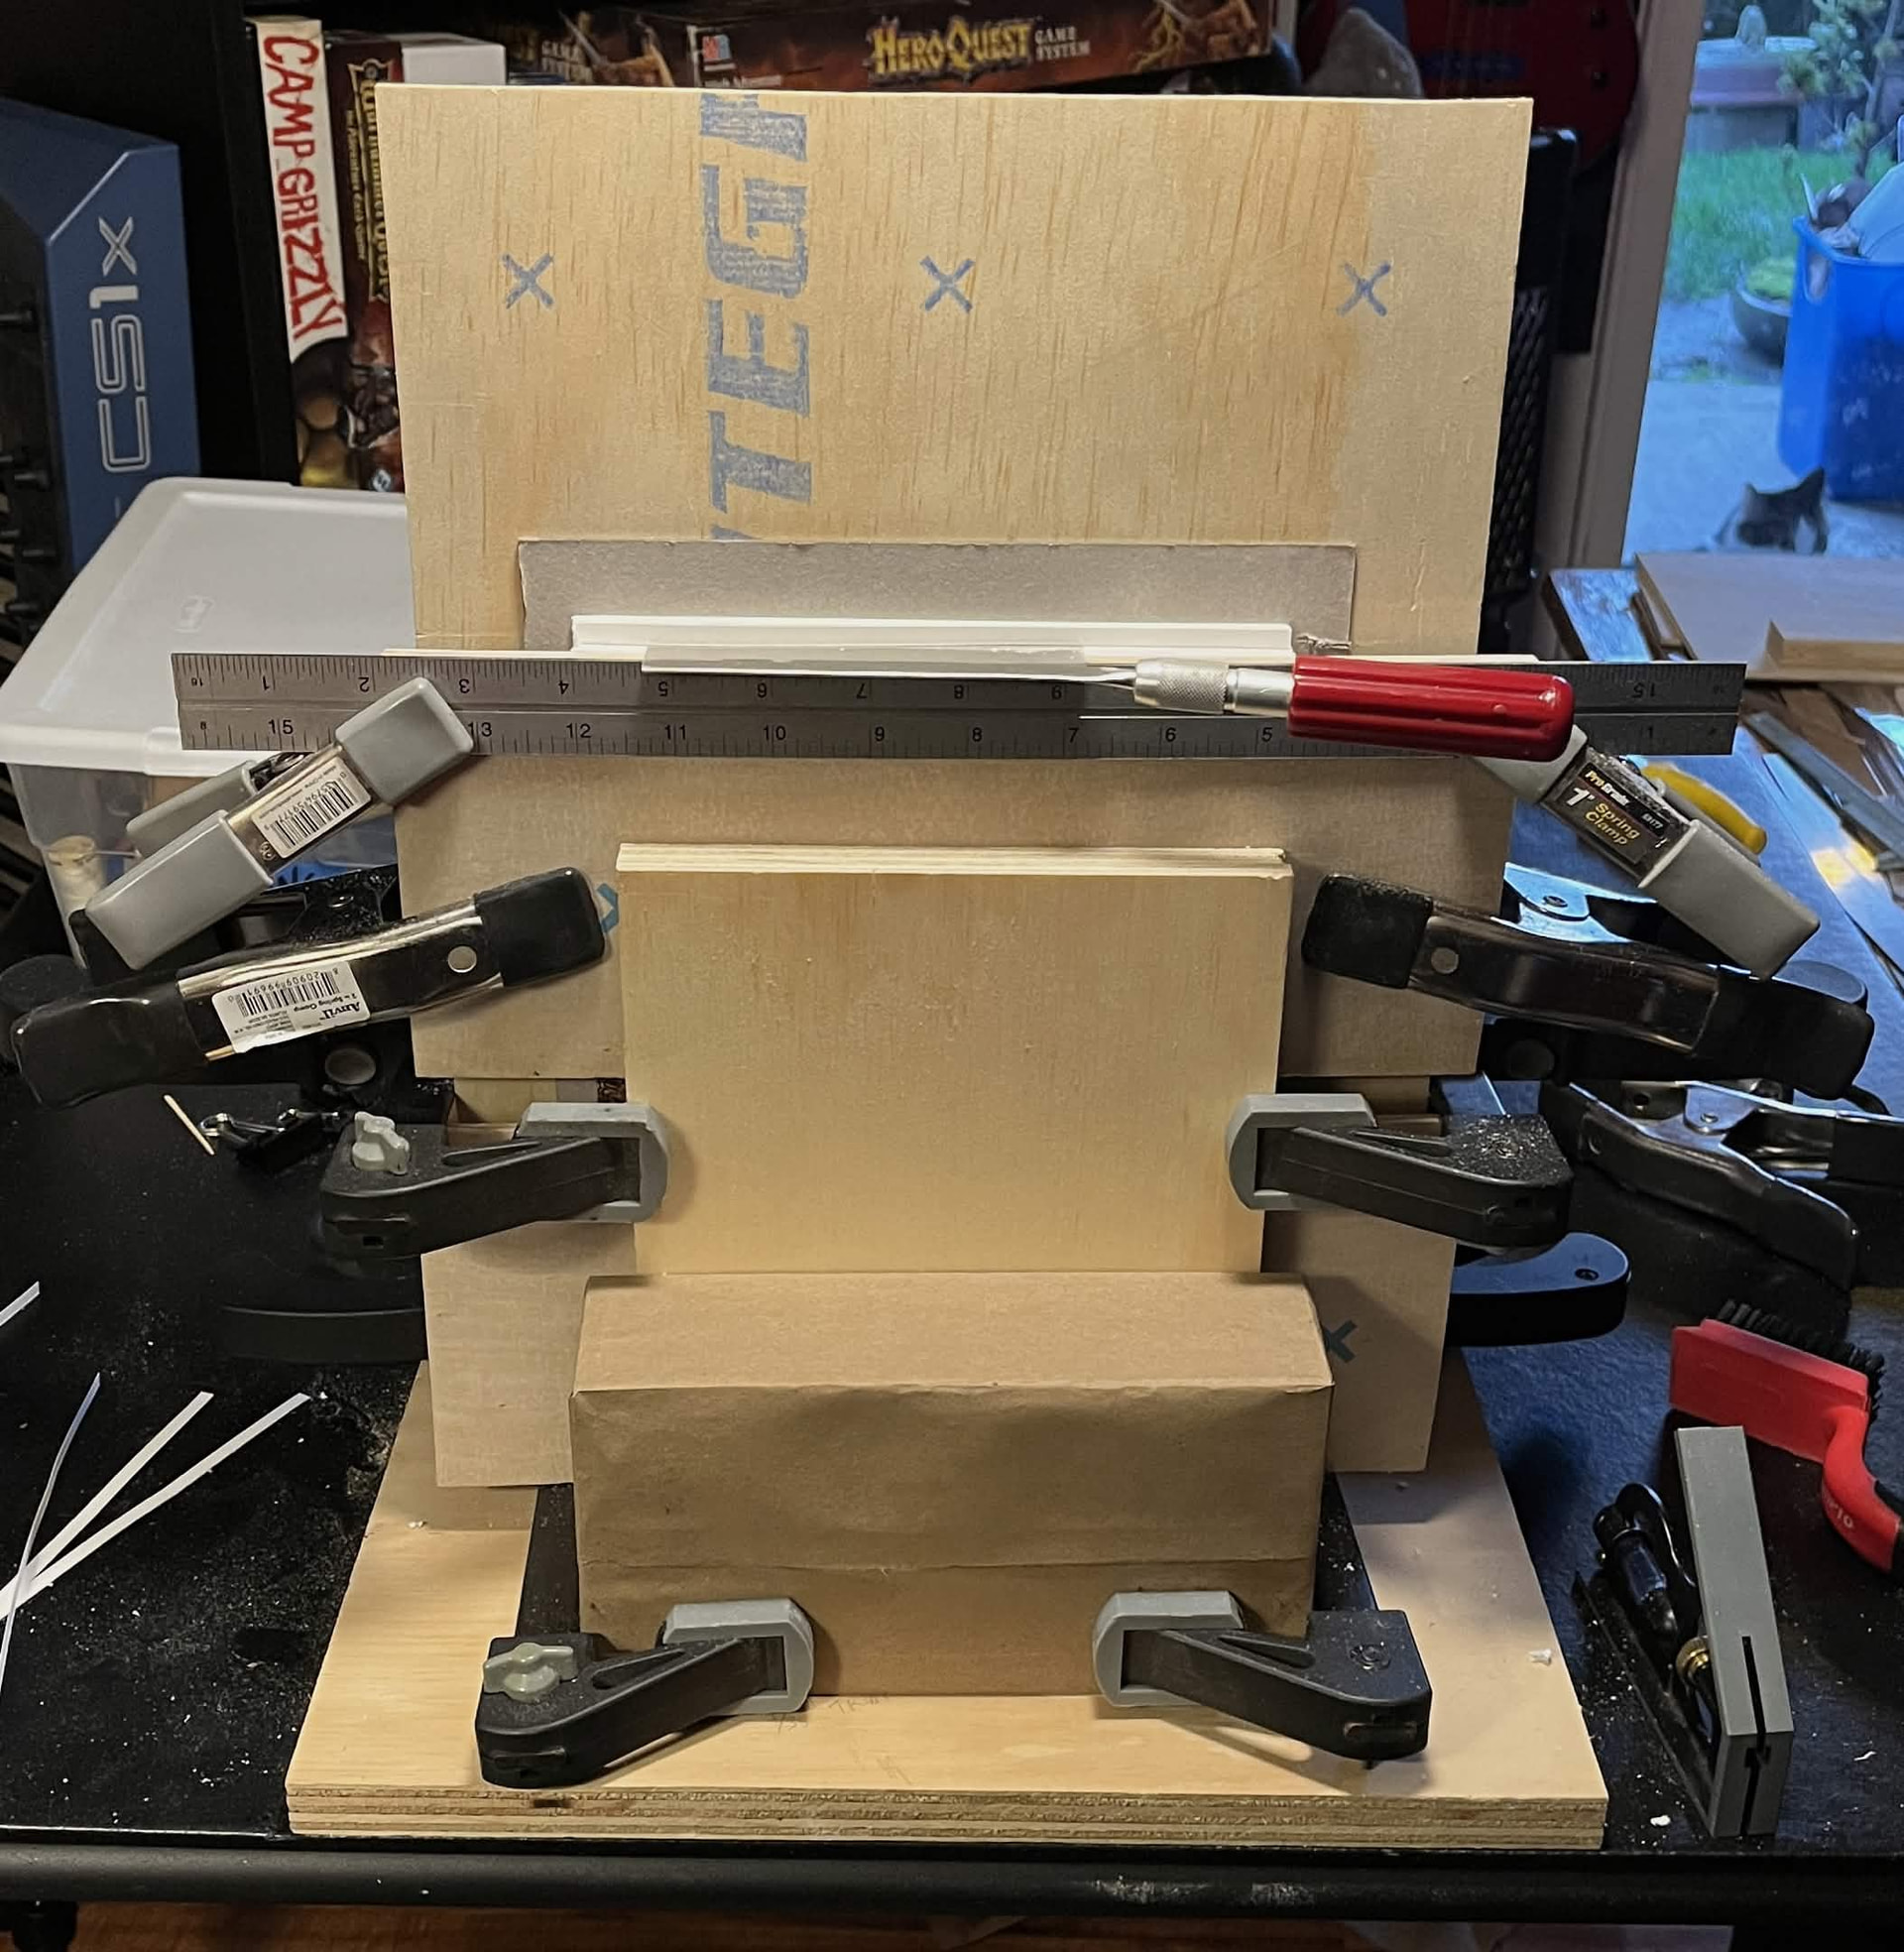
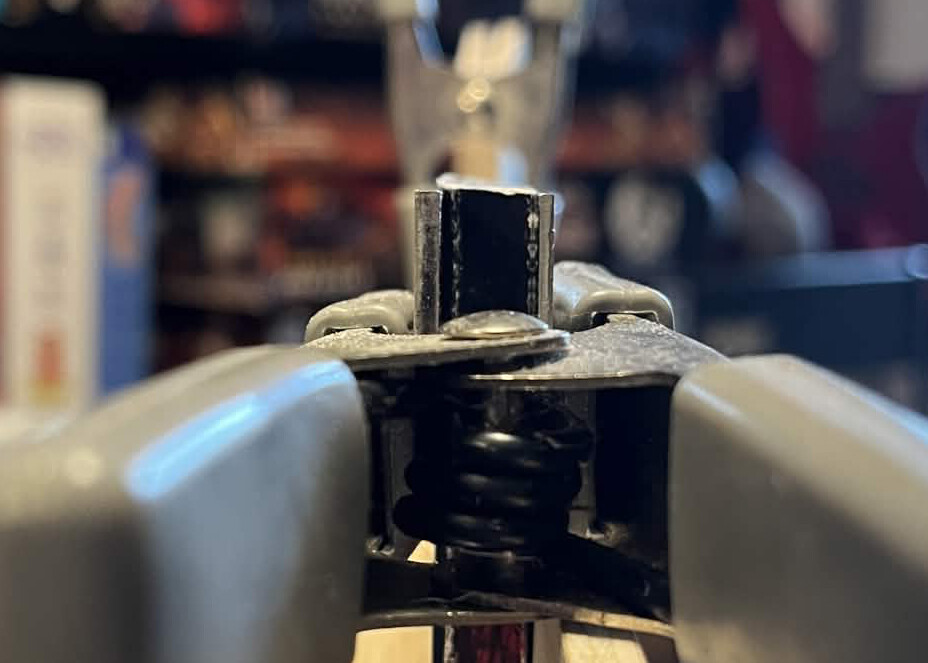
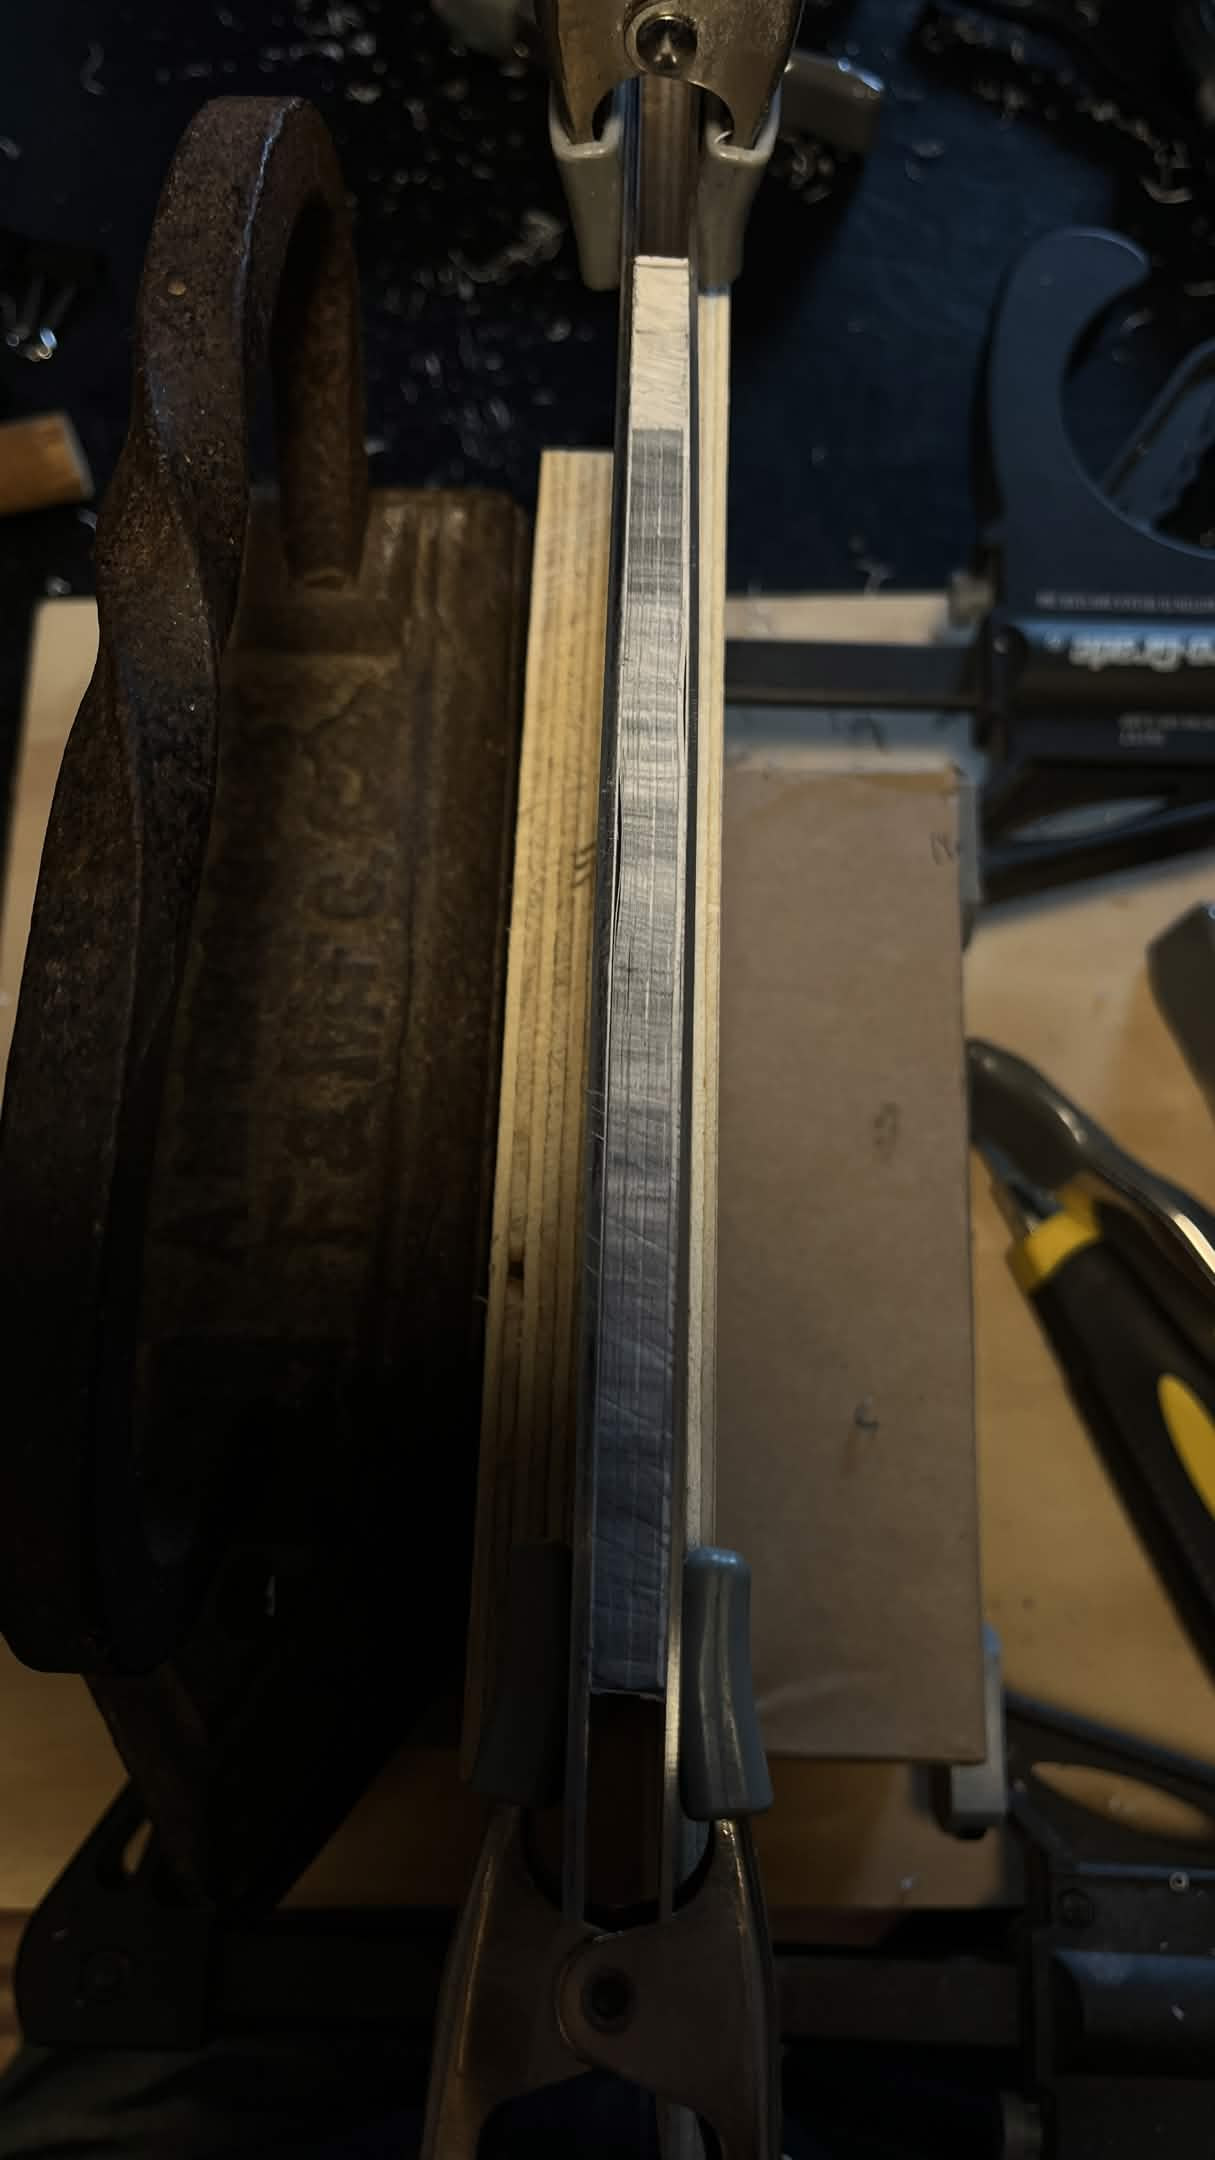
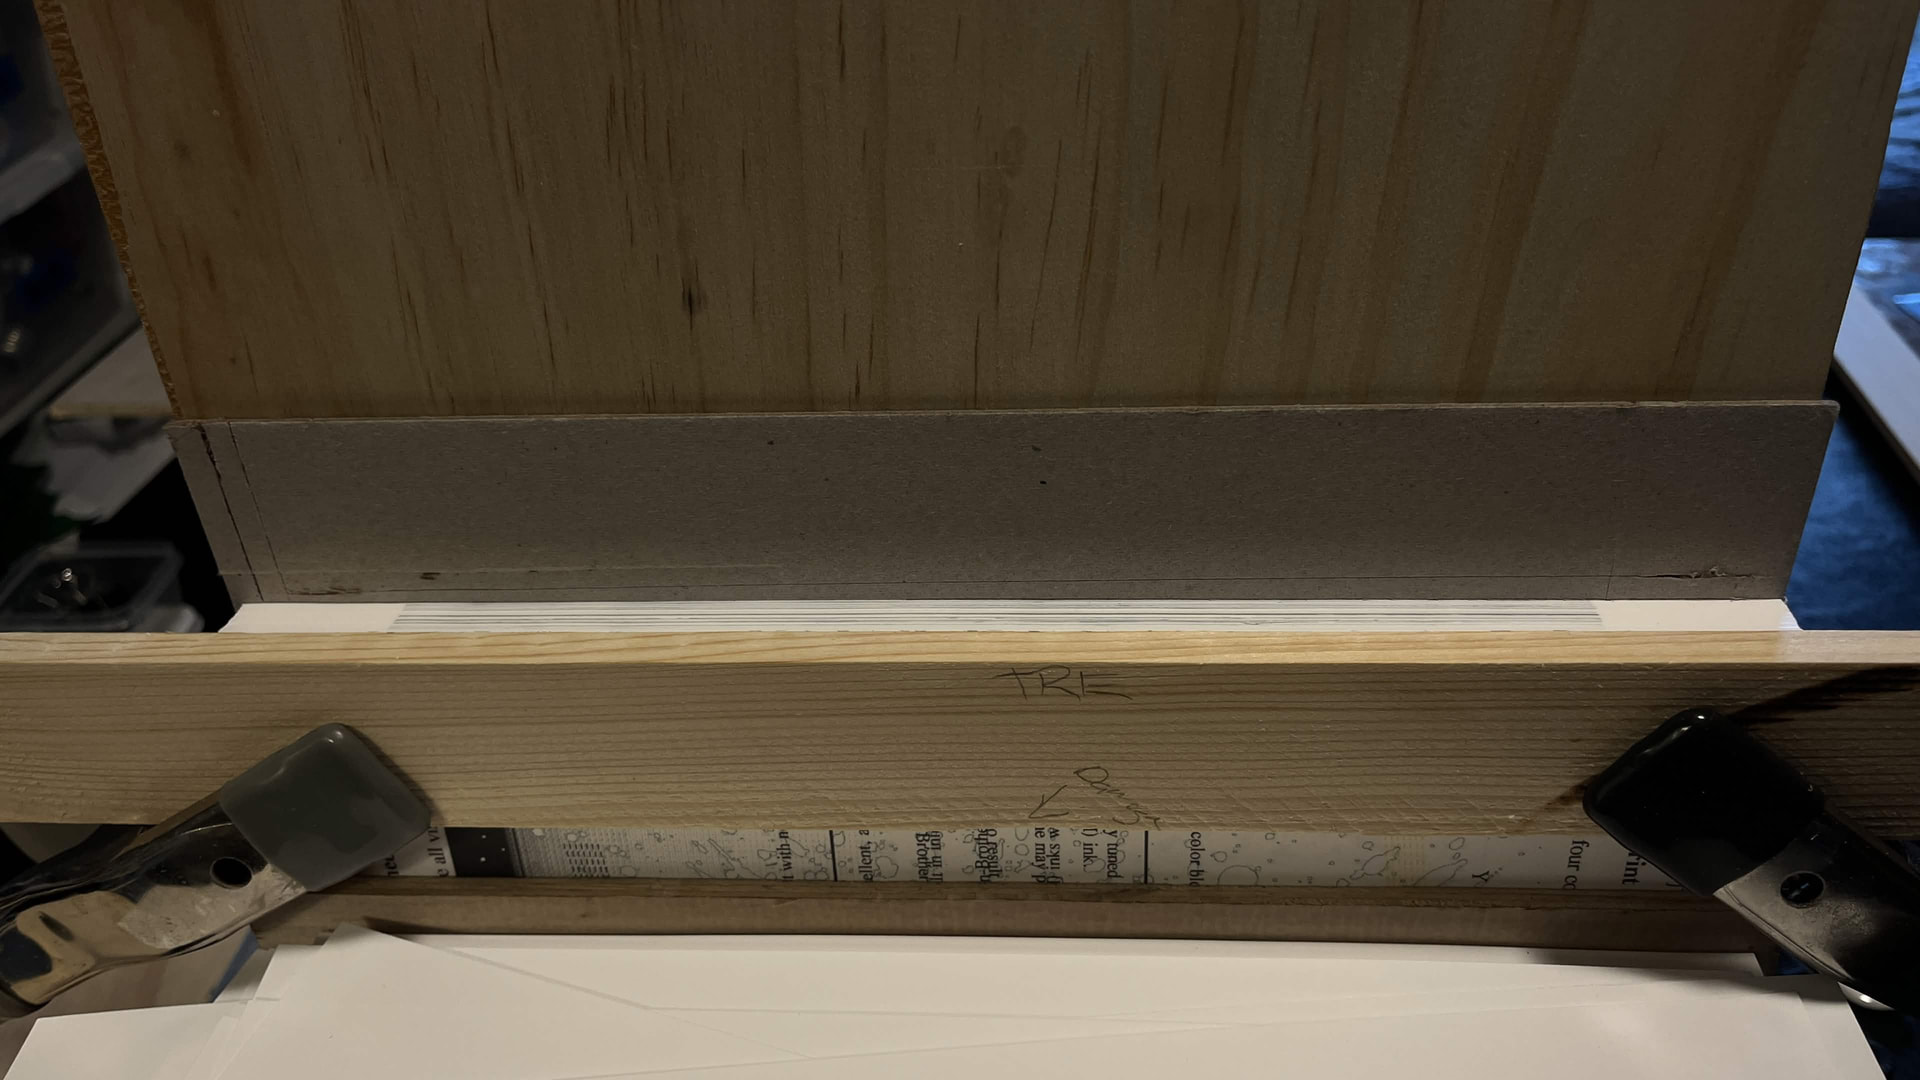
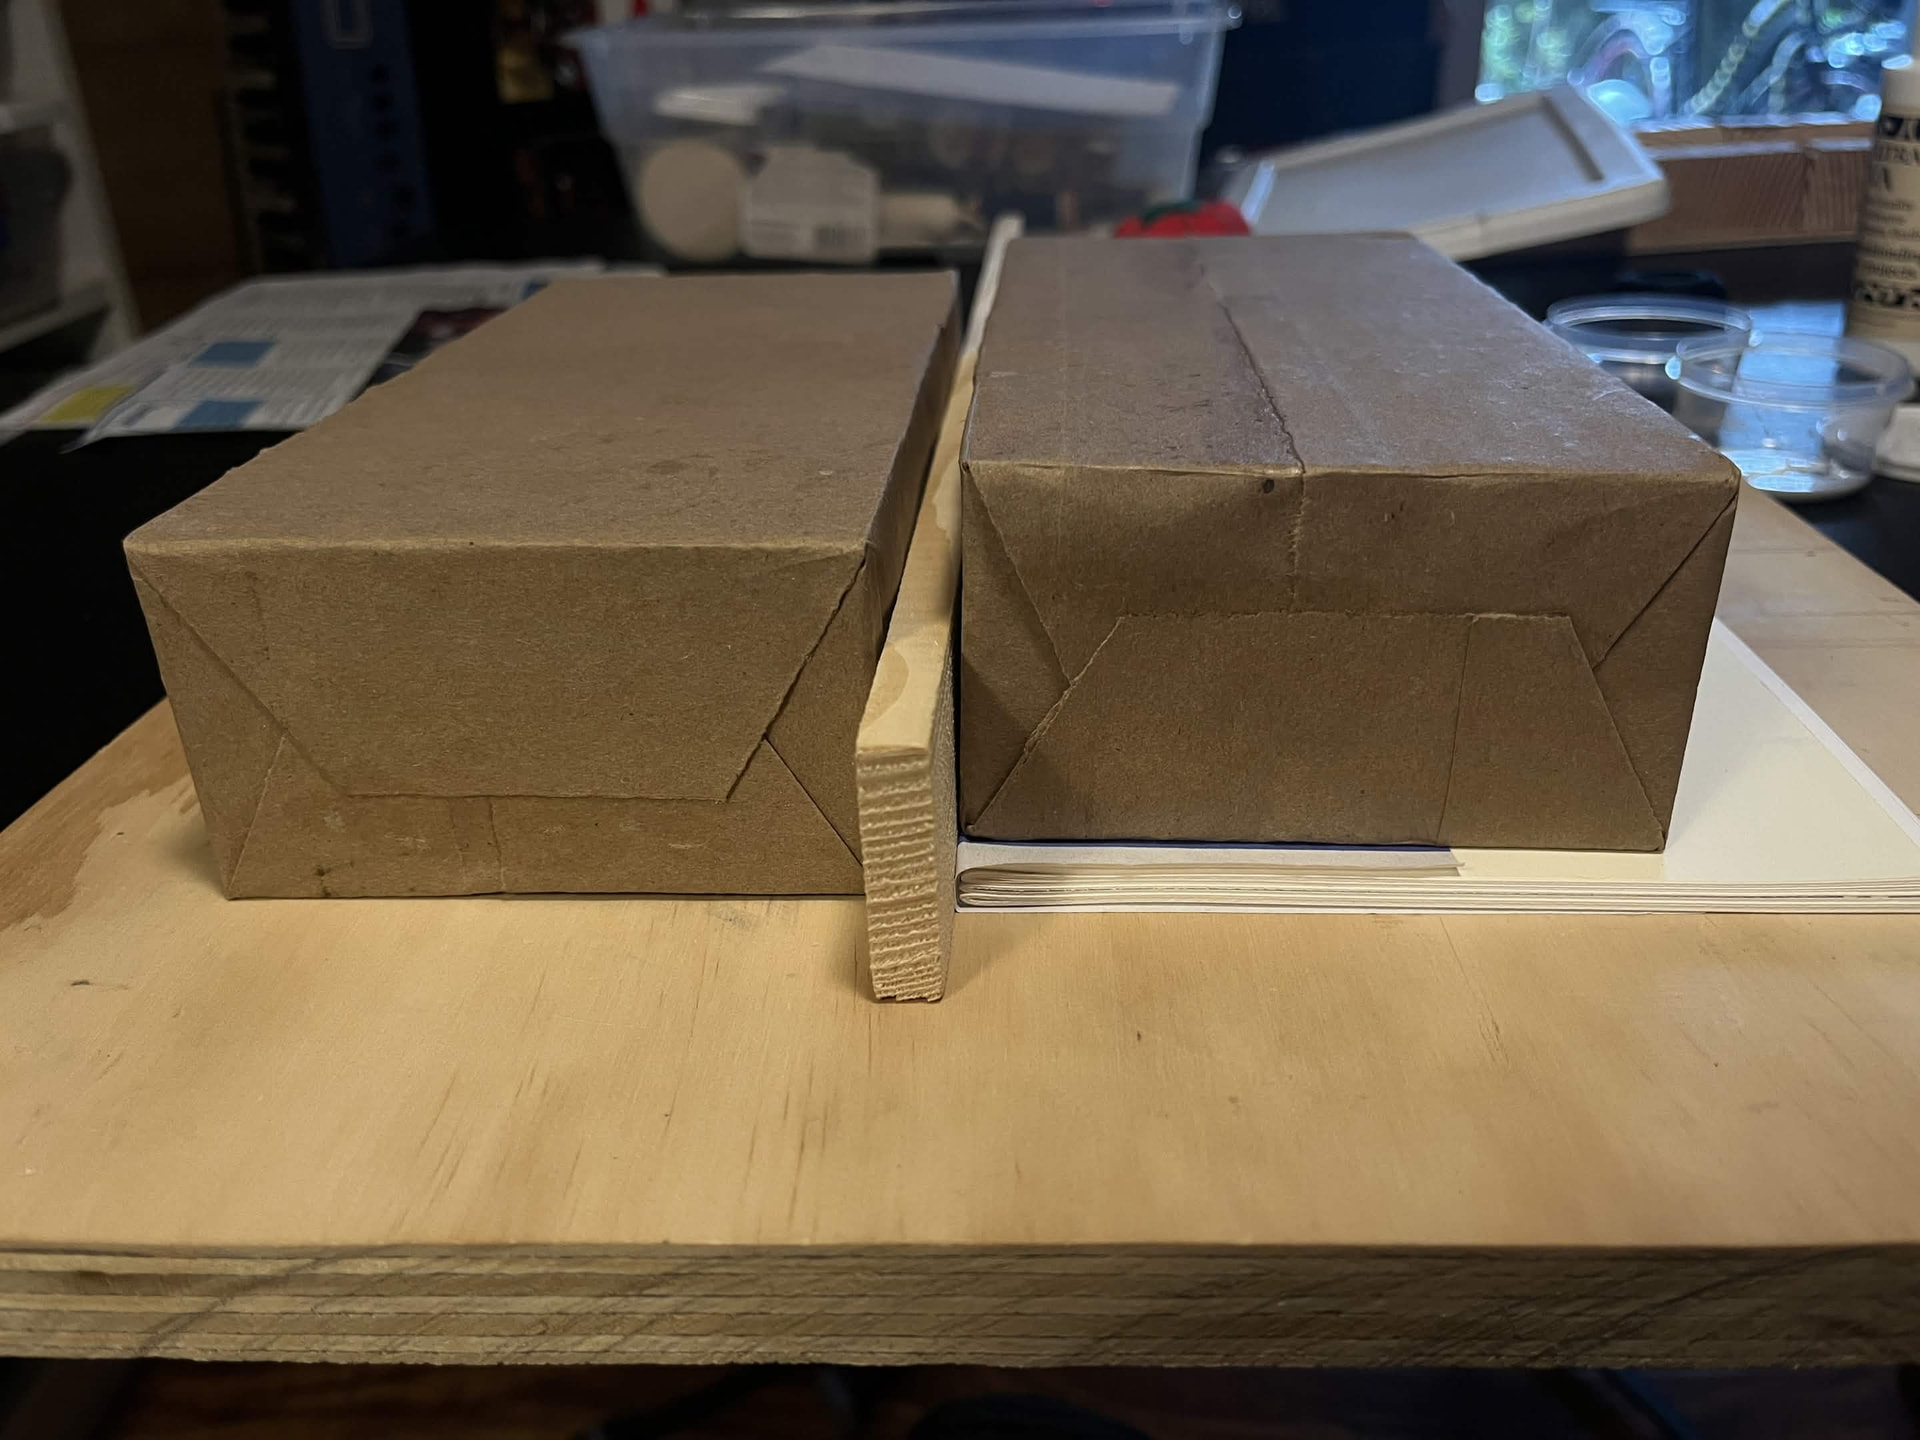
Here I am on a practice cut, at the head. It turned out crooked so I set it up like this in an attempt to plane the odd edge.

I experimented with a variety of techniques here for plaining. The end result was acceptable but had quite a bit of wobble in the surface, smooth but not flat.

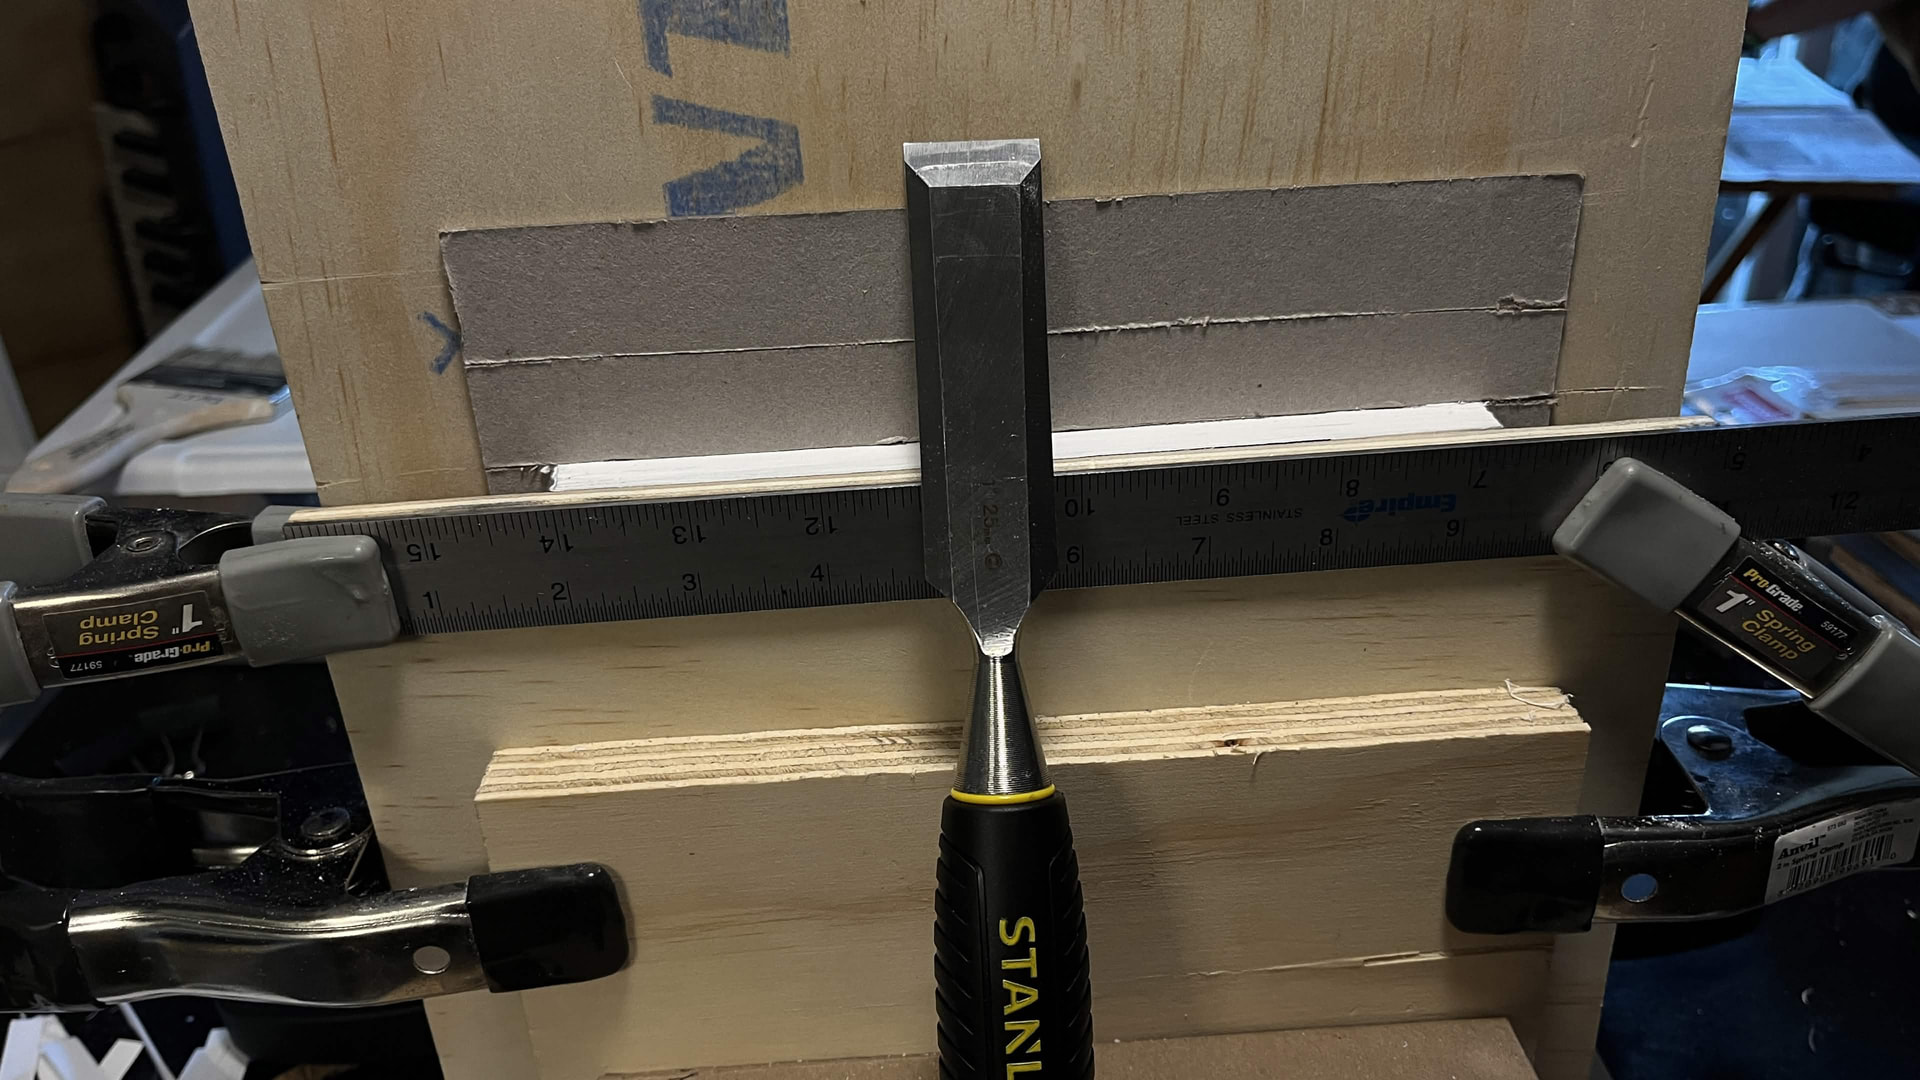
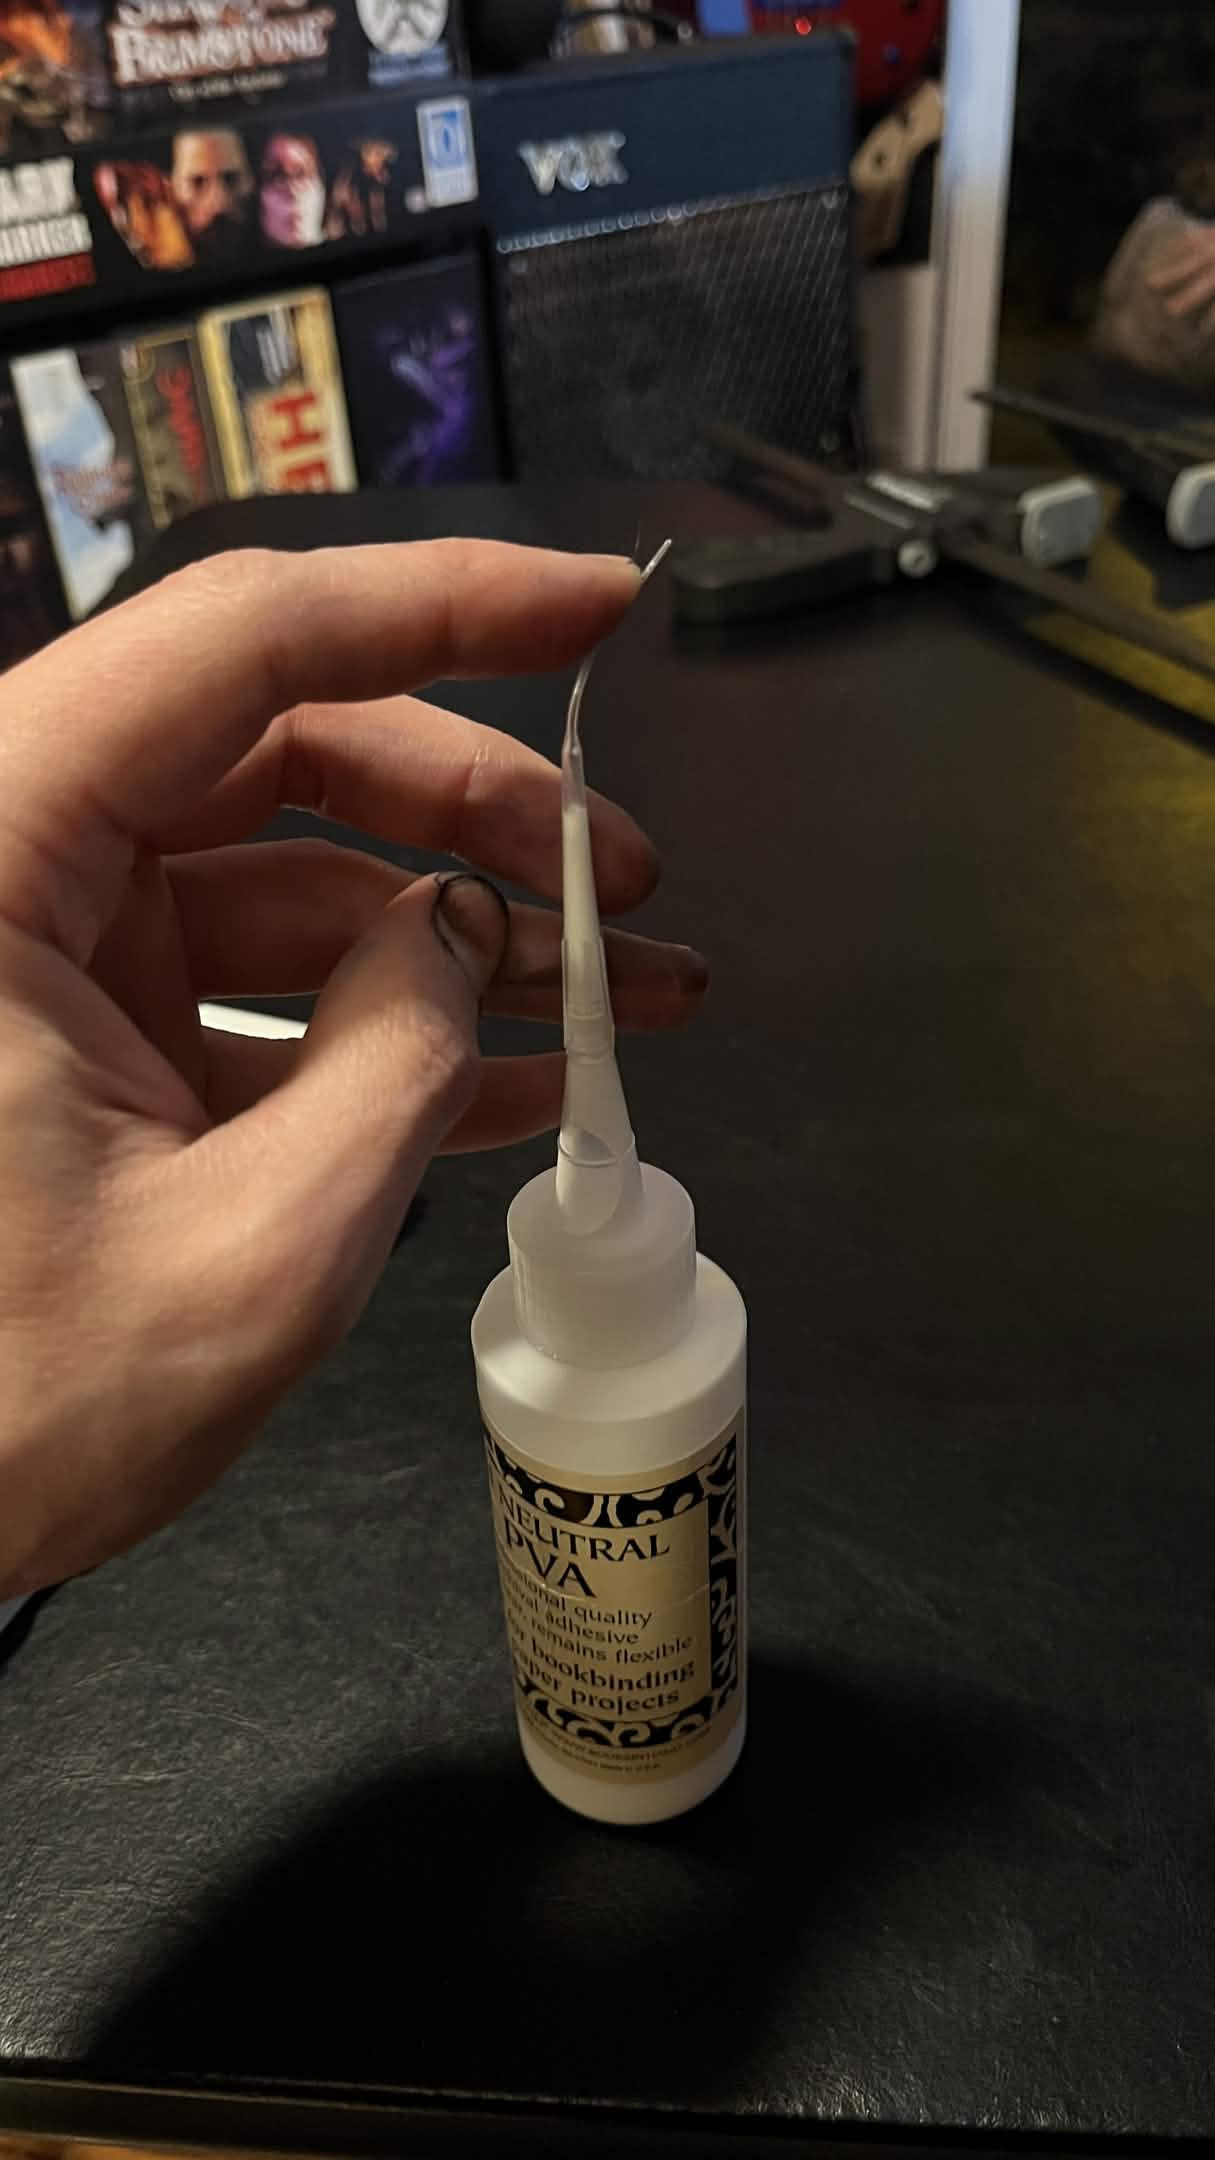
So I had realized that hobby knives have a fairly large chisel blade, #18. However, after searching for an hour I found my options for obtaining this blade at a reasonable price and same day was impossible. I broke down and purchased a set of medium grade chisels, something that I felt was long overdue anyway. At least they would come pre sharpened and should at least get me through the tail end of this project before I’d be force to DIVE into blade sharpening at home.

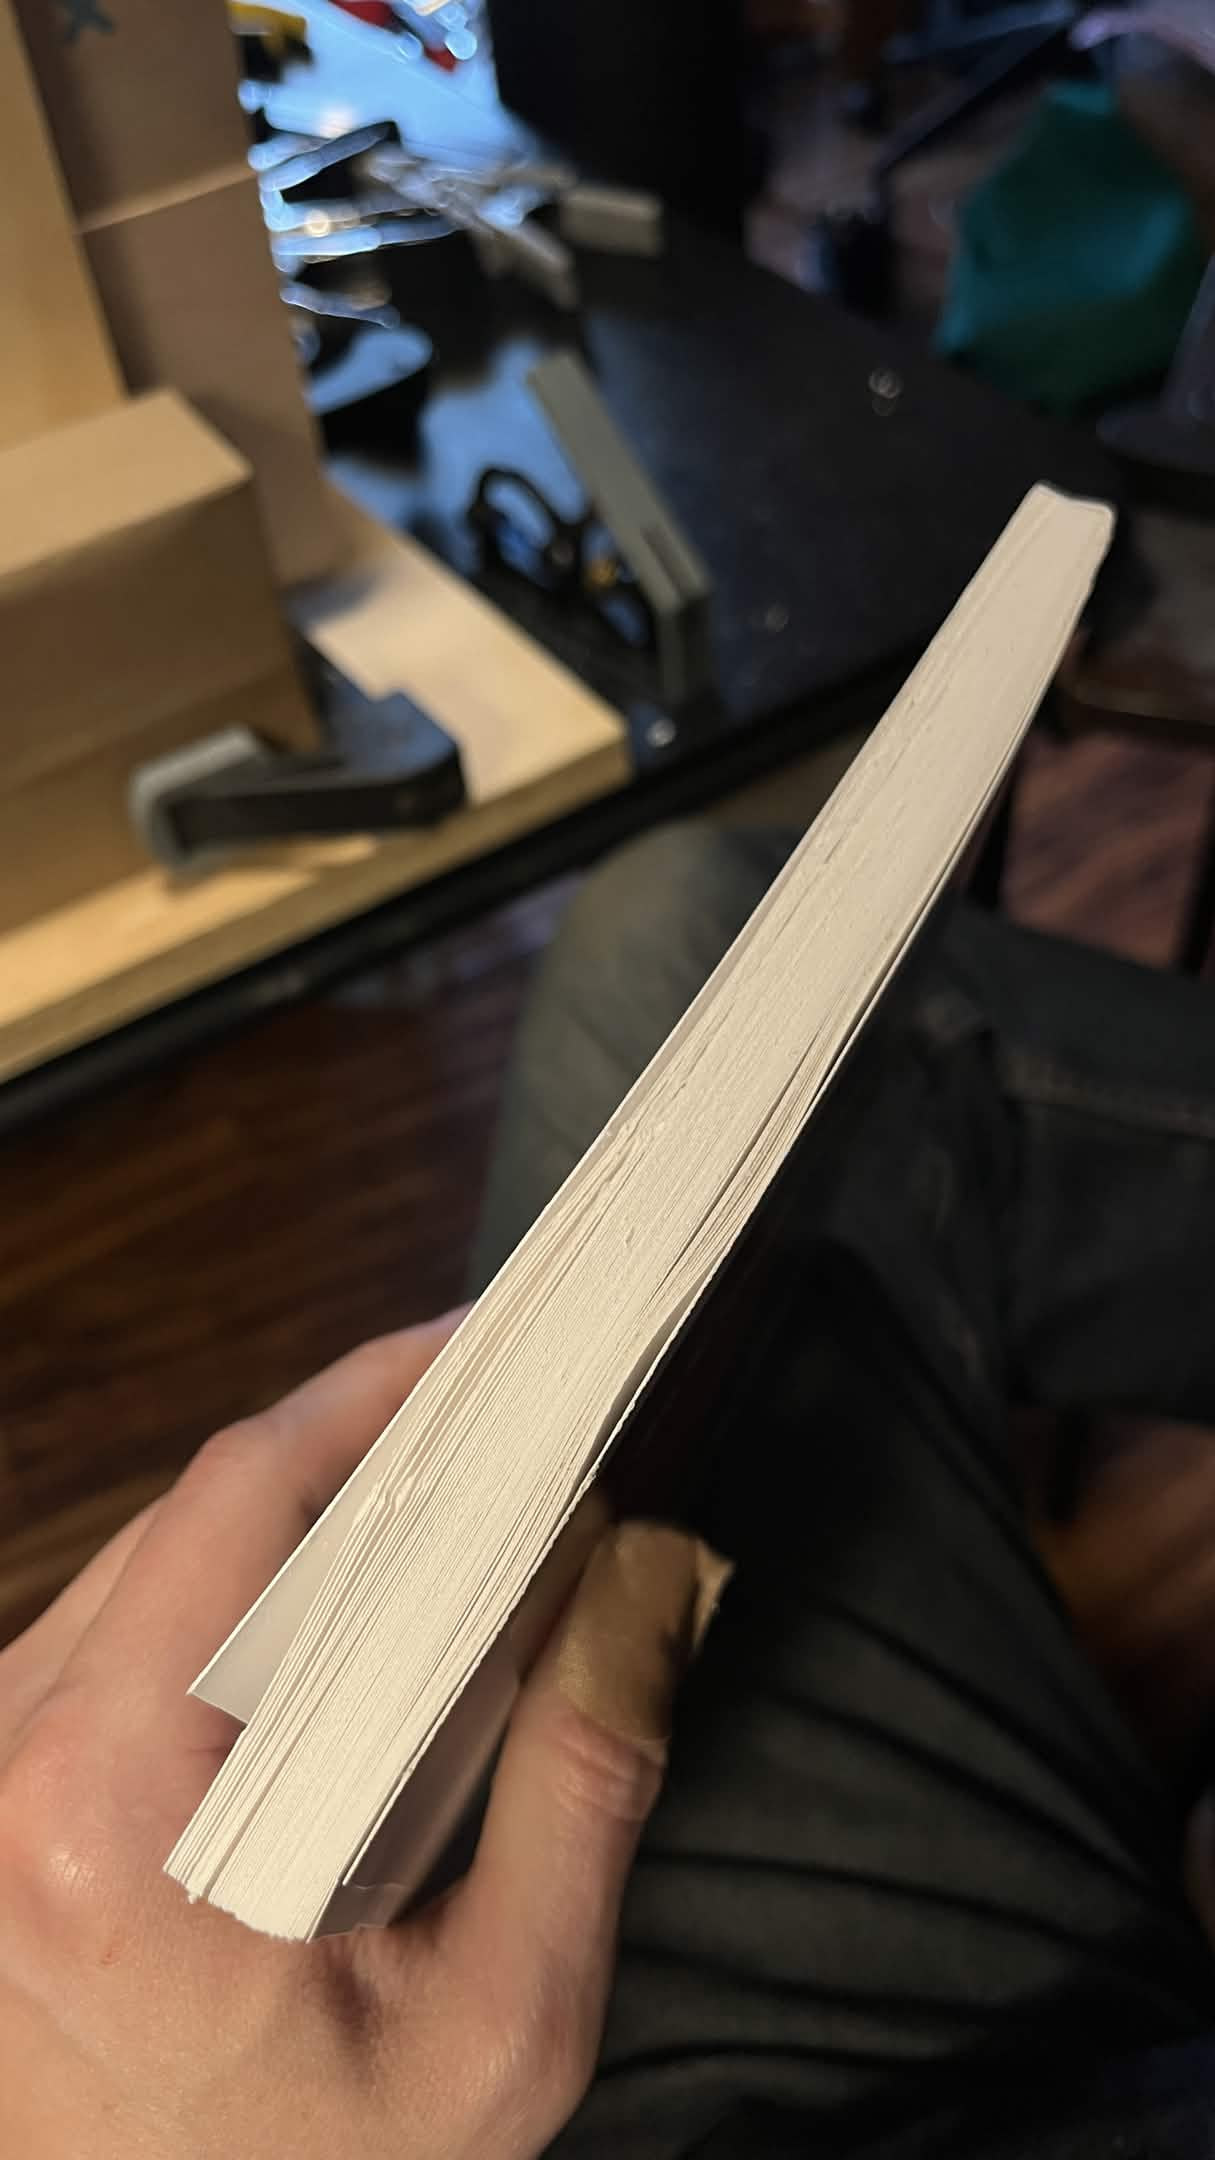
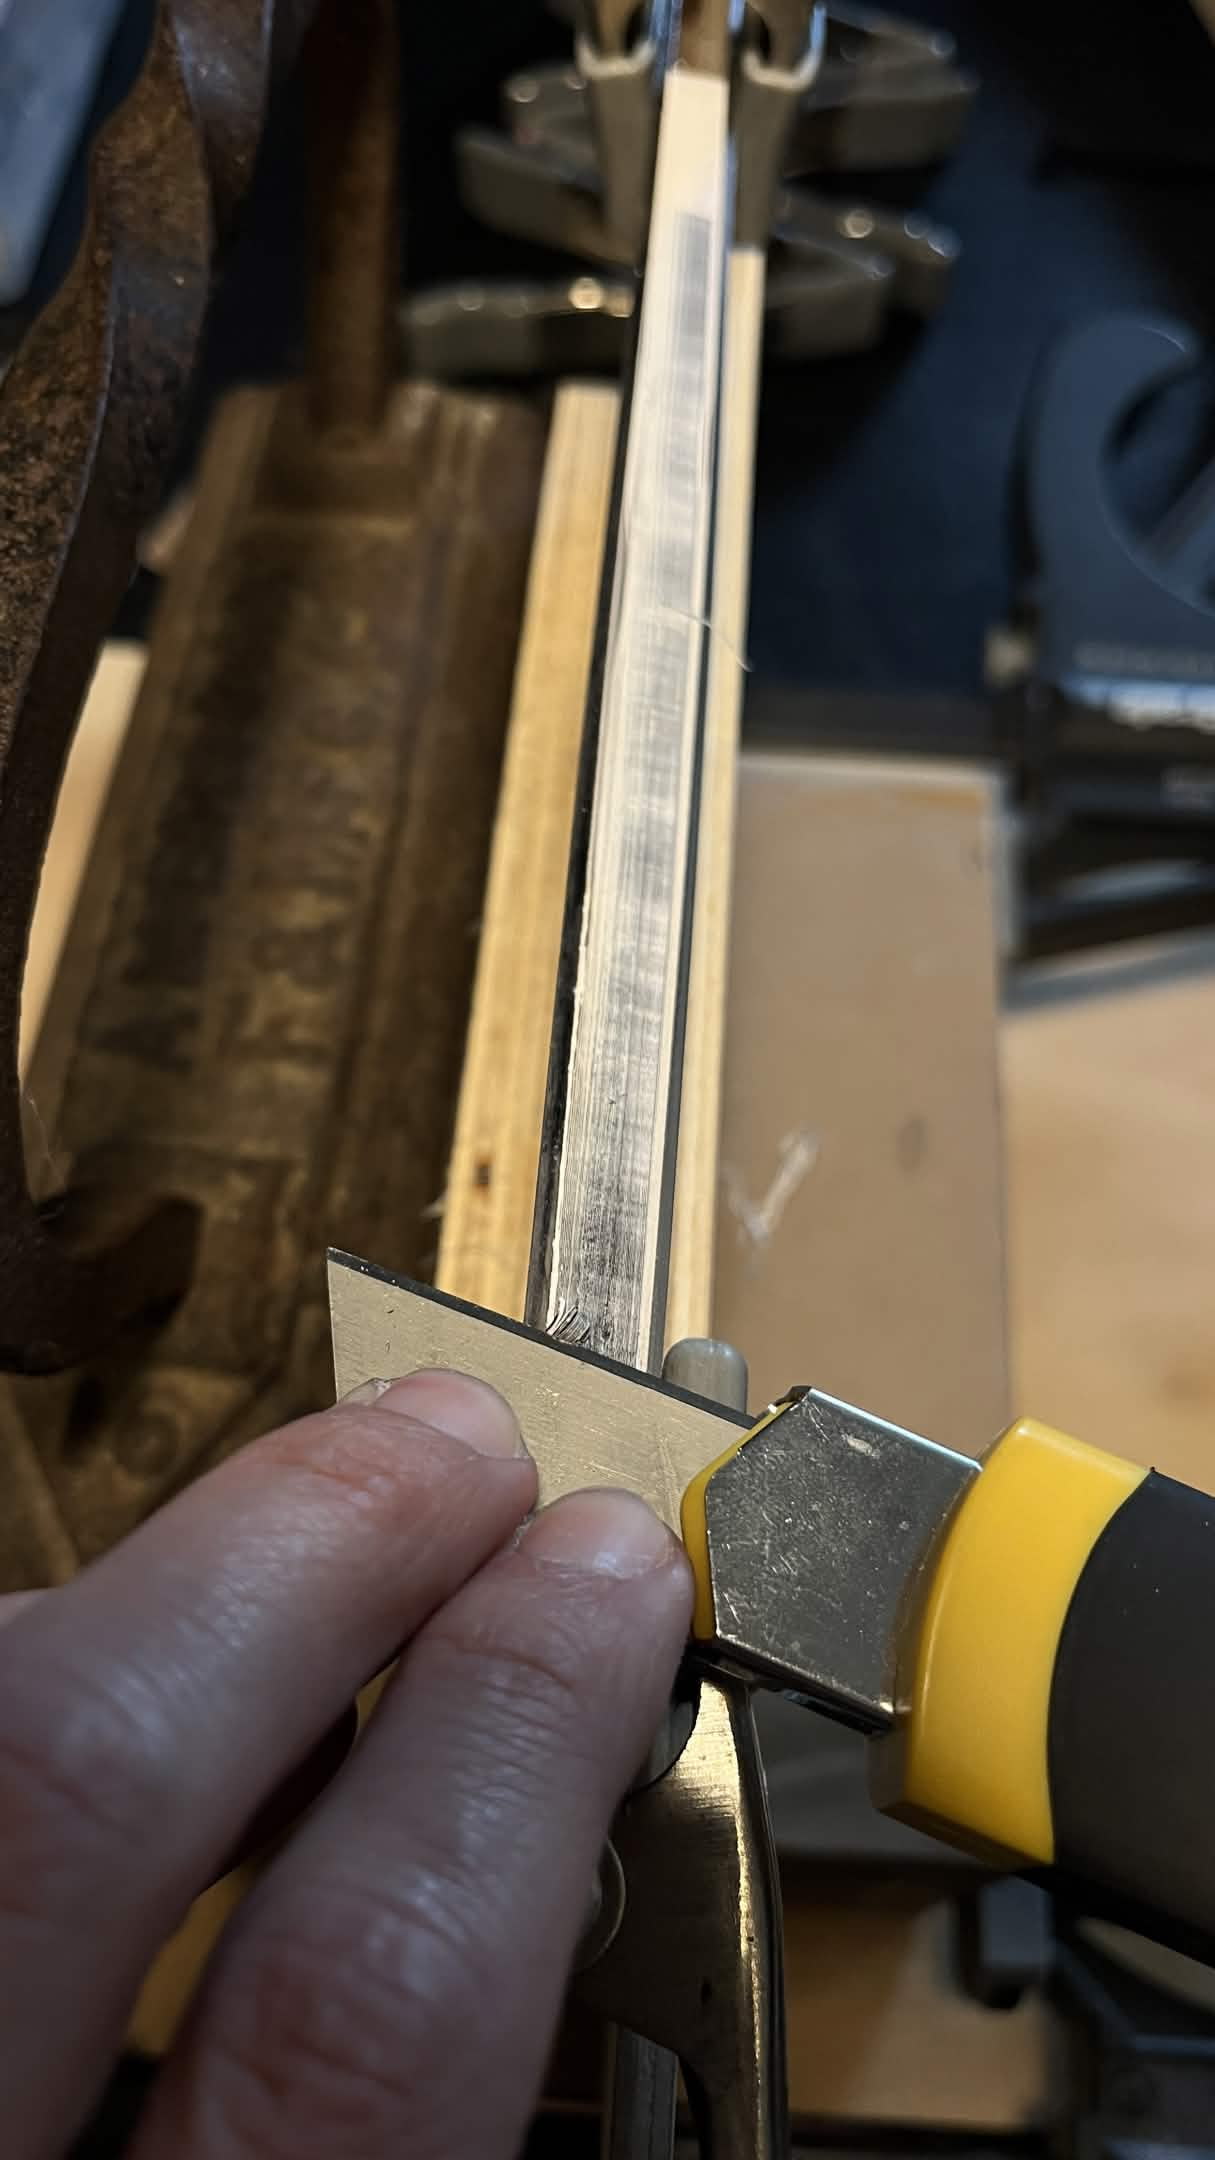
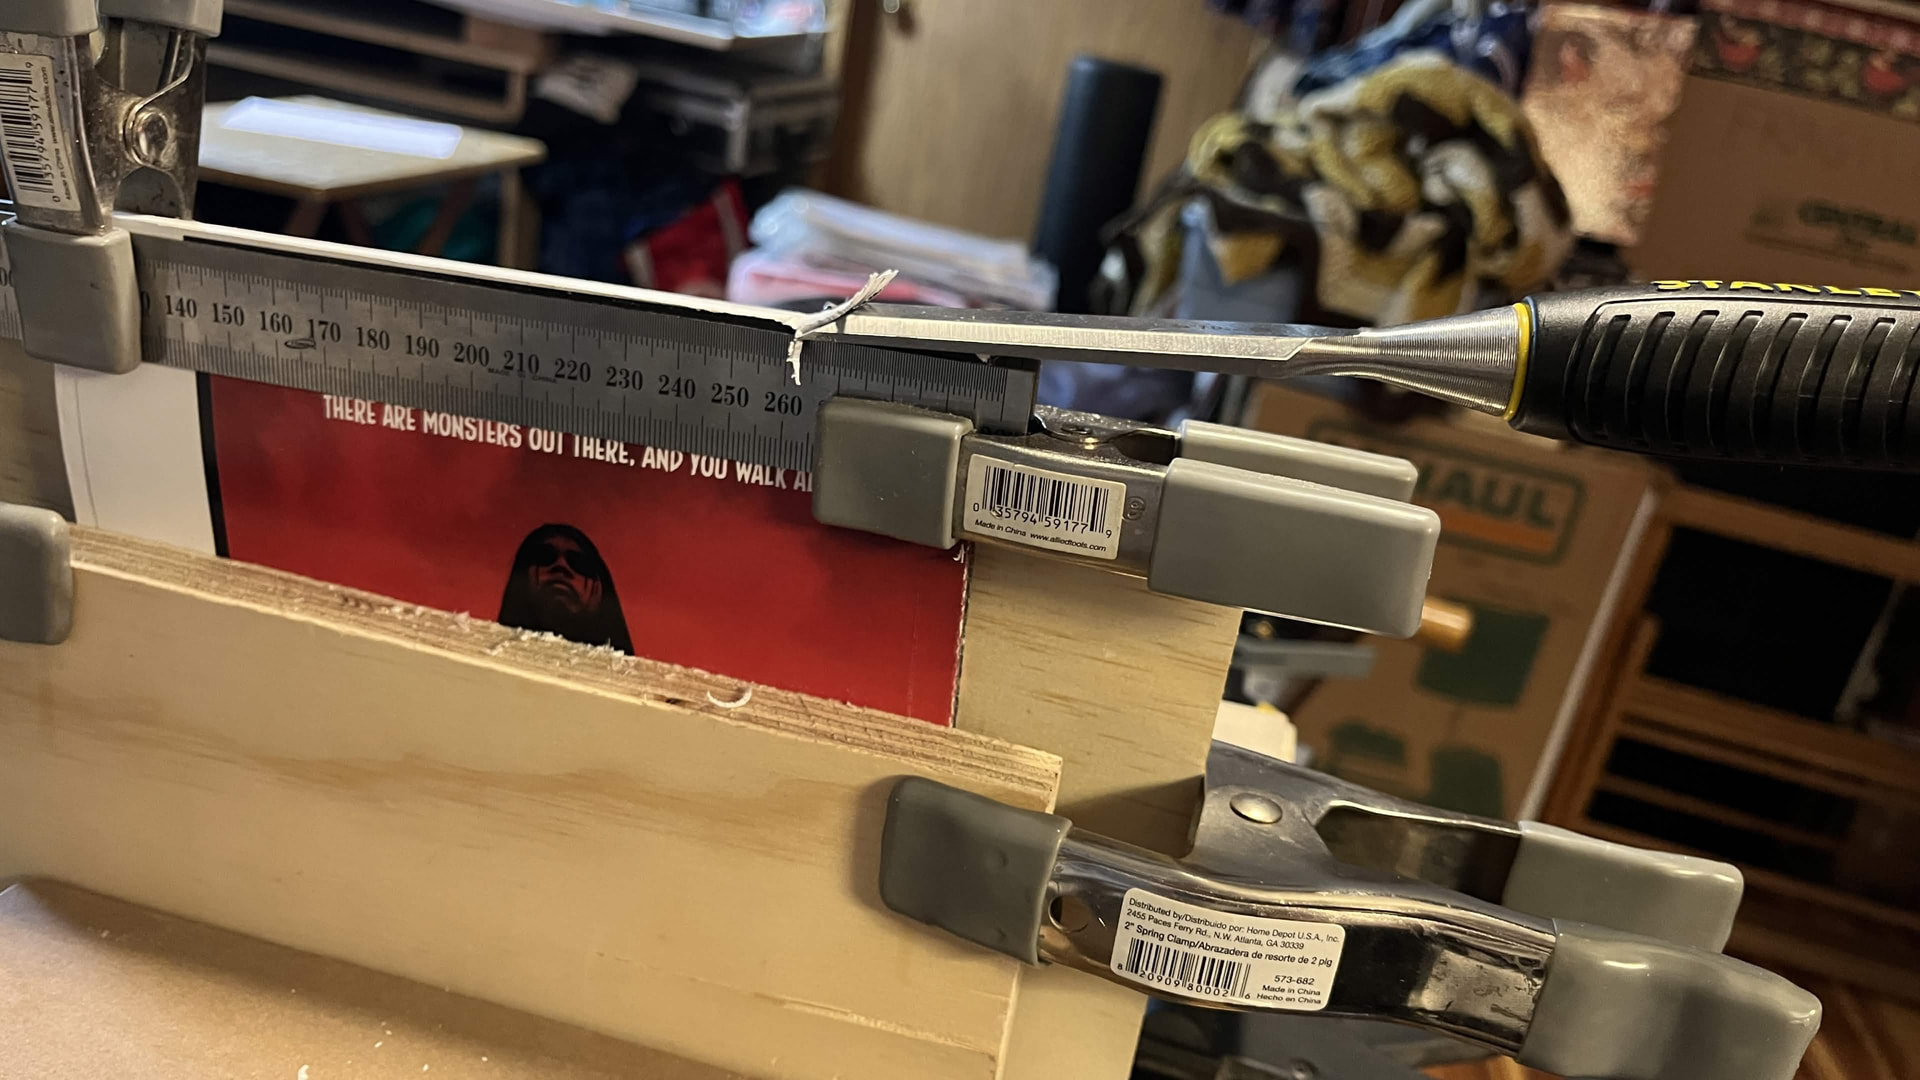
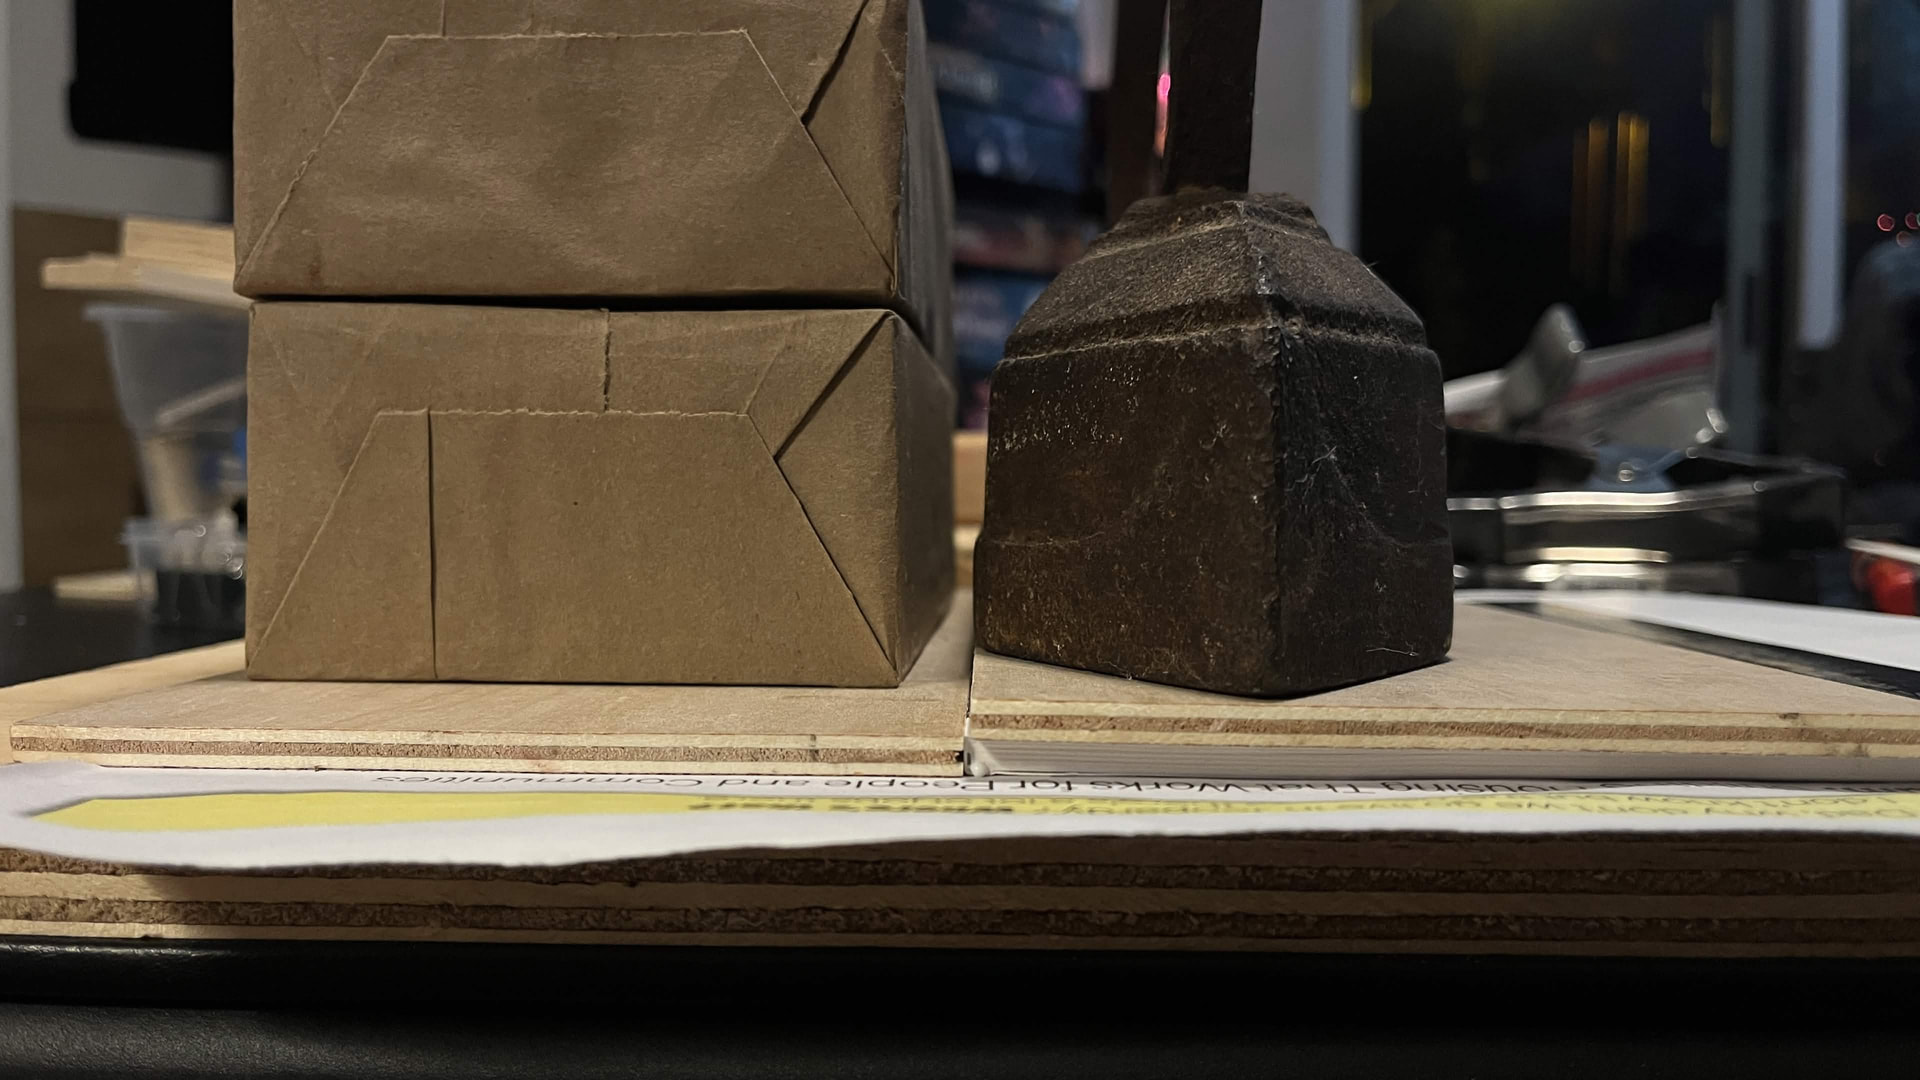
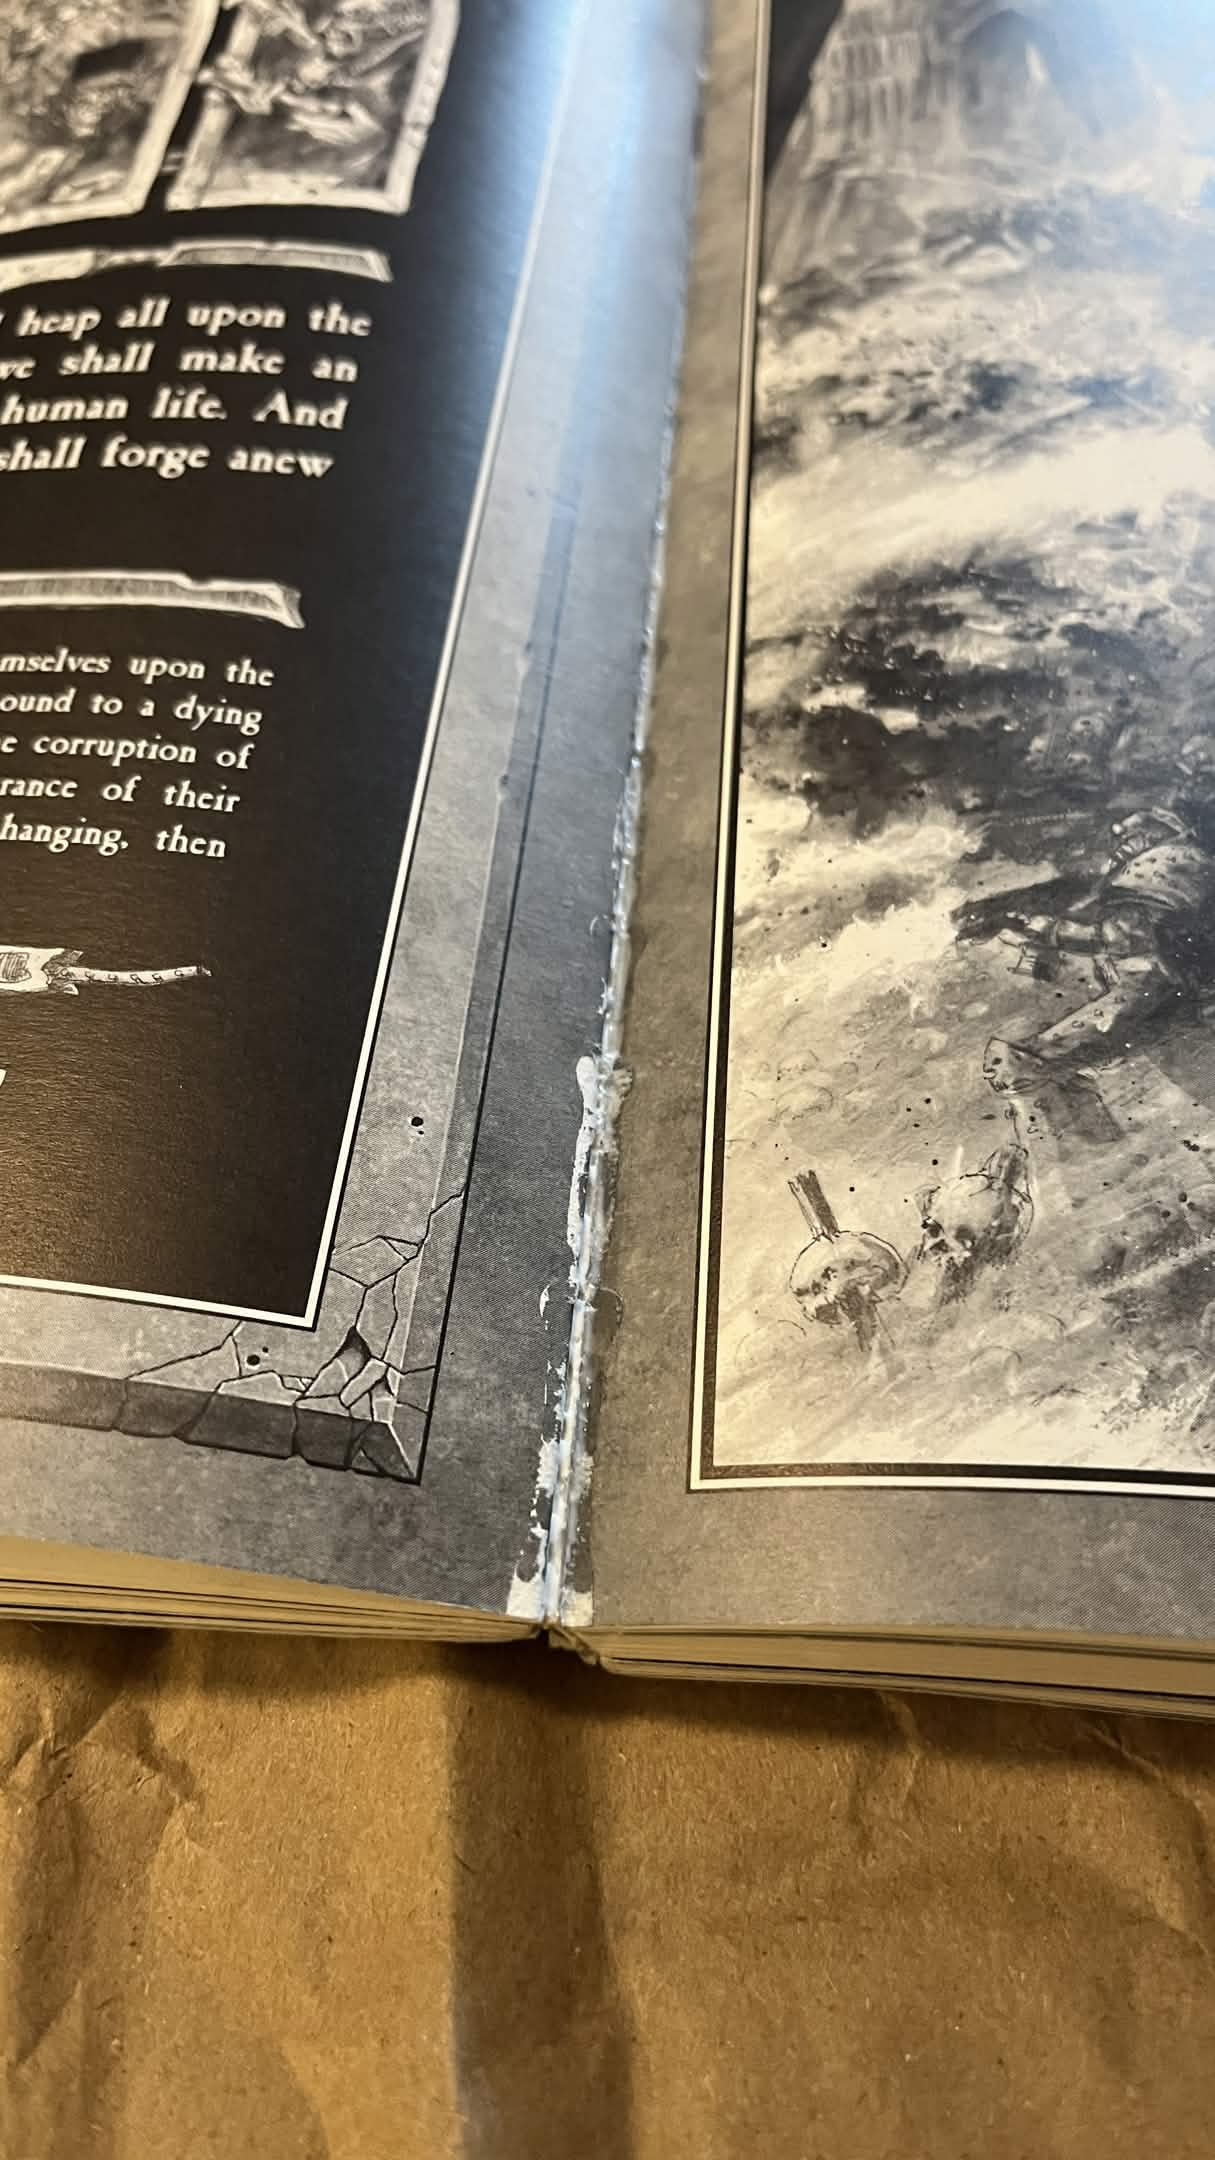
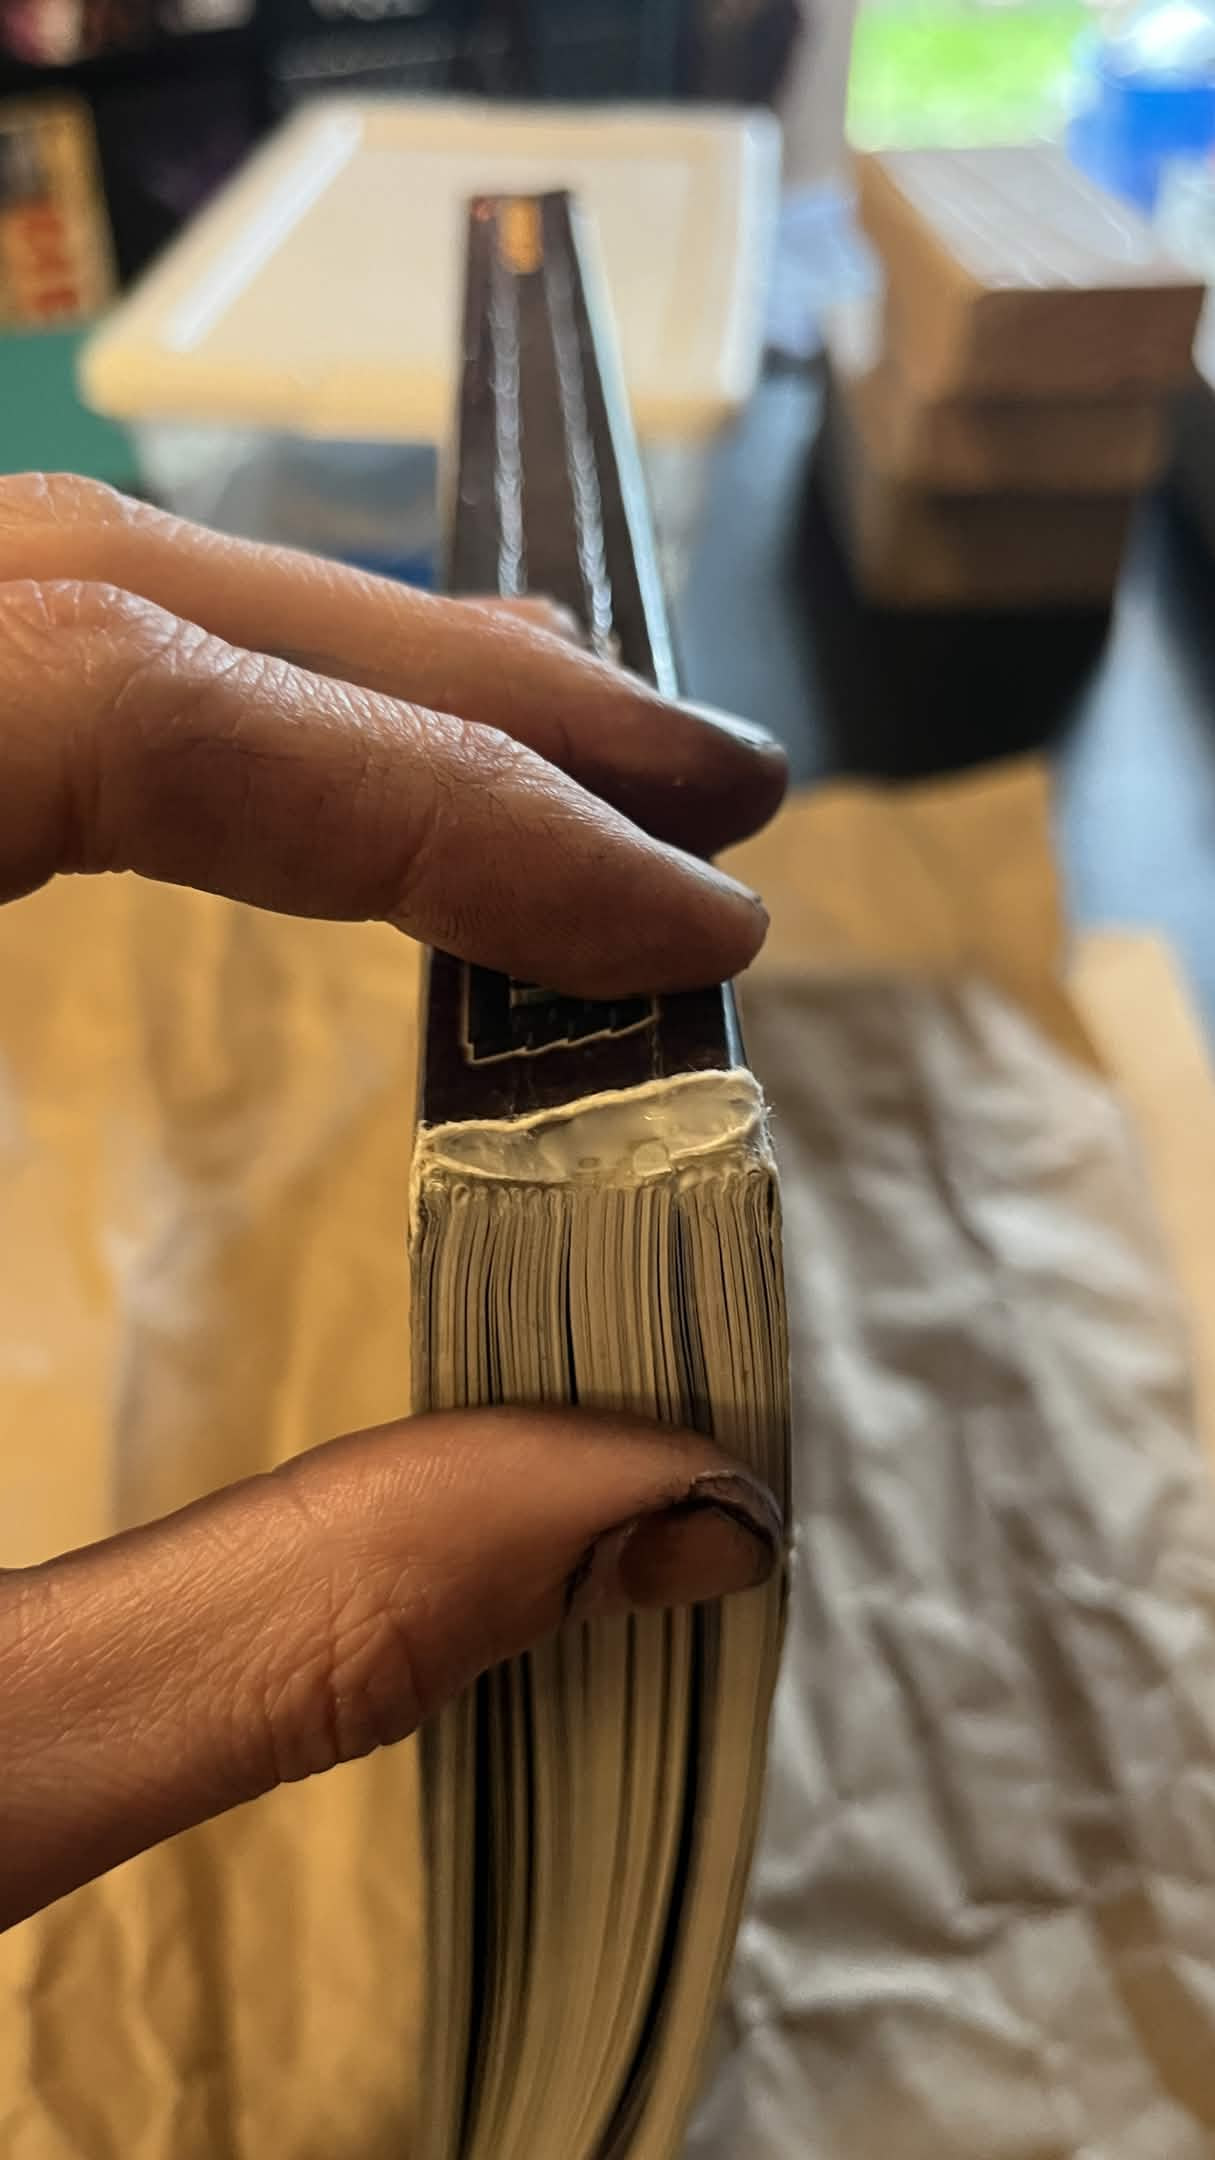
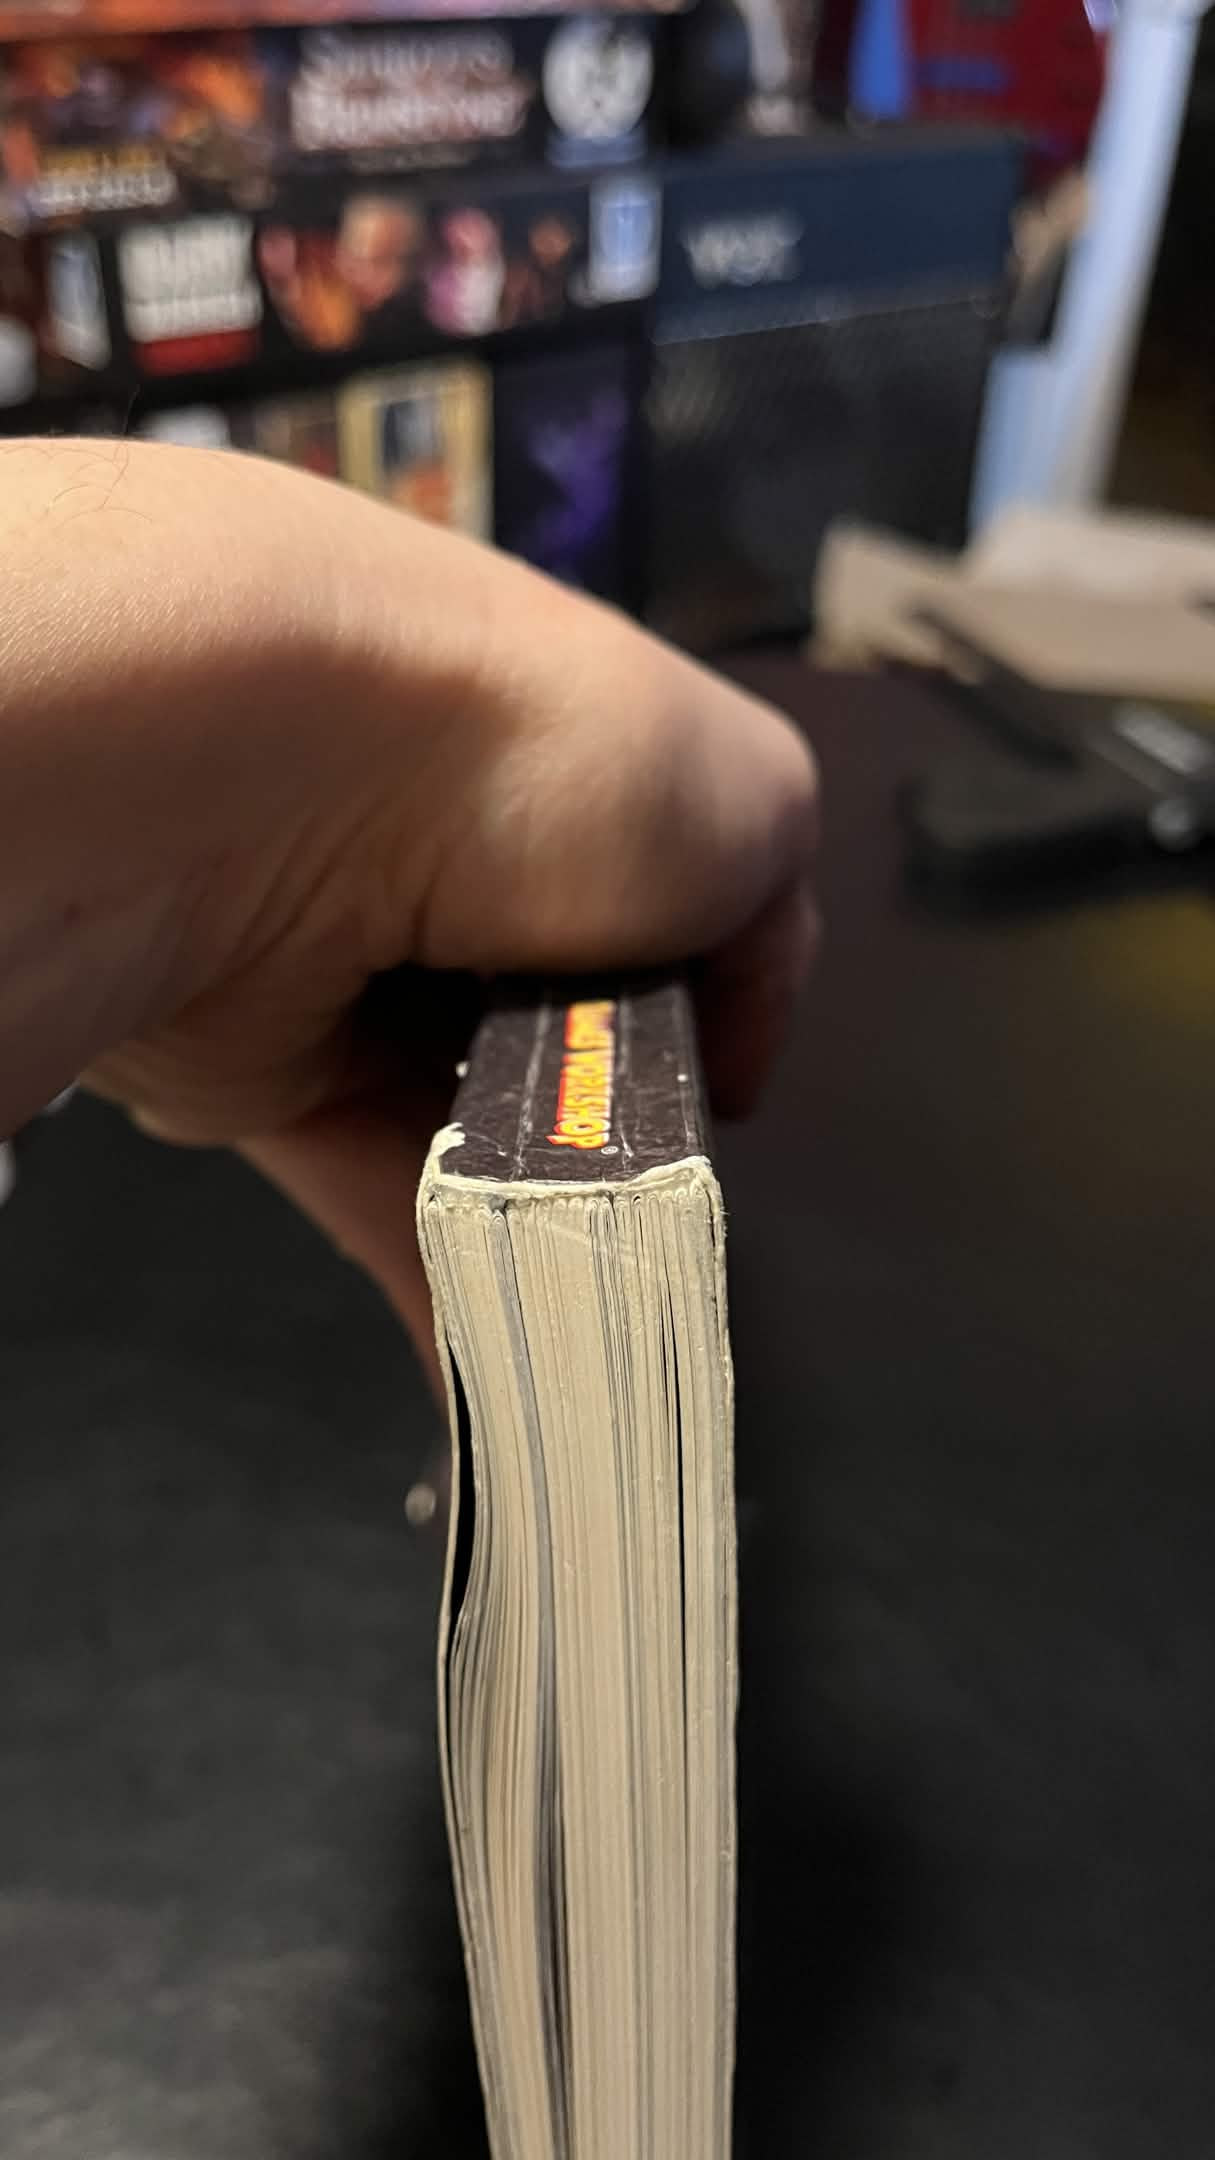
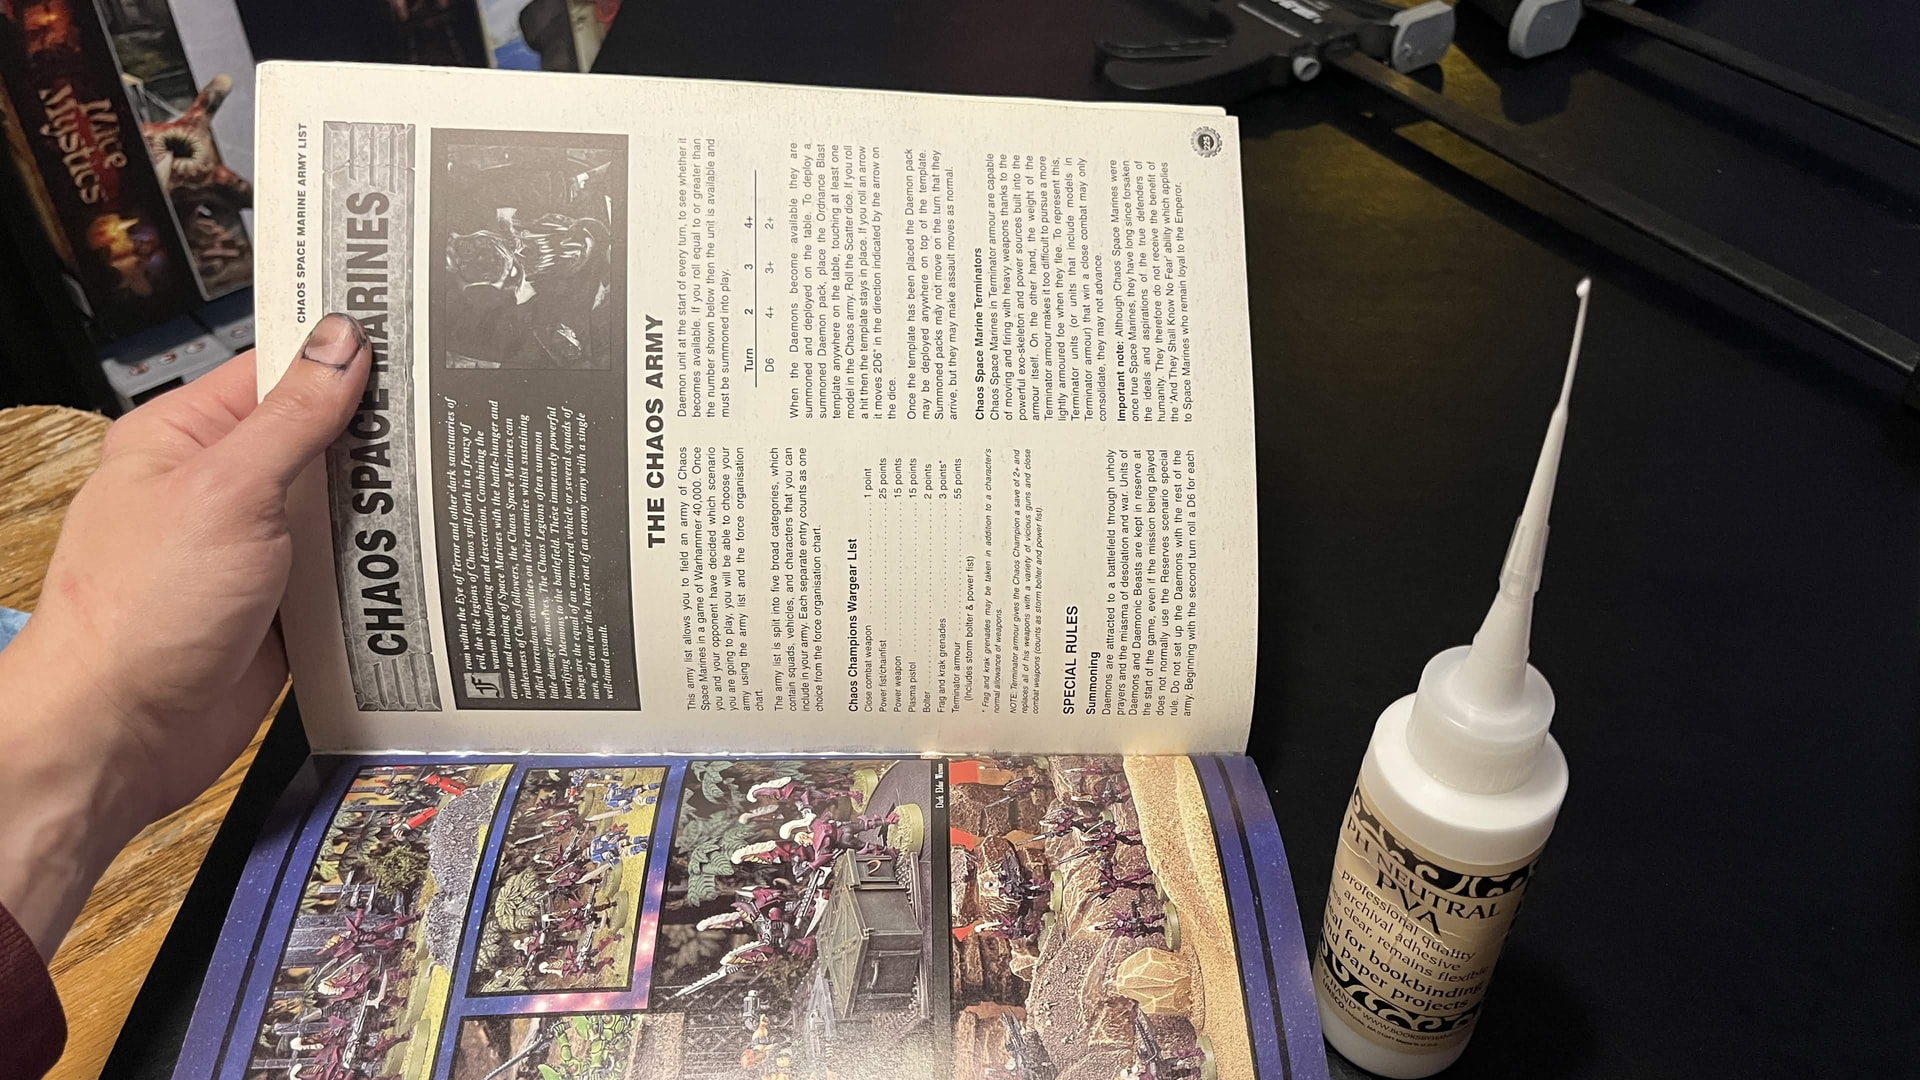
I was getting very tired and my hands were starting to fatigue at this point. Four straight days now of cutting by hand. I decided to go straight into the second final cut of the book, at the head. The chisel worked very well and it was actually a really fun technique to do, very satisfying, for about 5 minutes… The blades dulled before I even finished the cut. I finished the cut and it too turned out slanted. (image above)
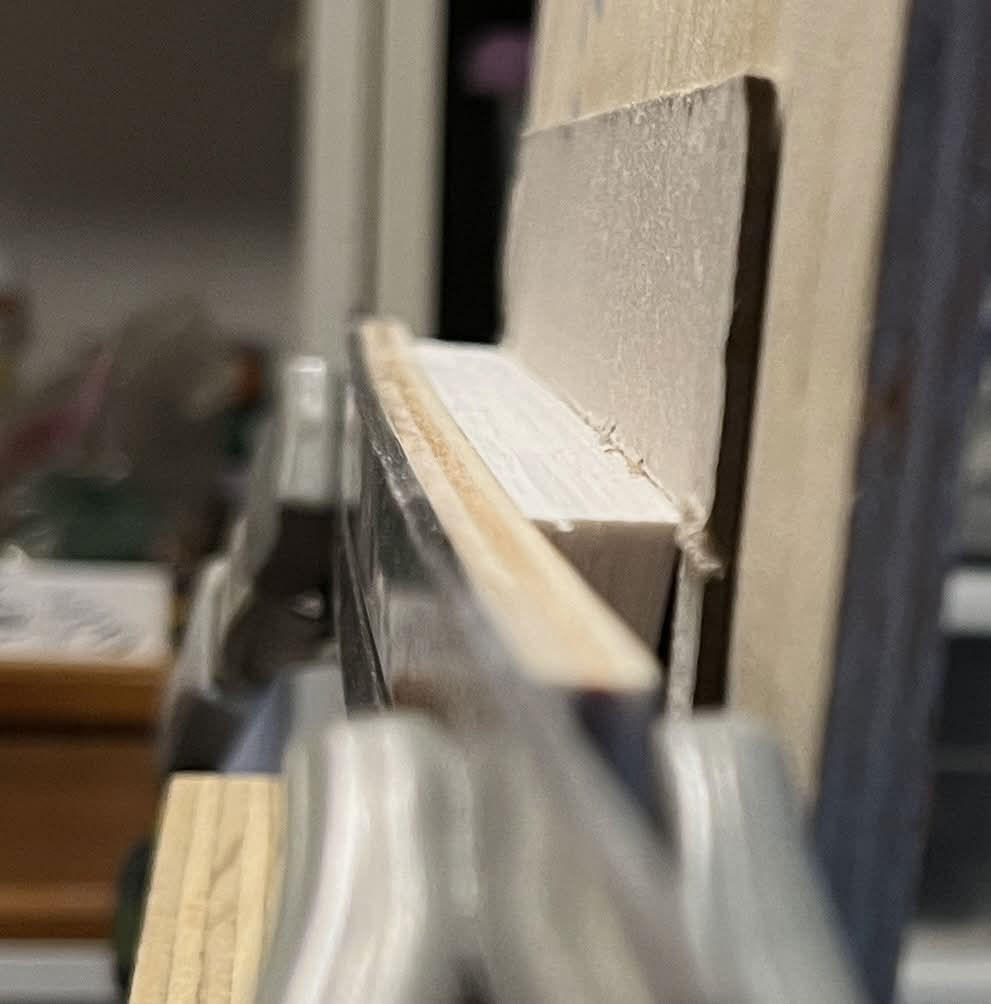
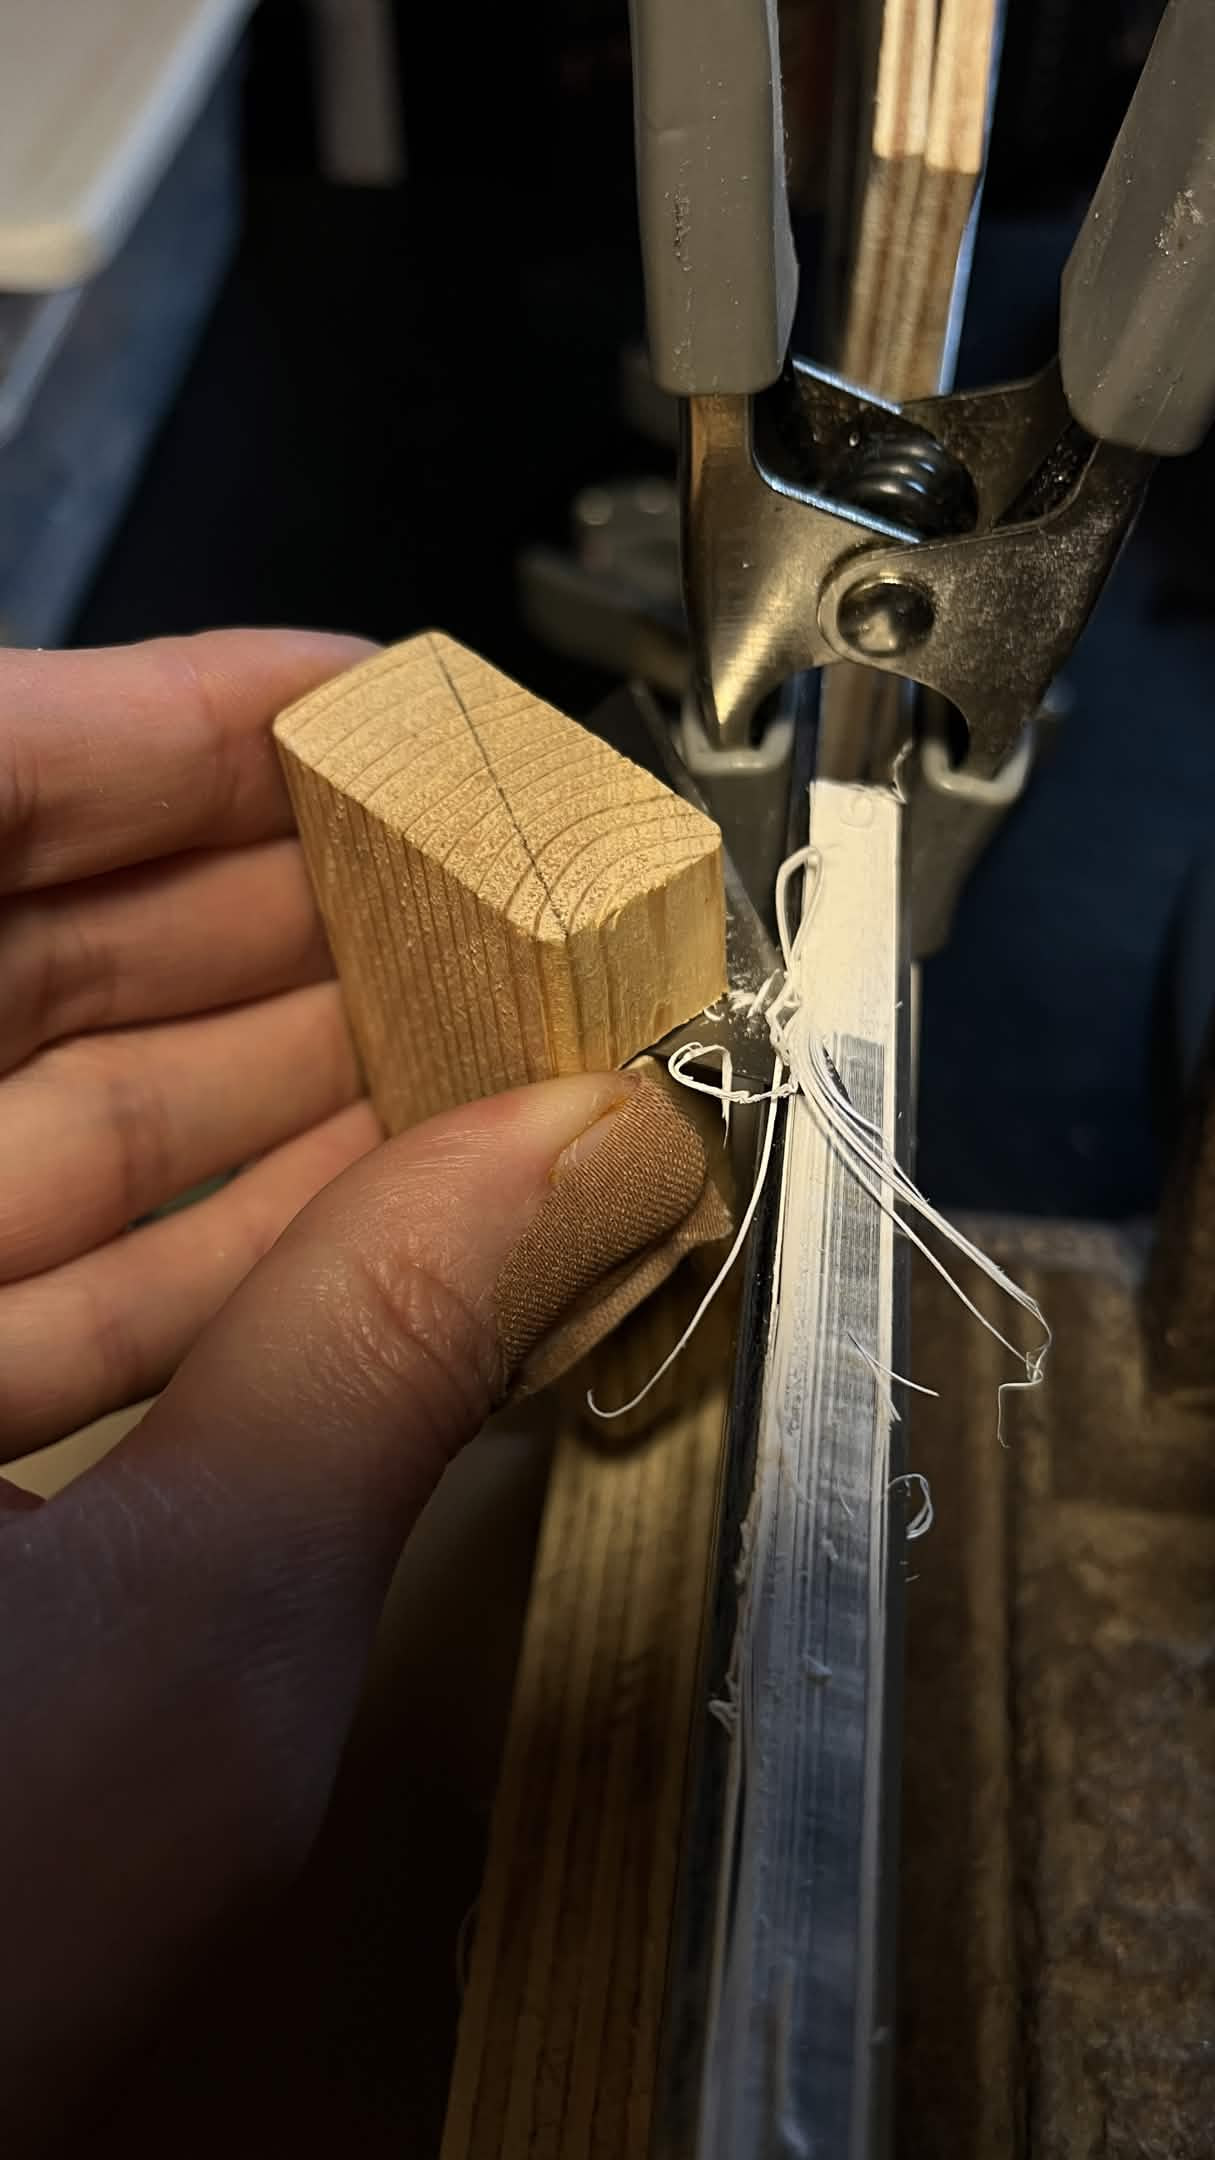
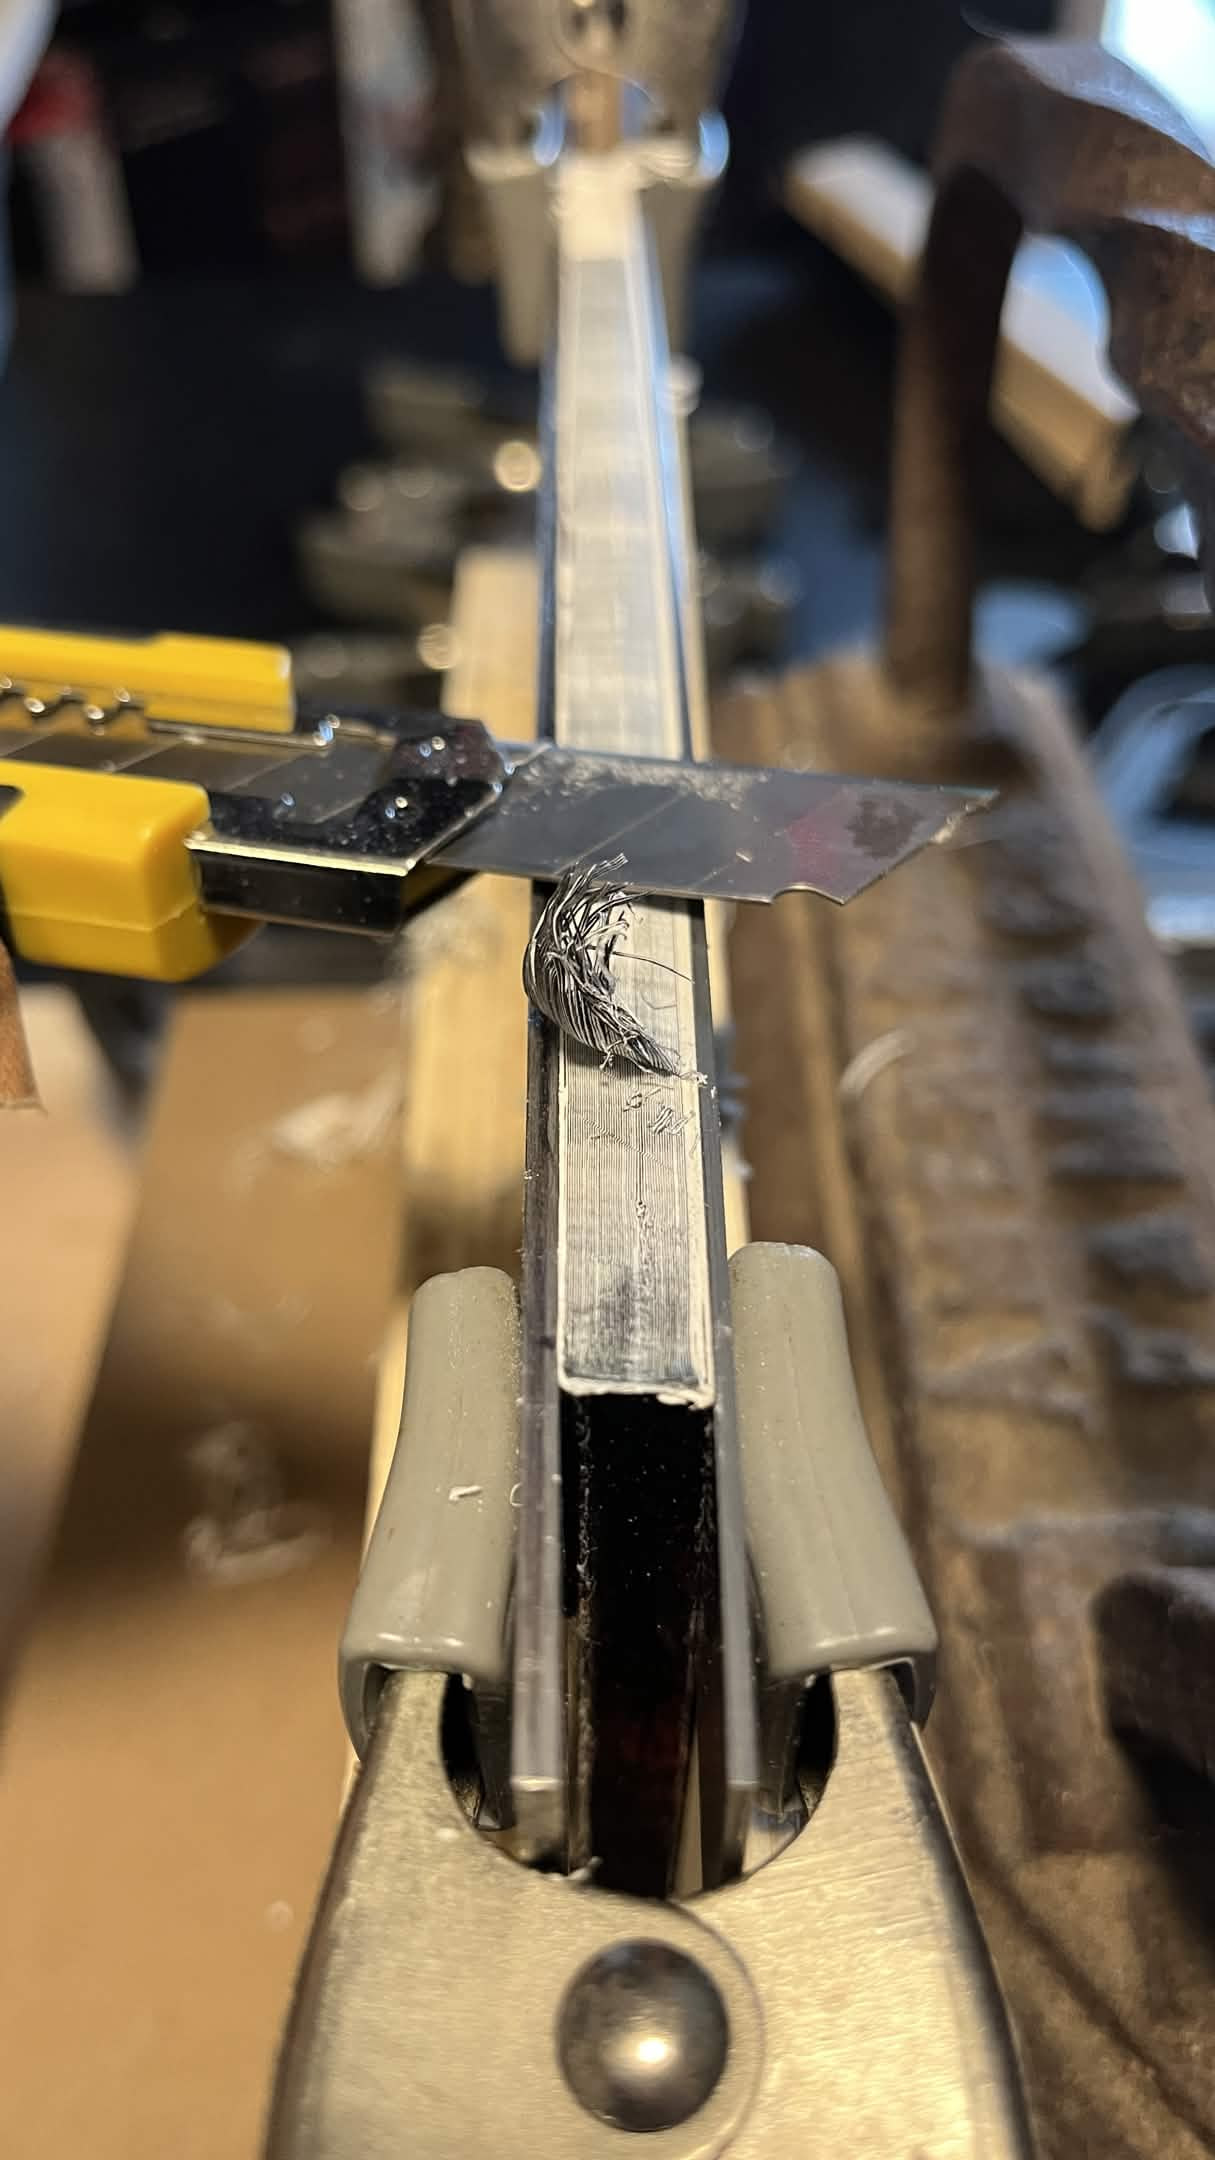
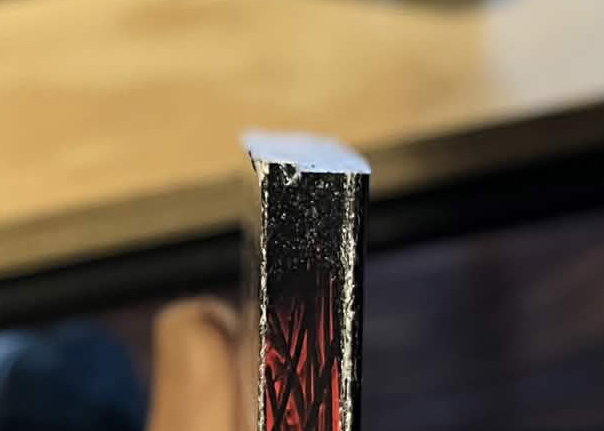
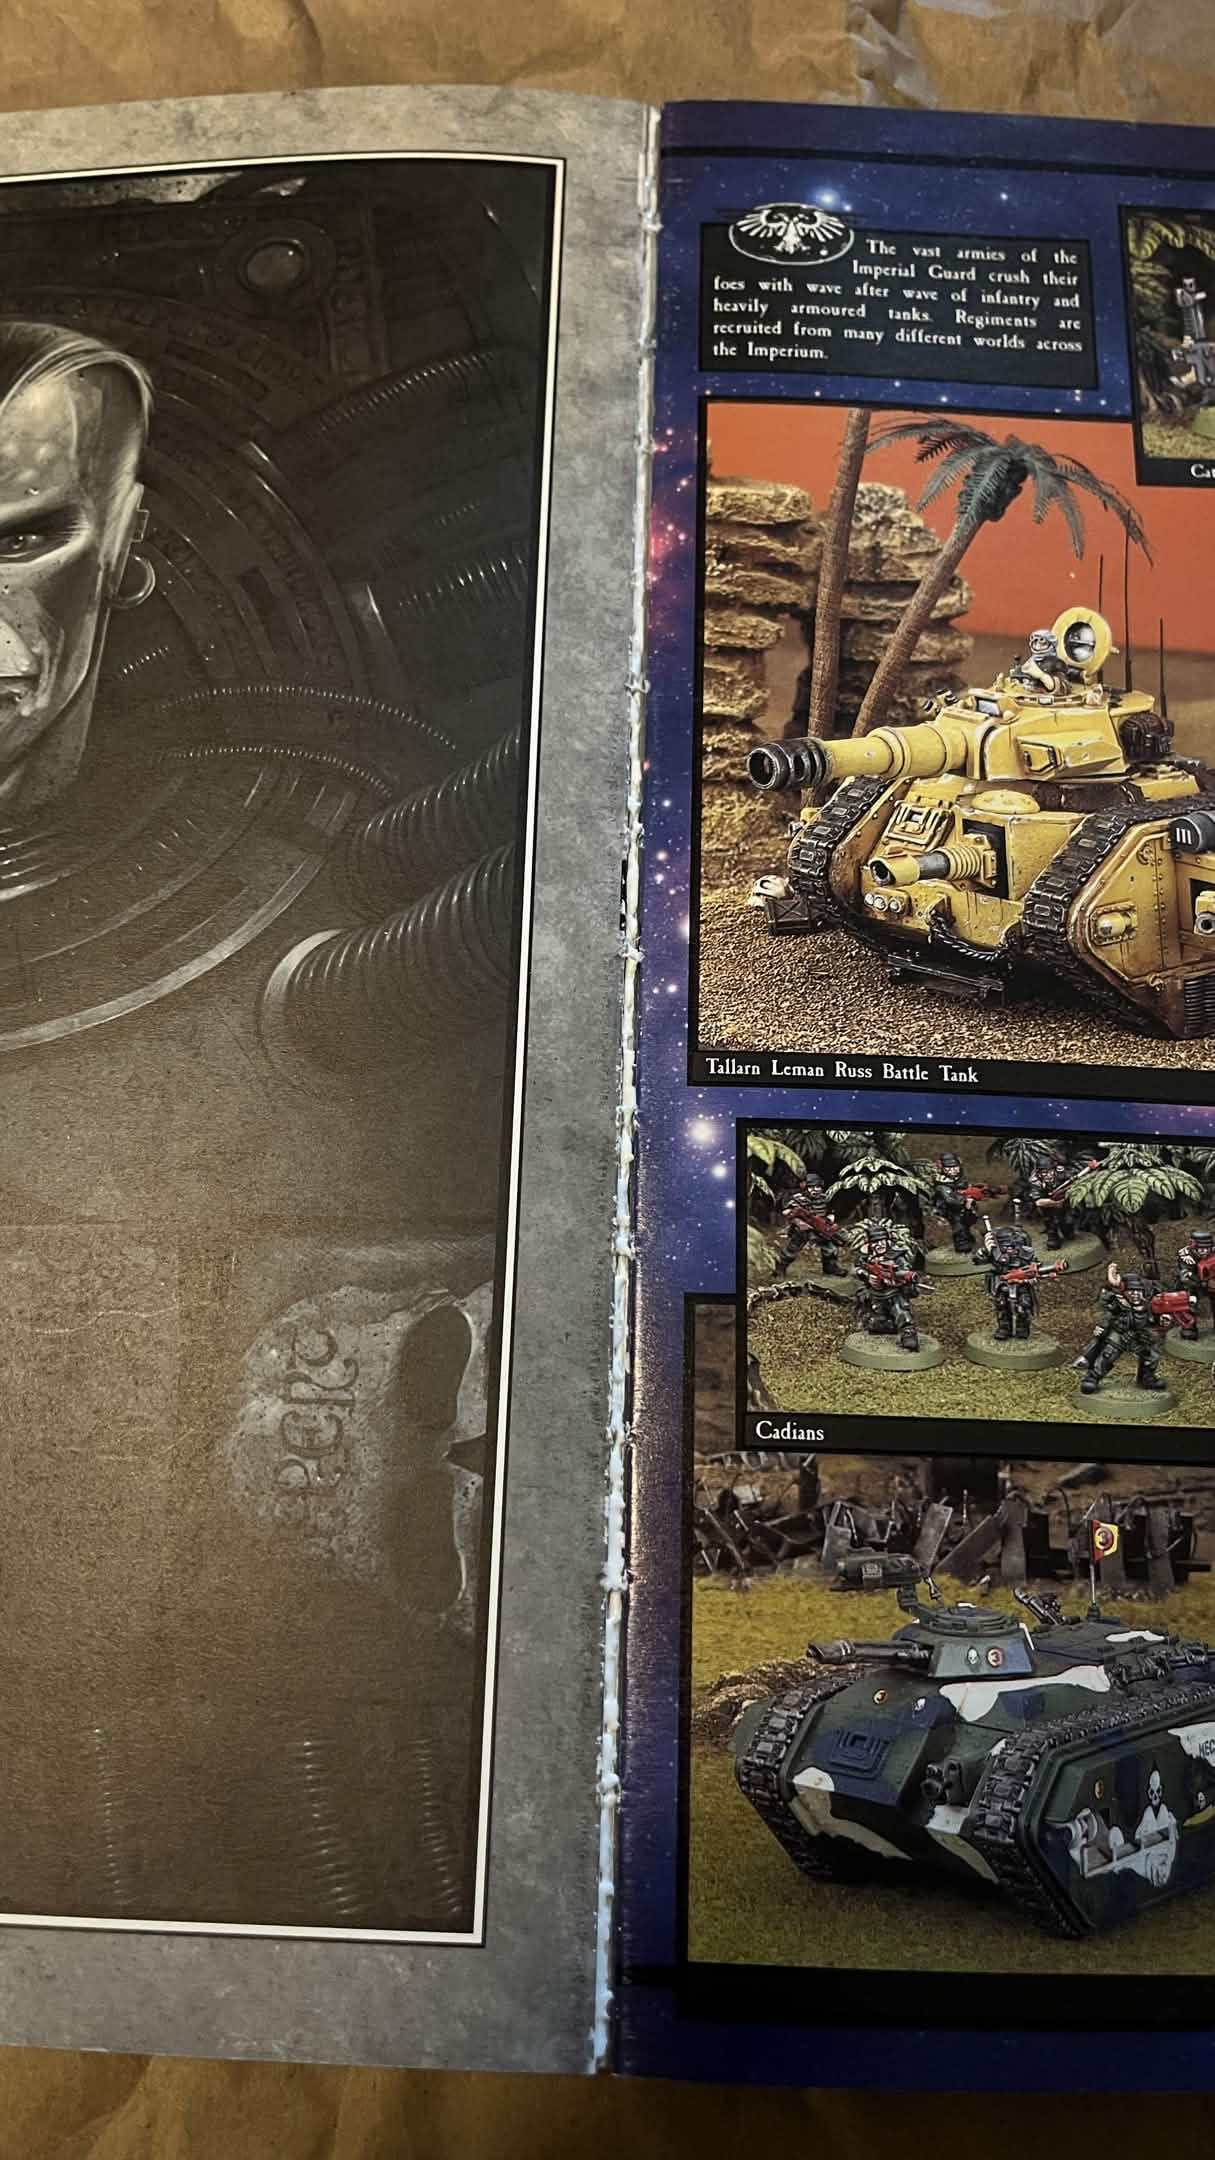
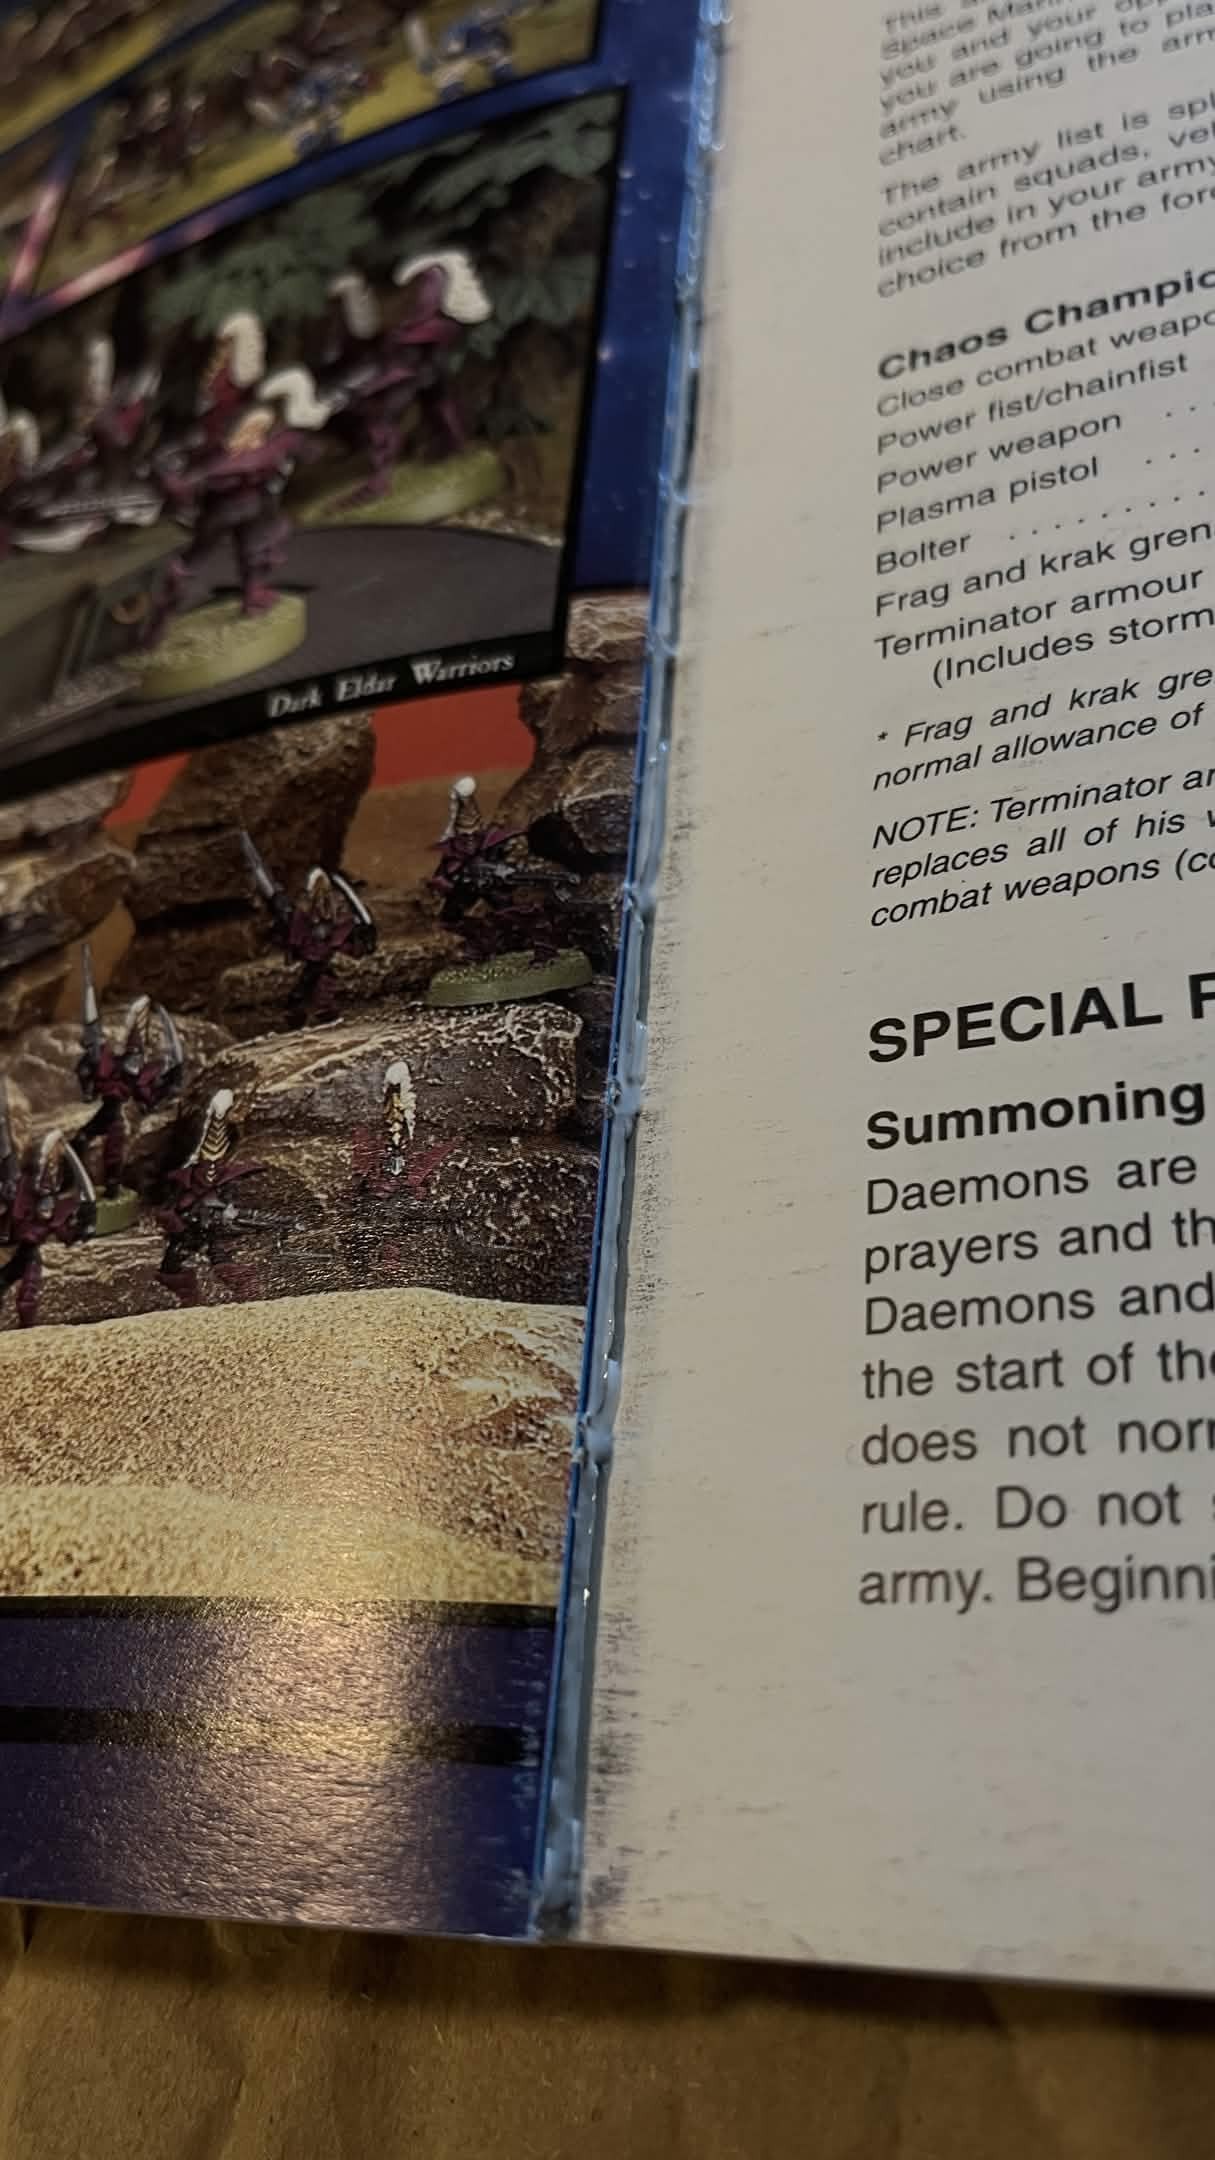
Here I lost my cool and decided to use the chisel to plane it down and with a rubber mallet to drive it. This caused the chisel to sink down pushing my guides off course and cutting deep into the book. It even cut THROUGH my metal guide! I laughed.
This really sucked though because that rule is to my combination square which despite its low price has a really straight true 90° angle.

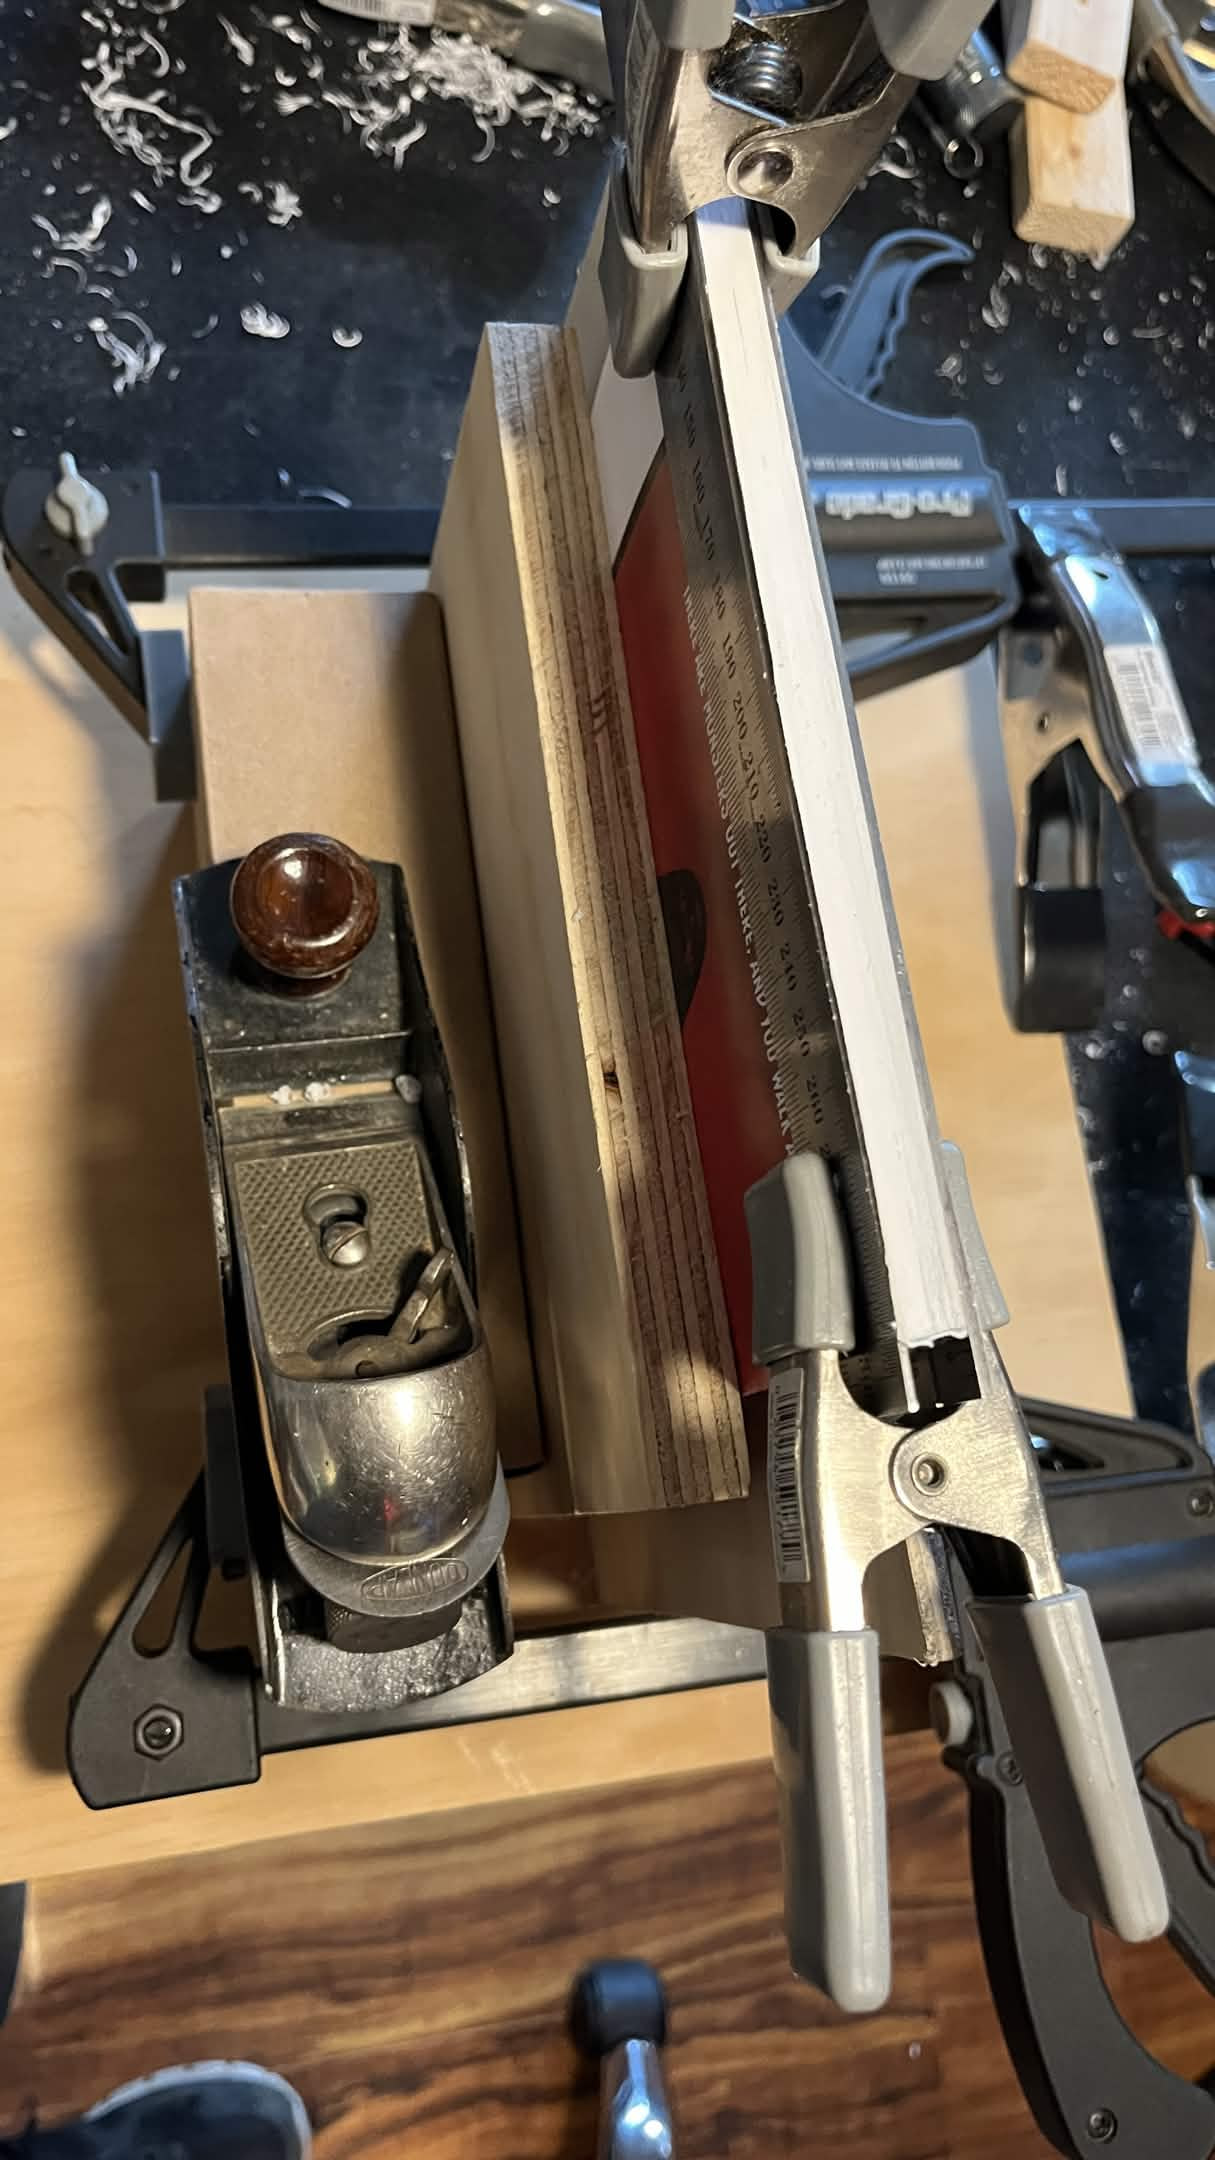
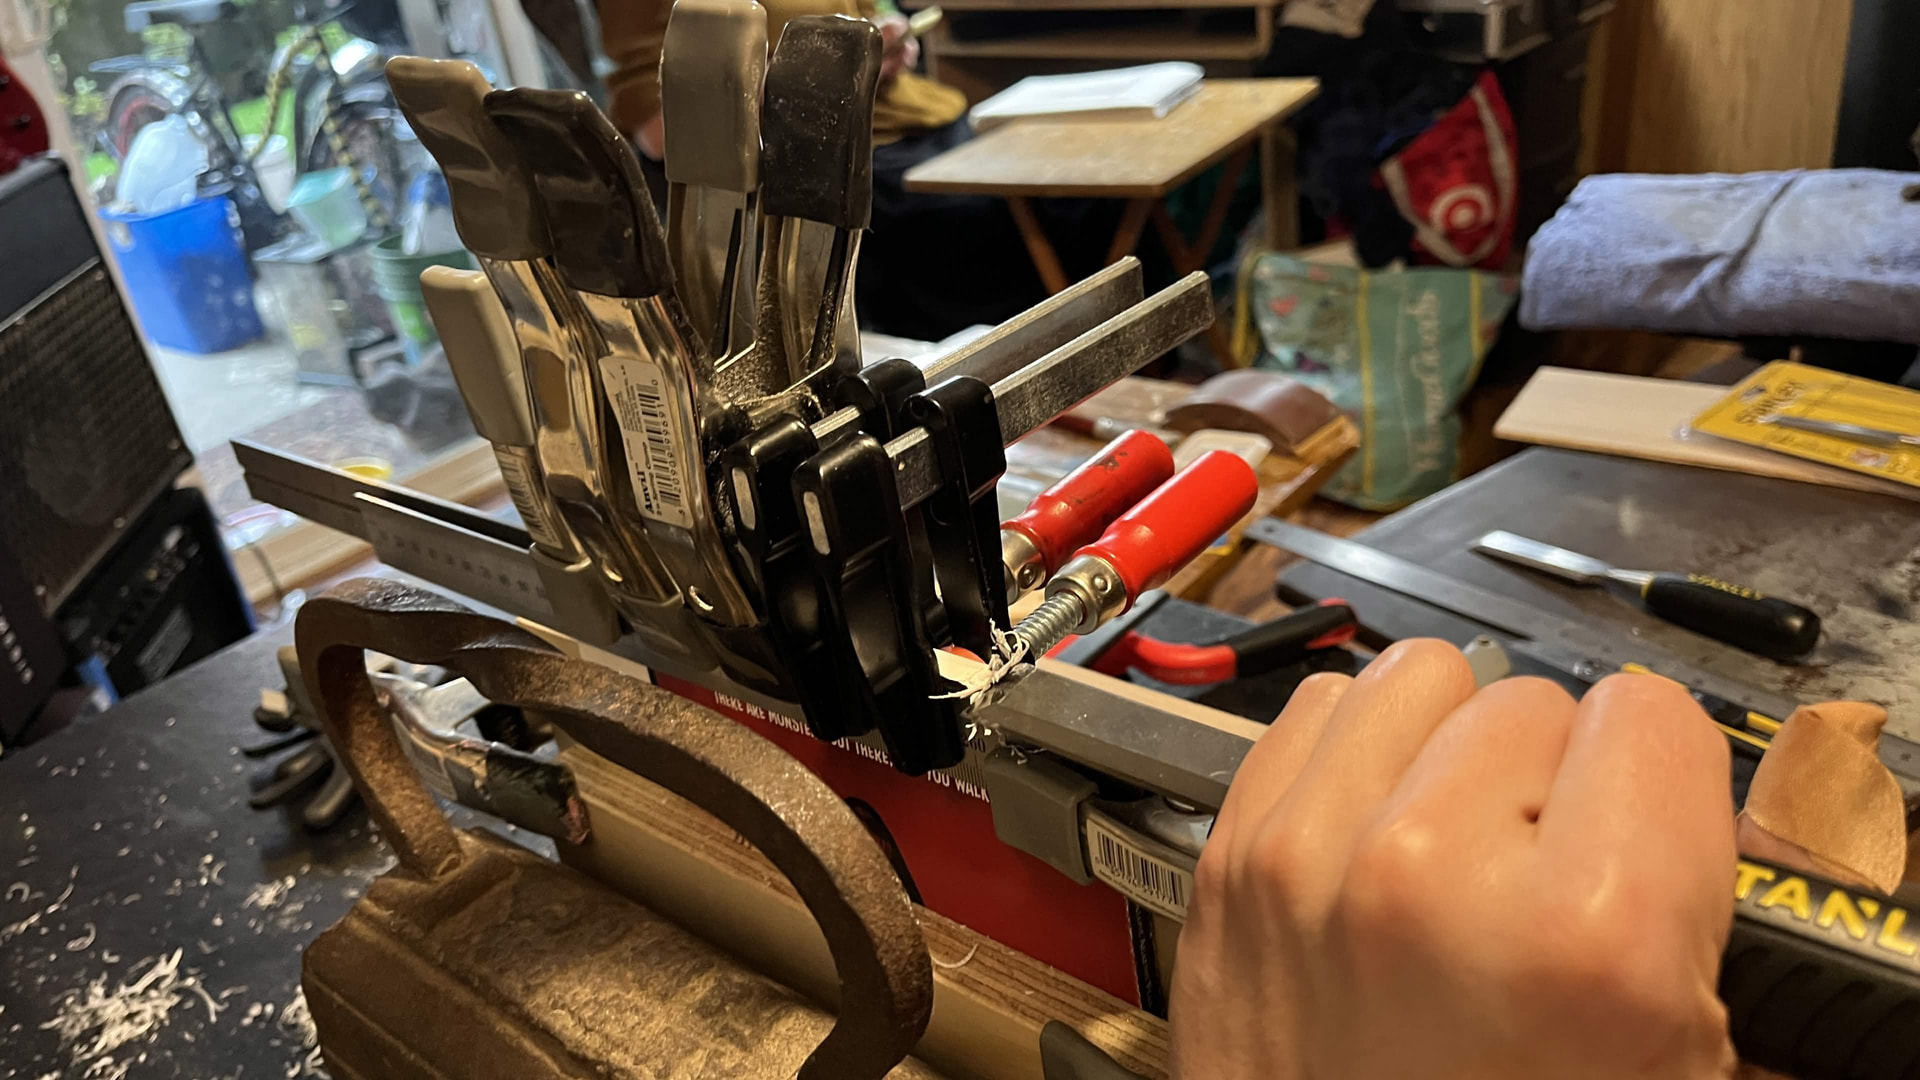
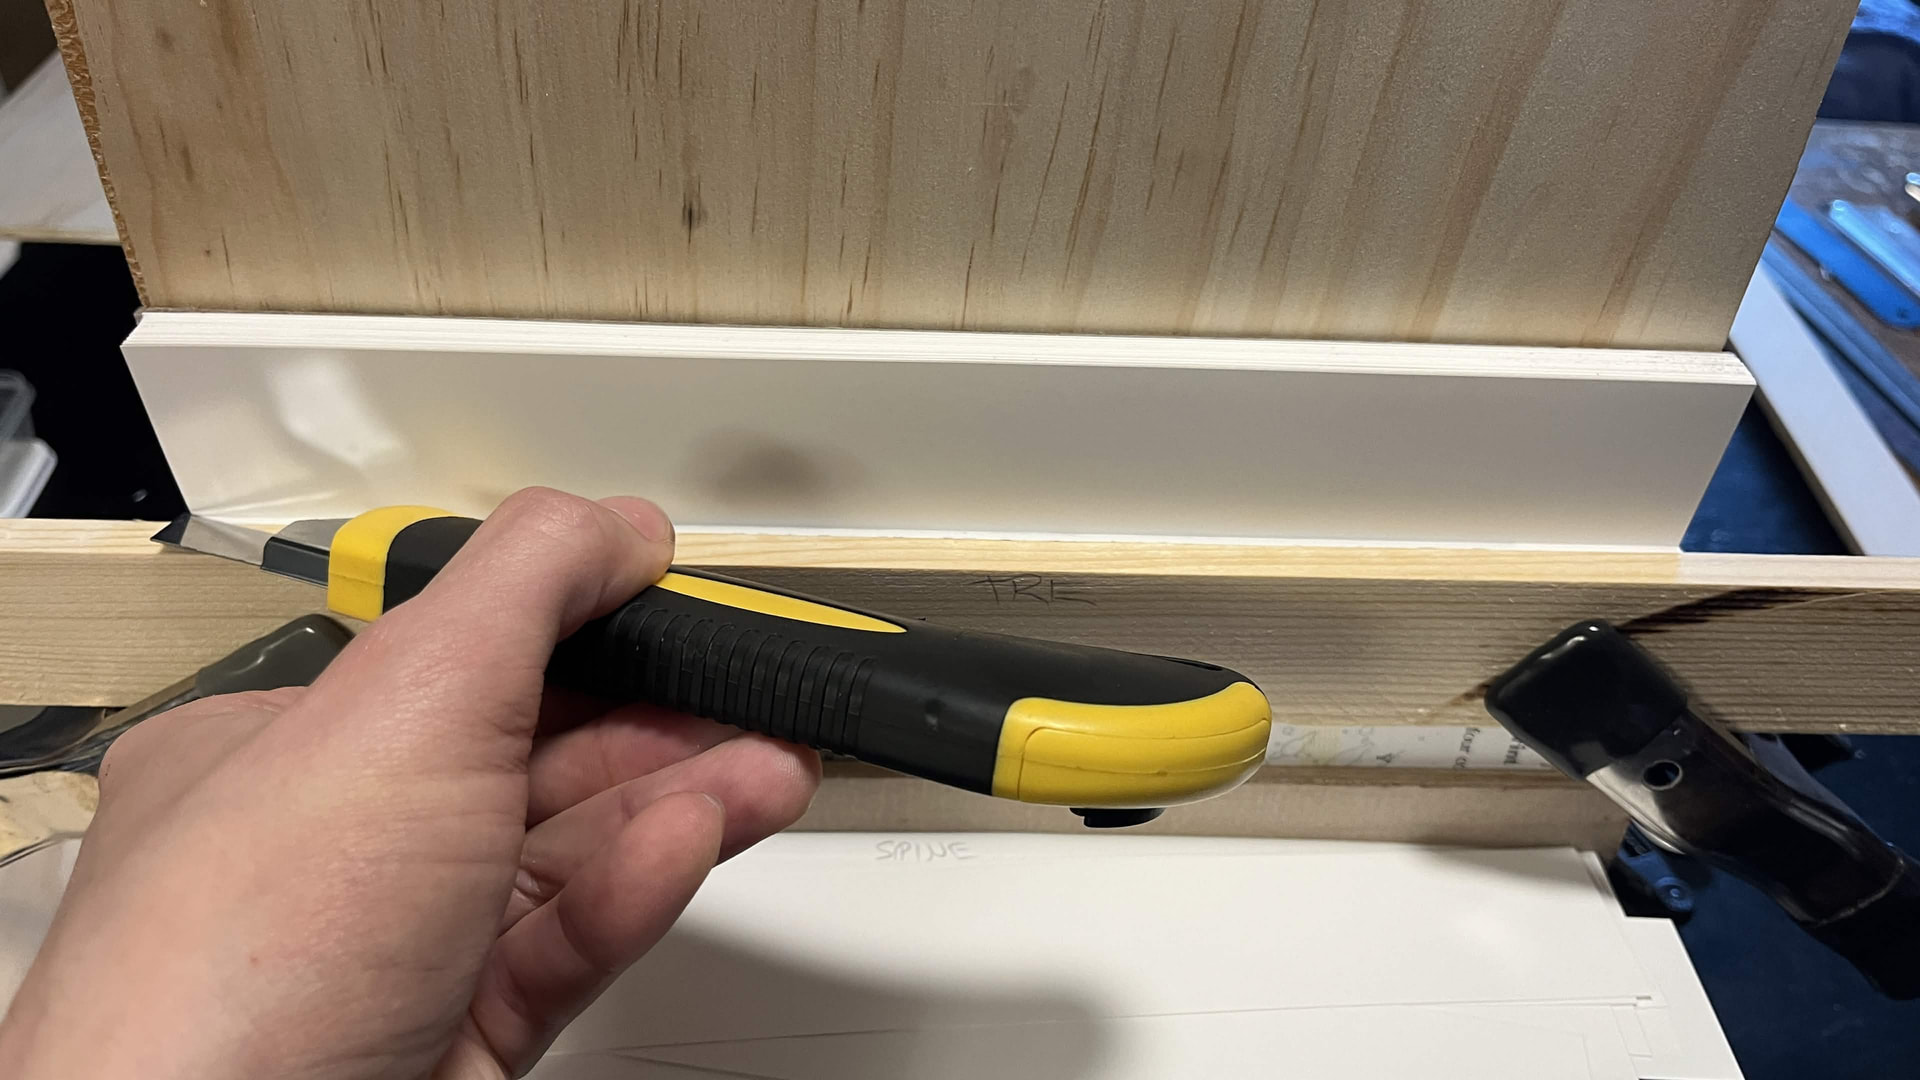
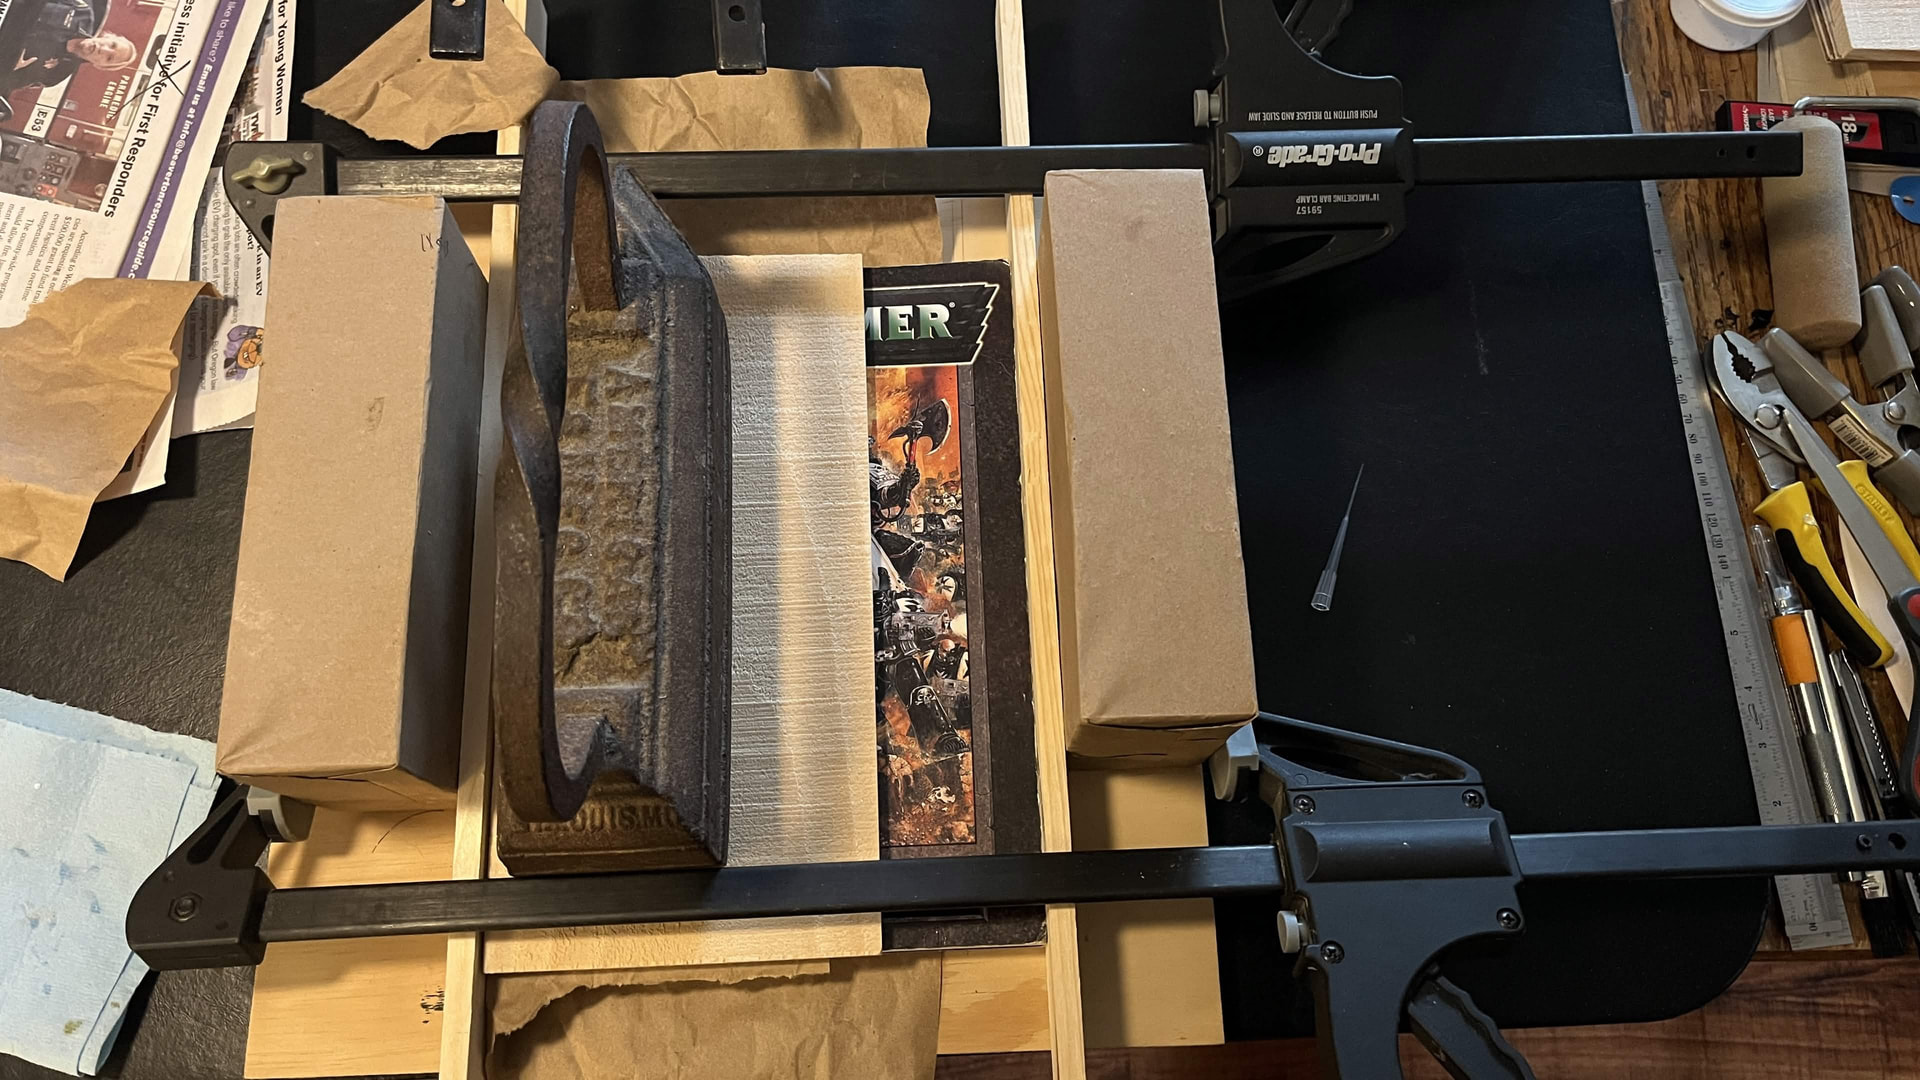
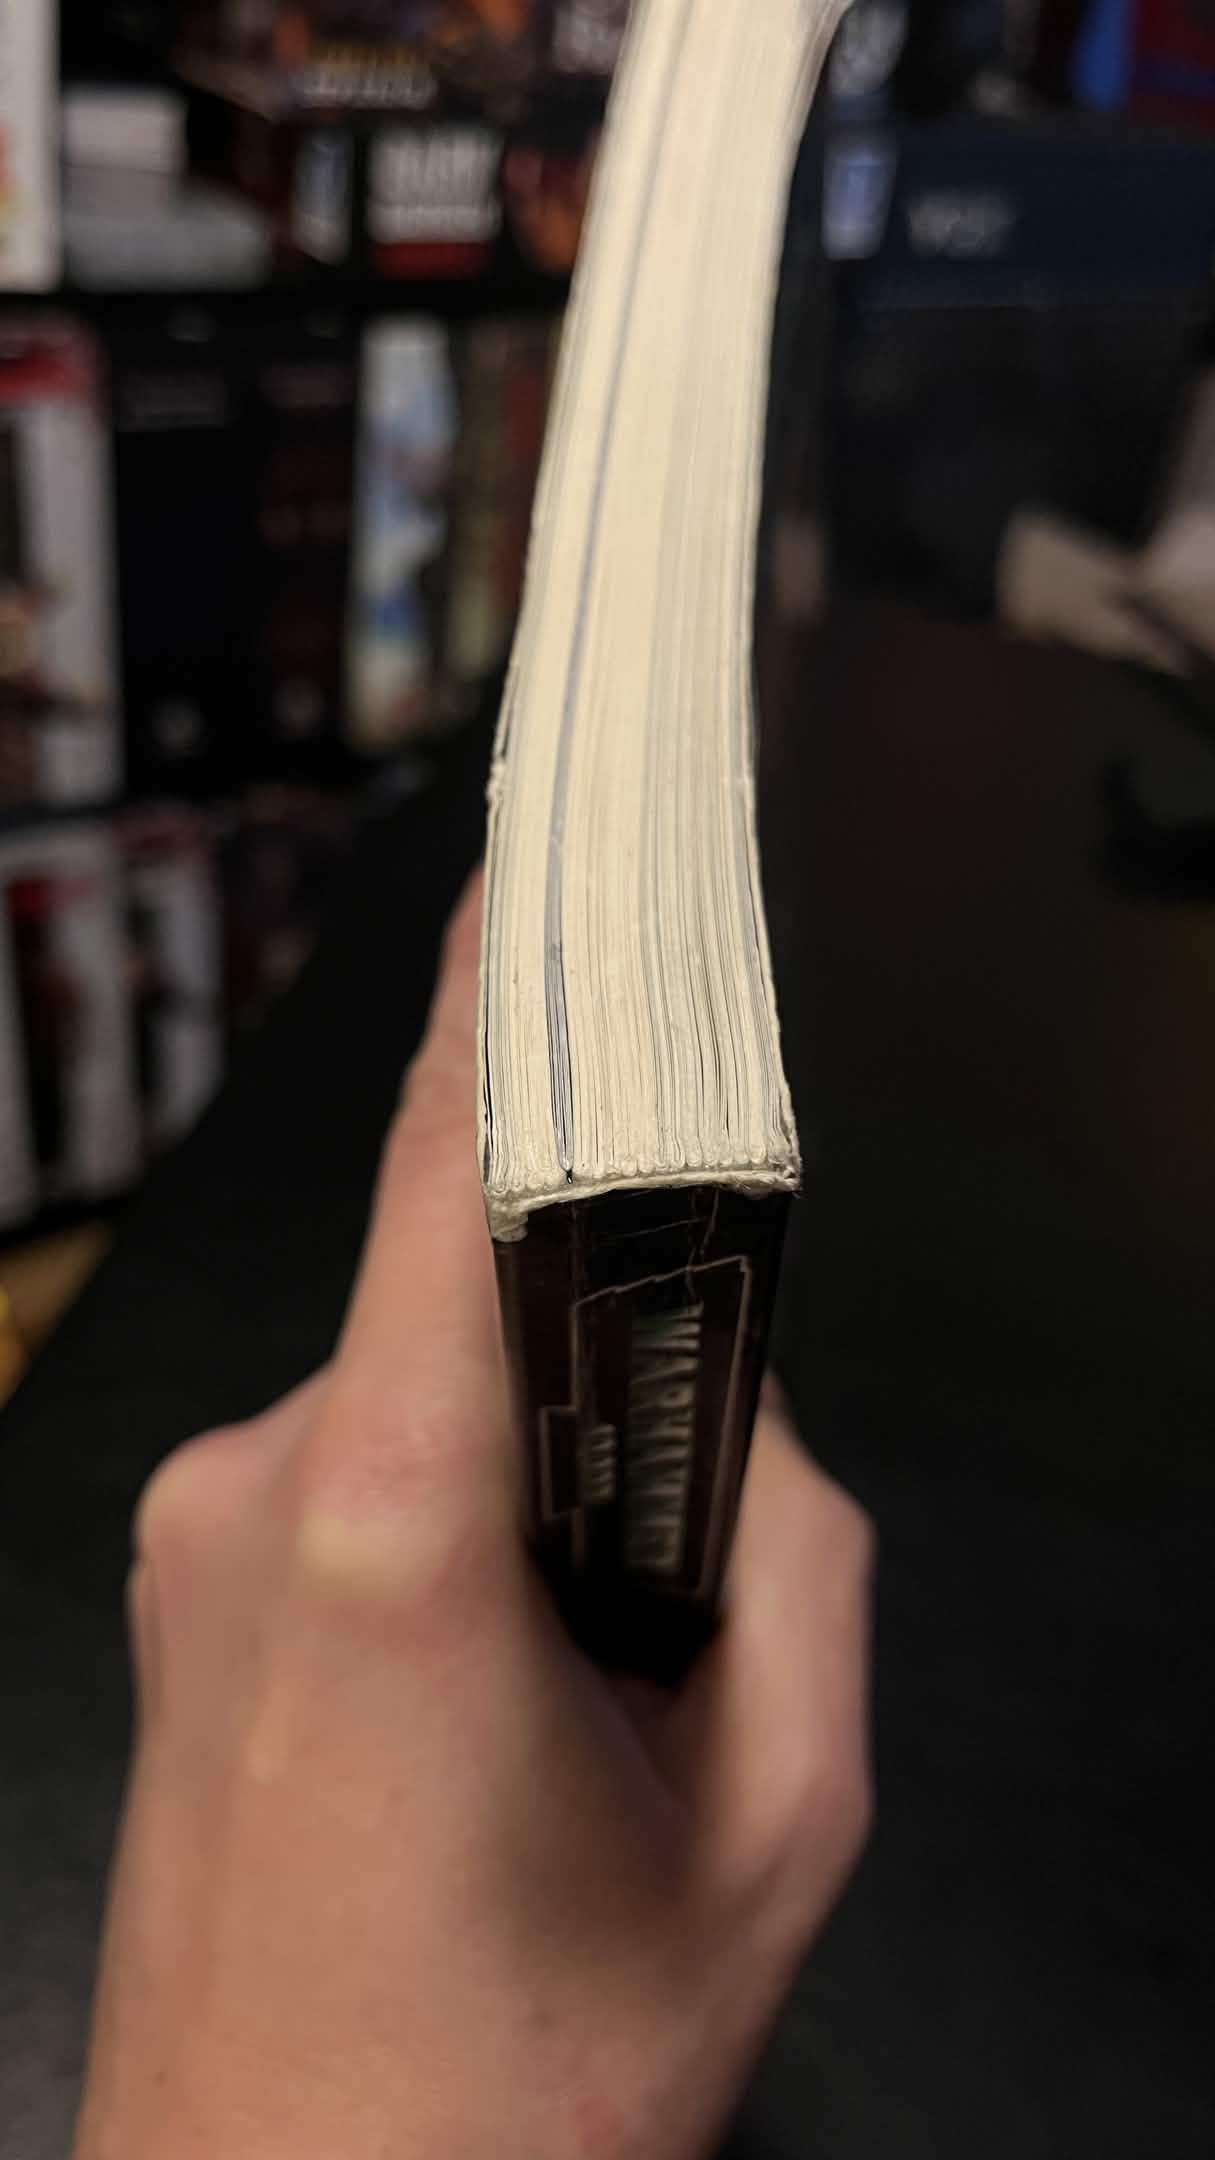
From here I reset up my guides and, VERY slowly and extra hard to do, recut the entire edge on a plane. At some point along this process I even tried a planer but the blade wasn’t sharp enough to function properly at least for now.

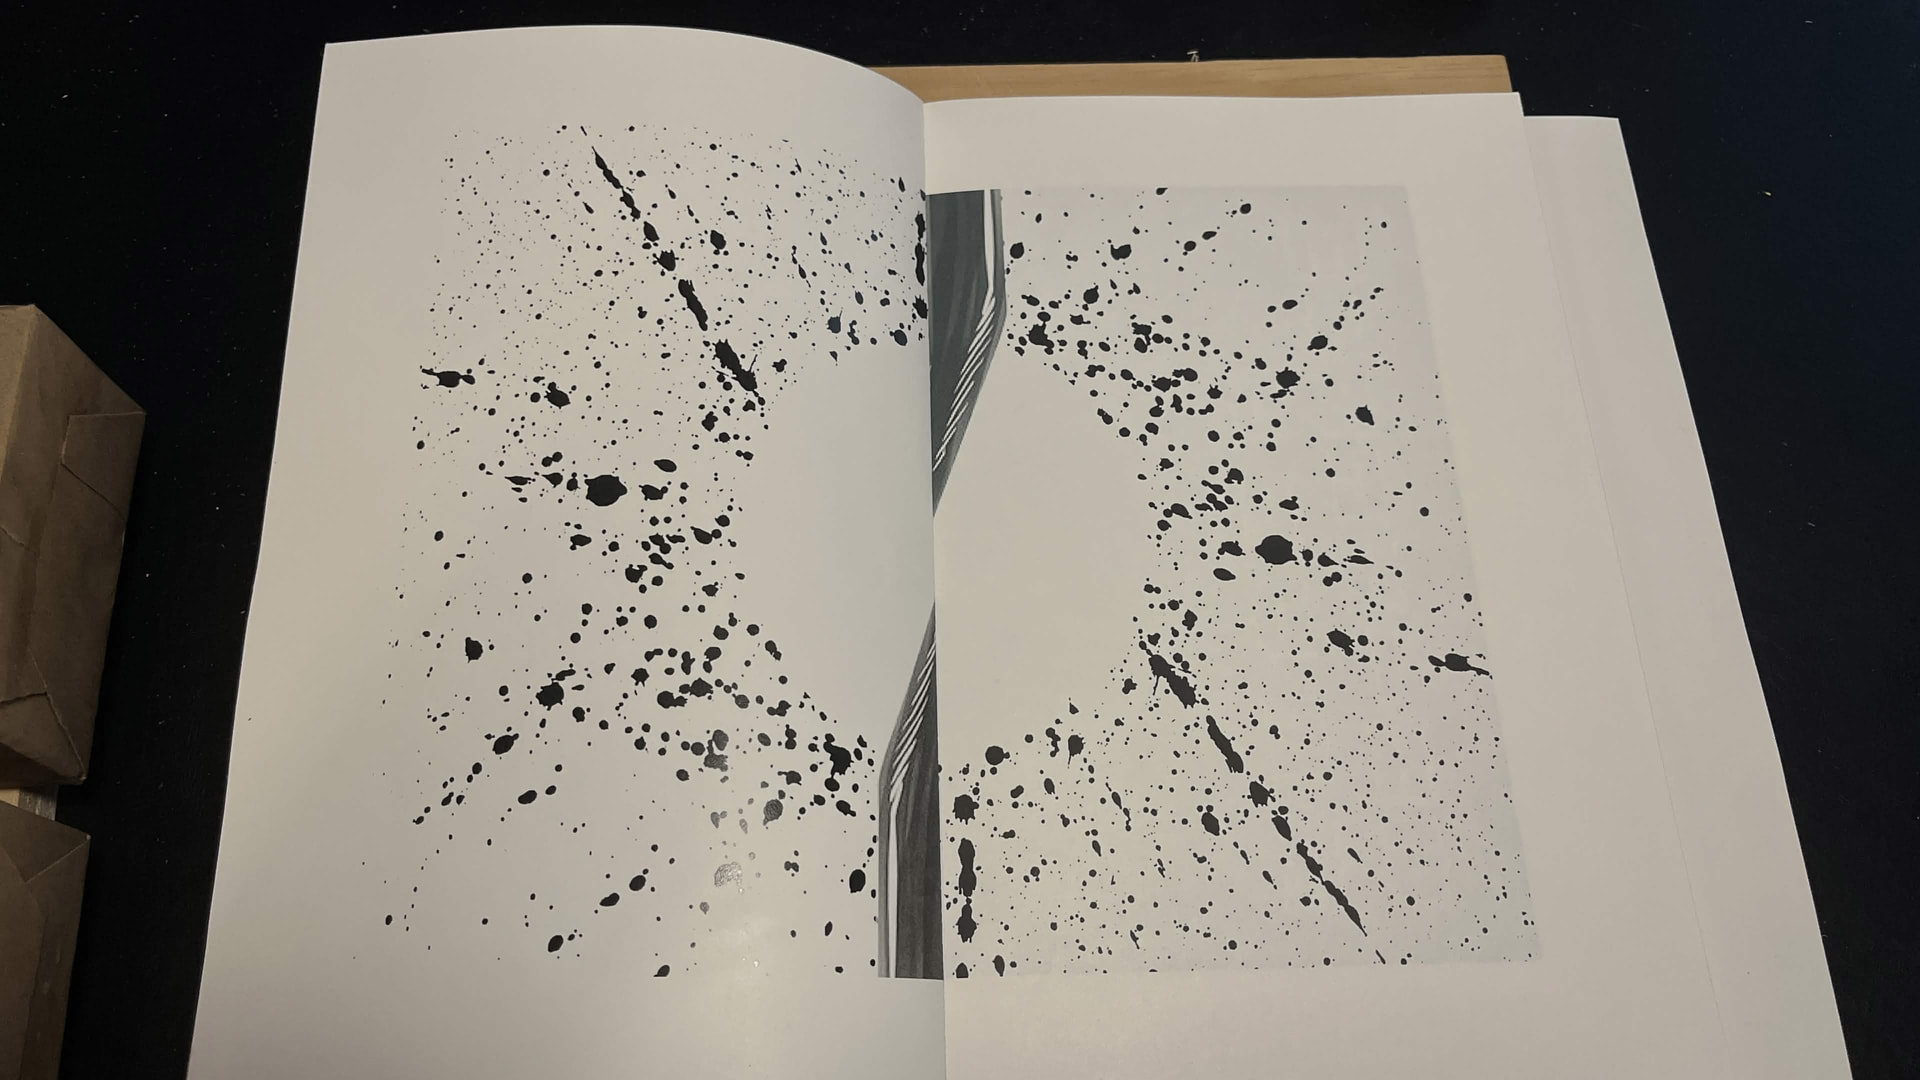
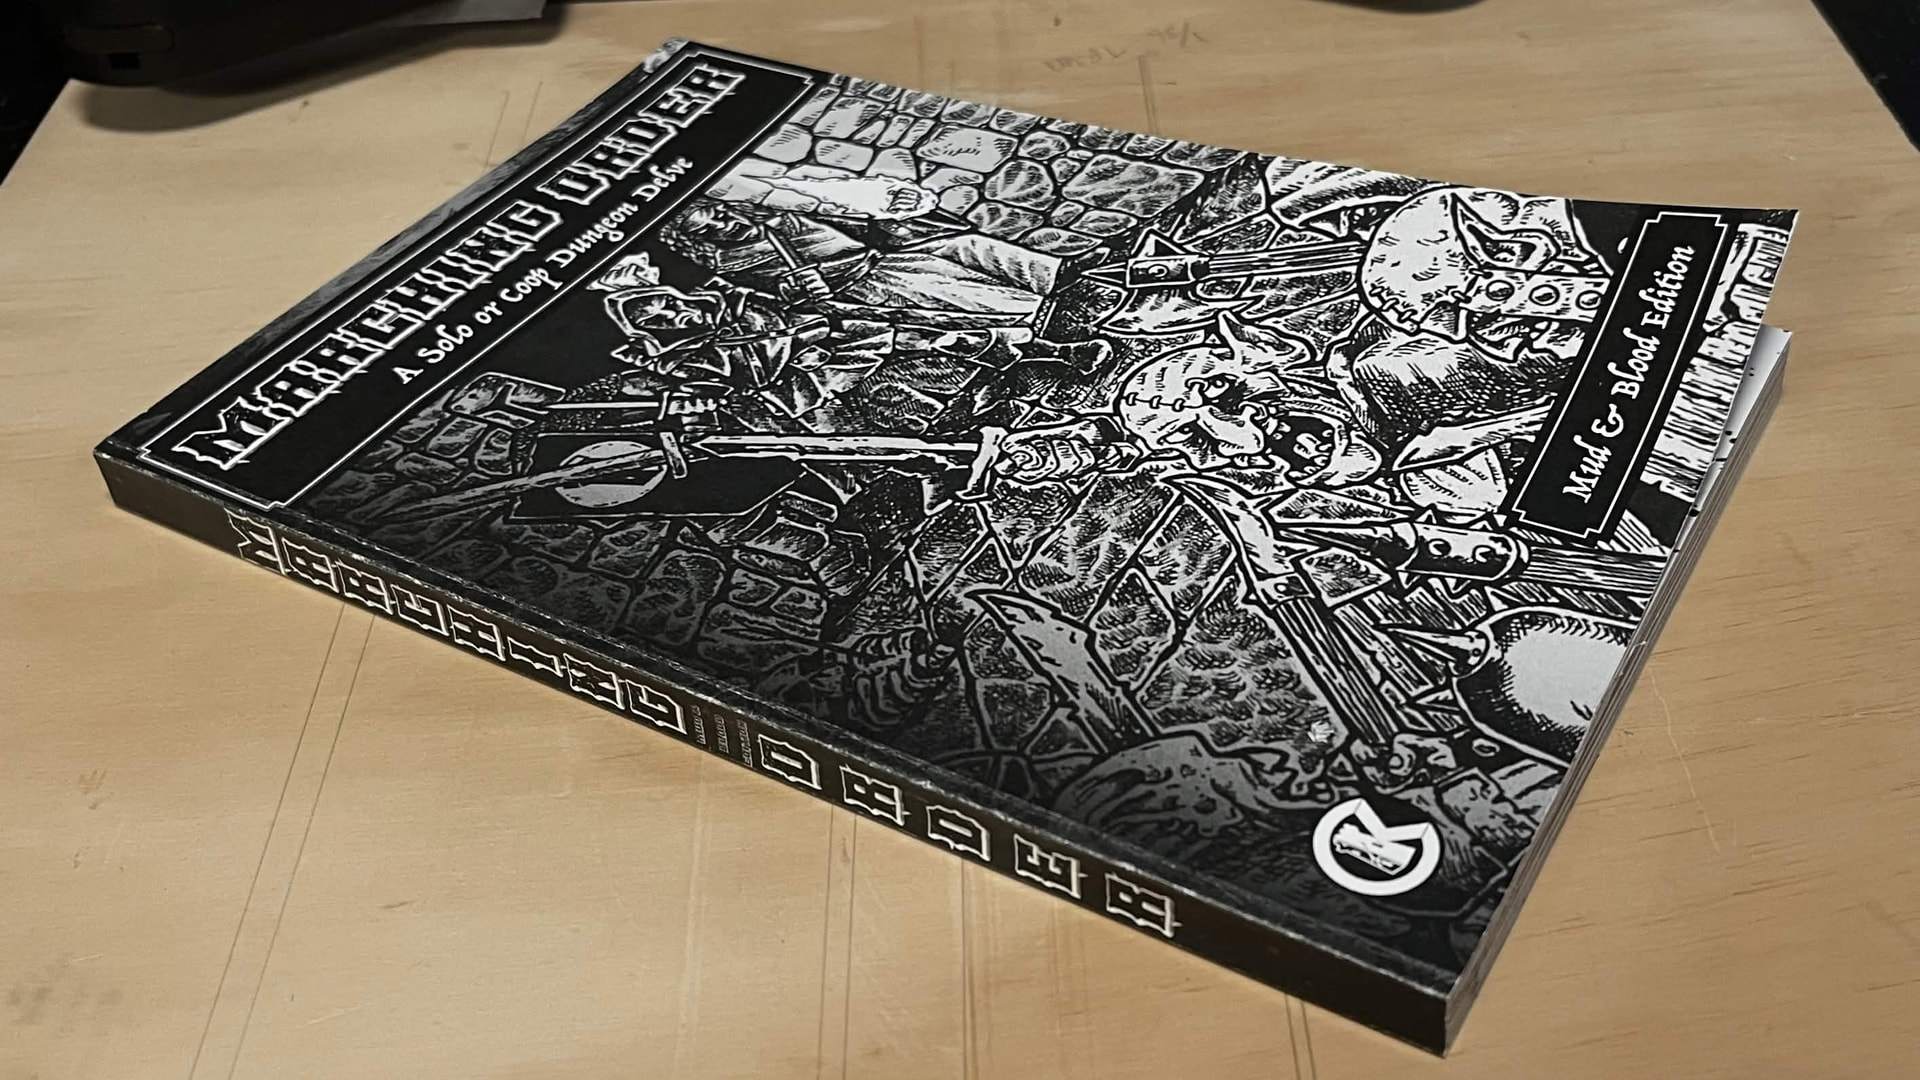
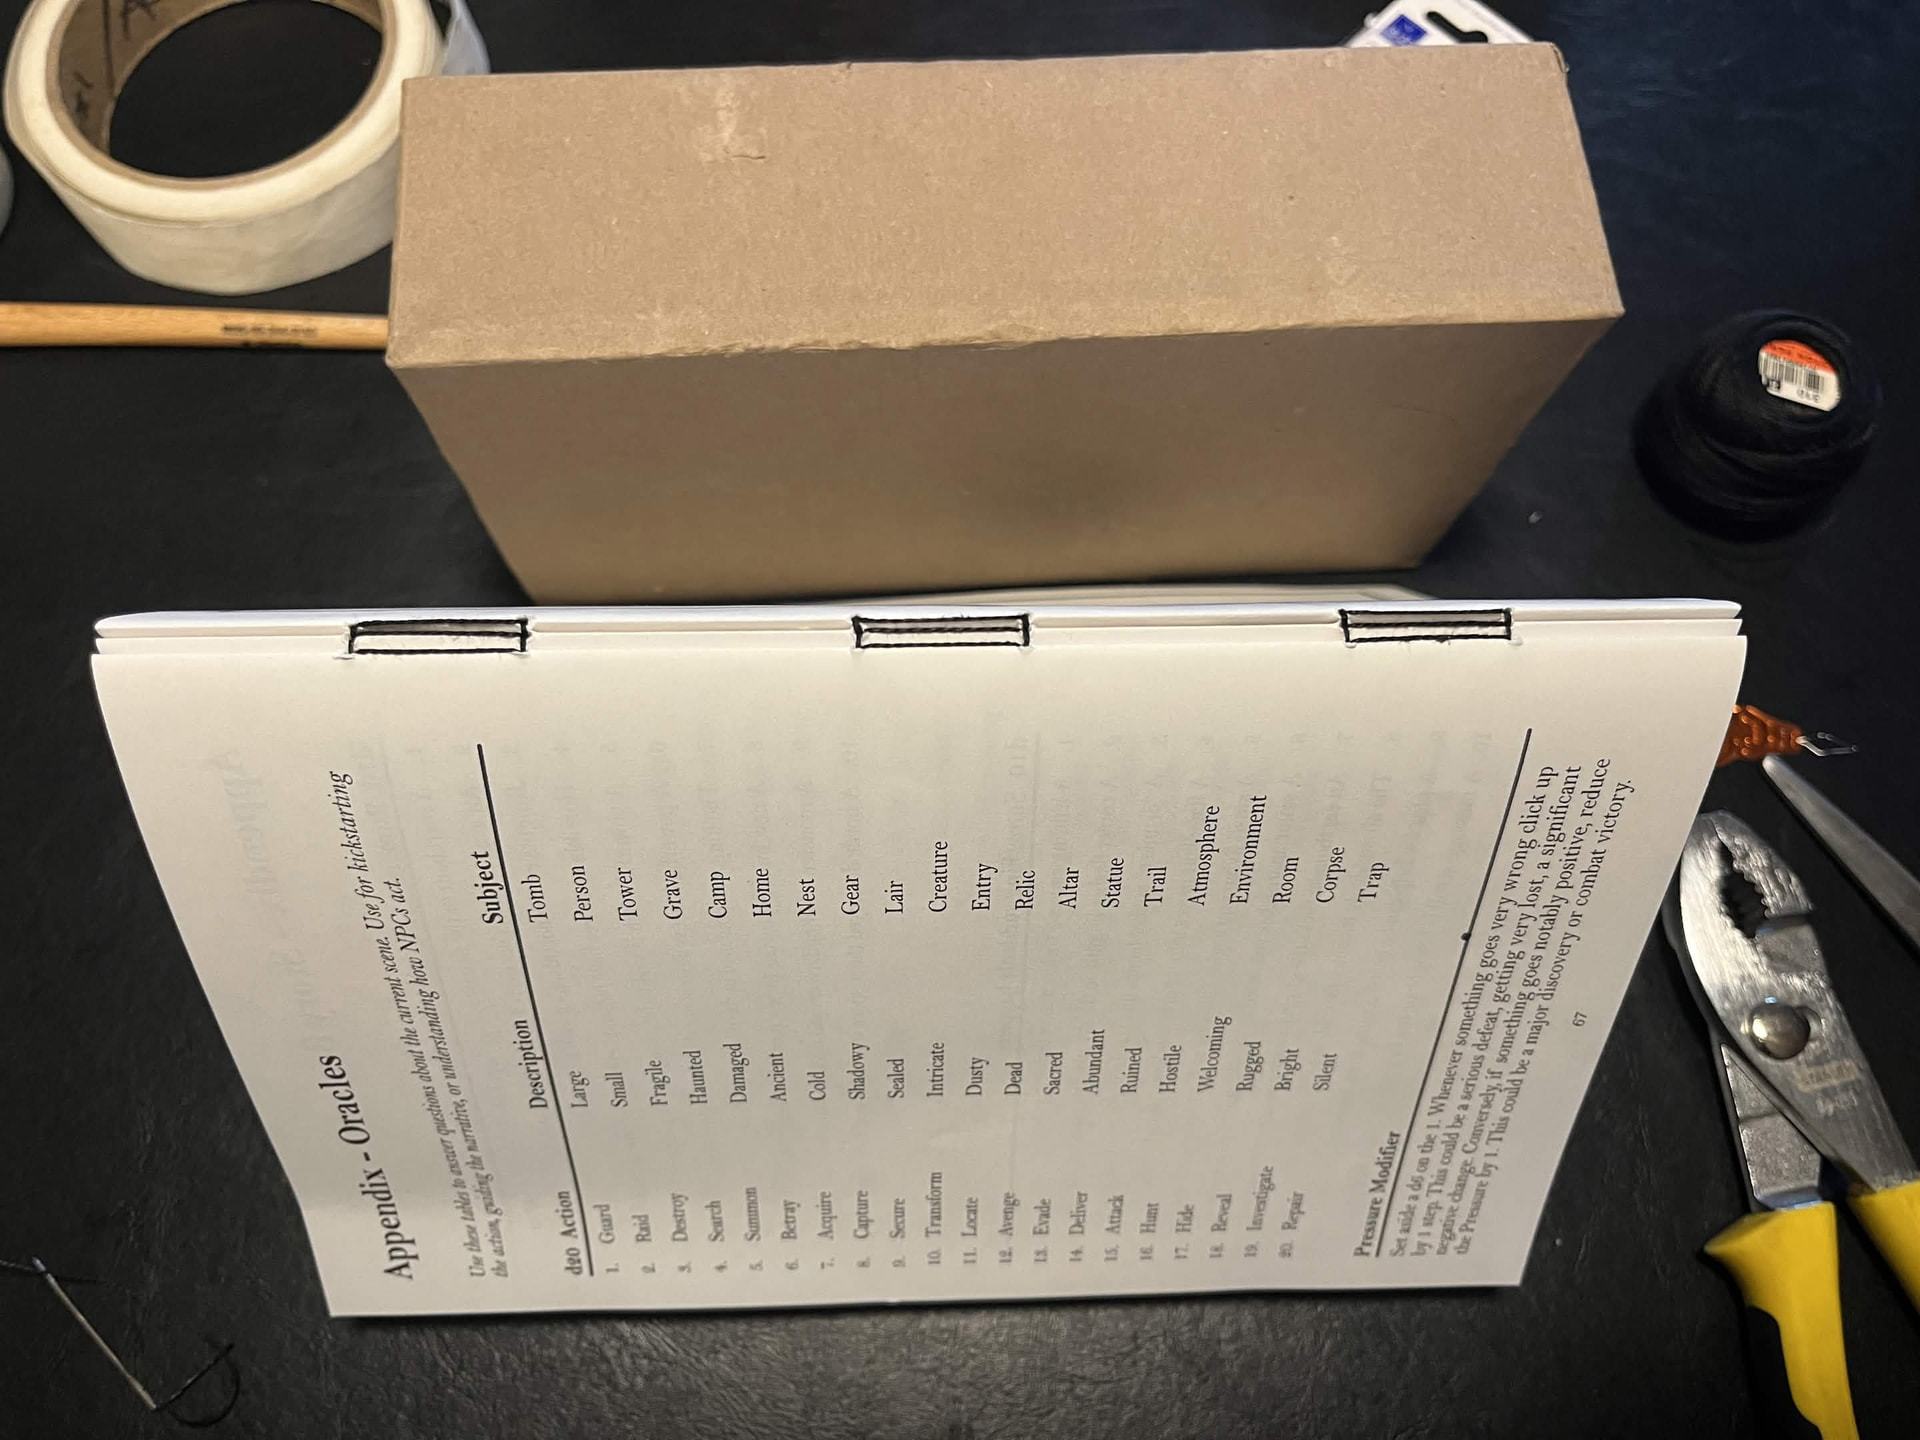
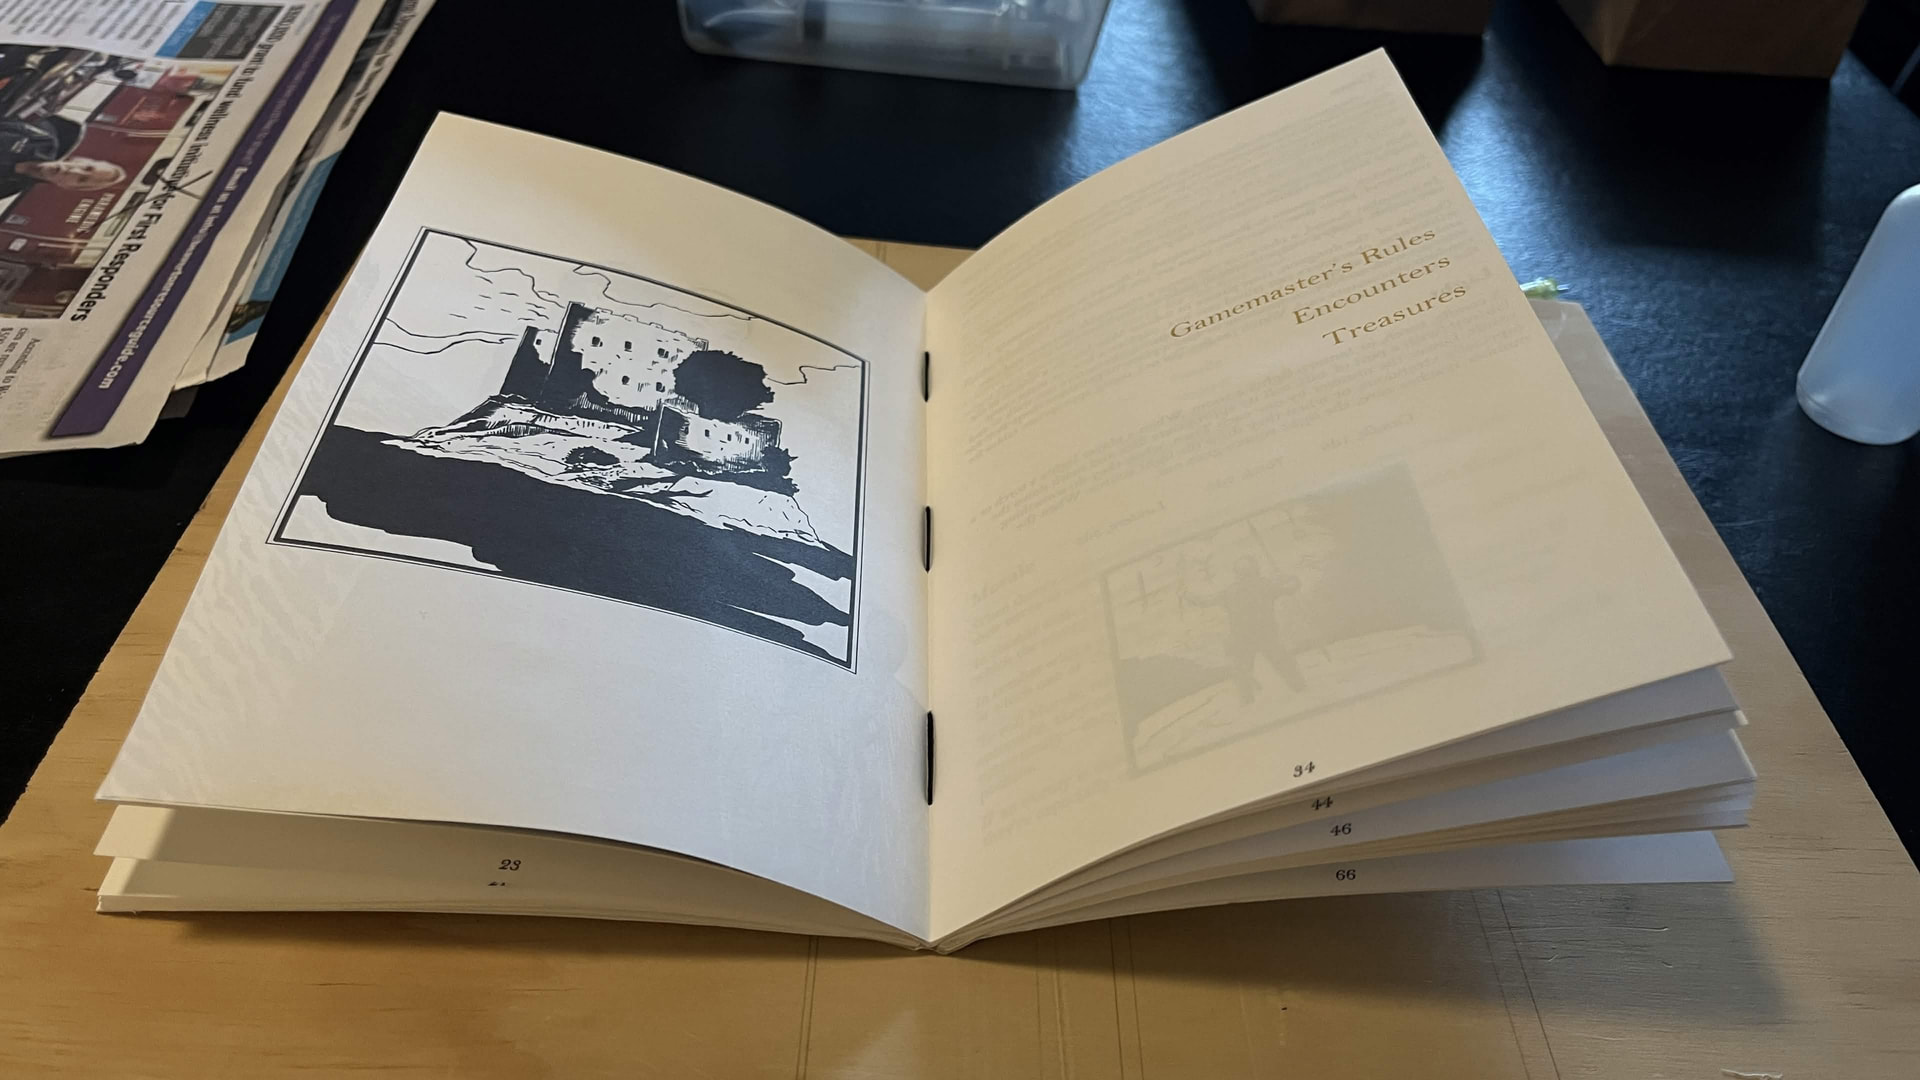
I did eventually get it done and cut flush, smooth and true.

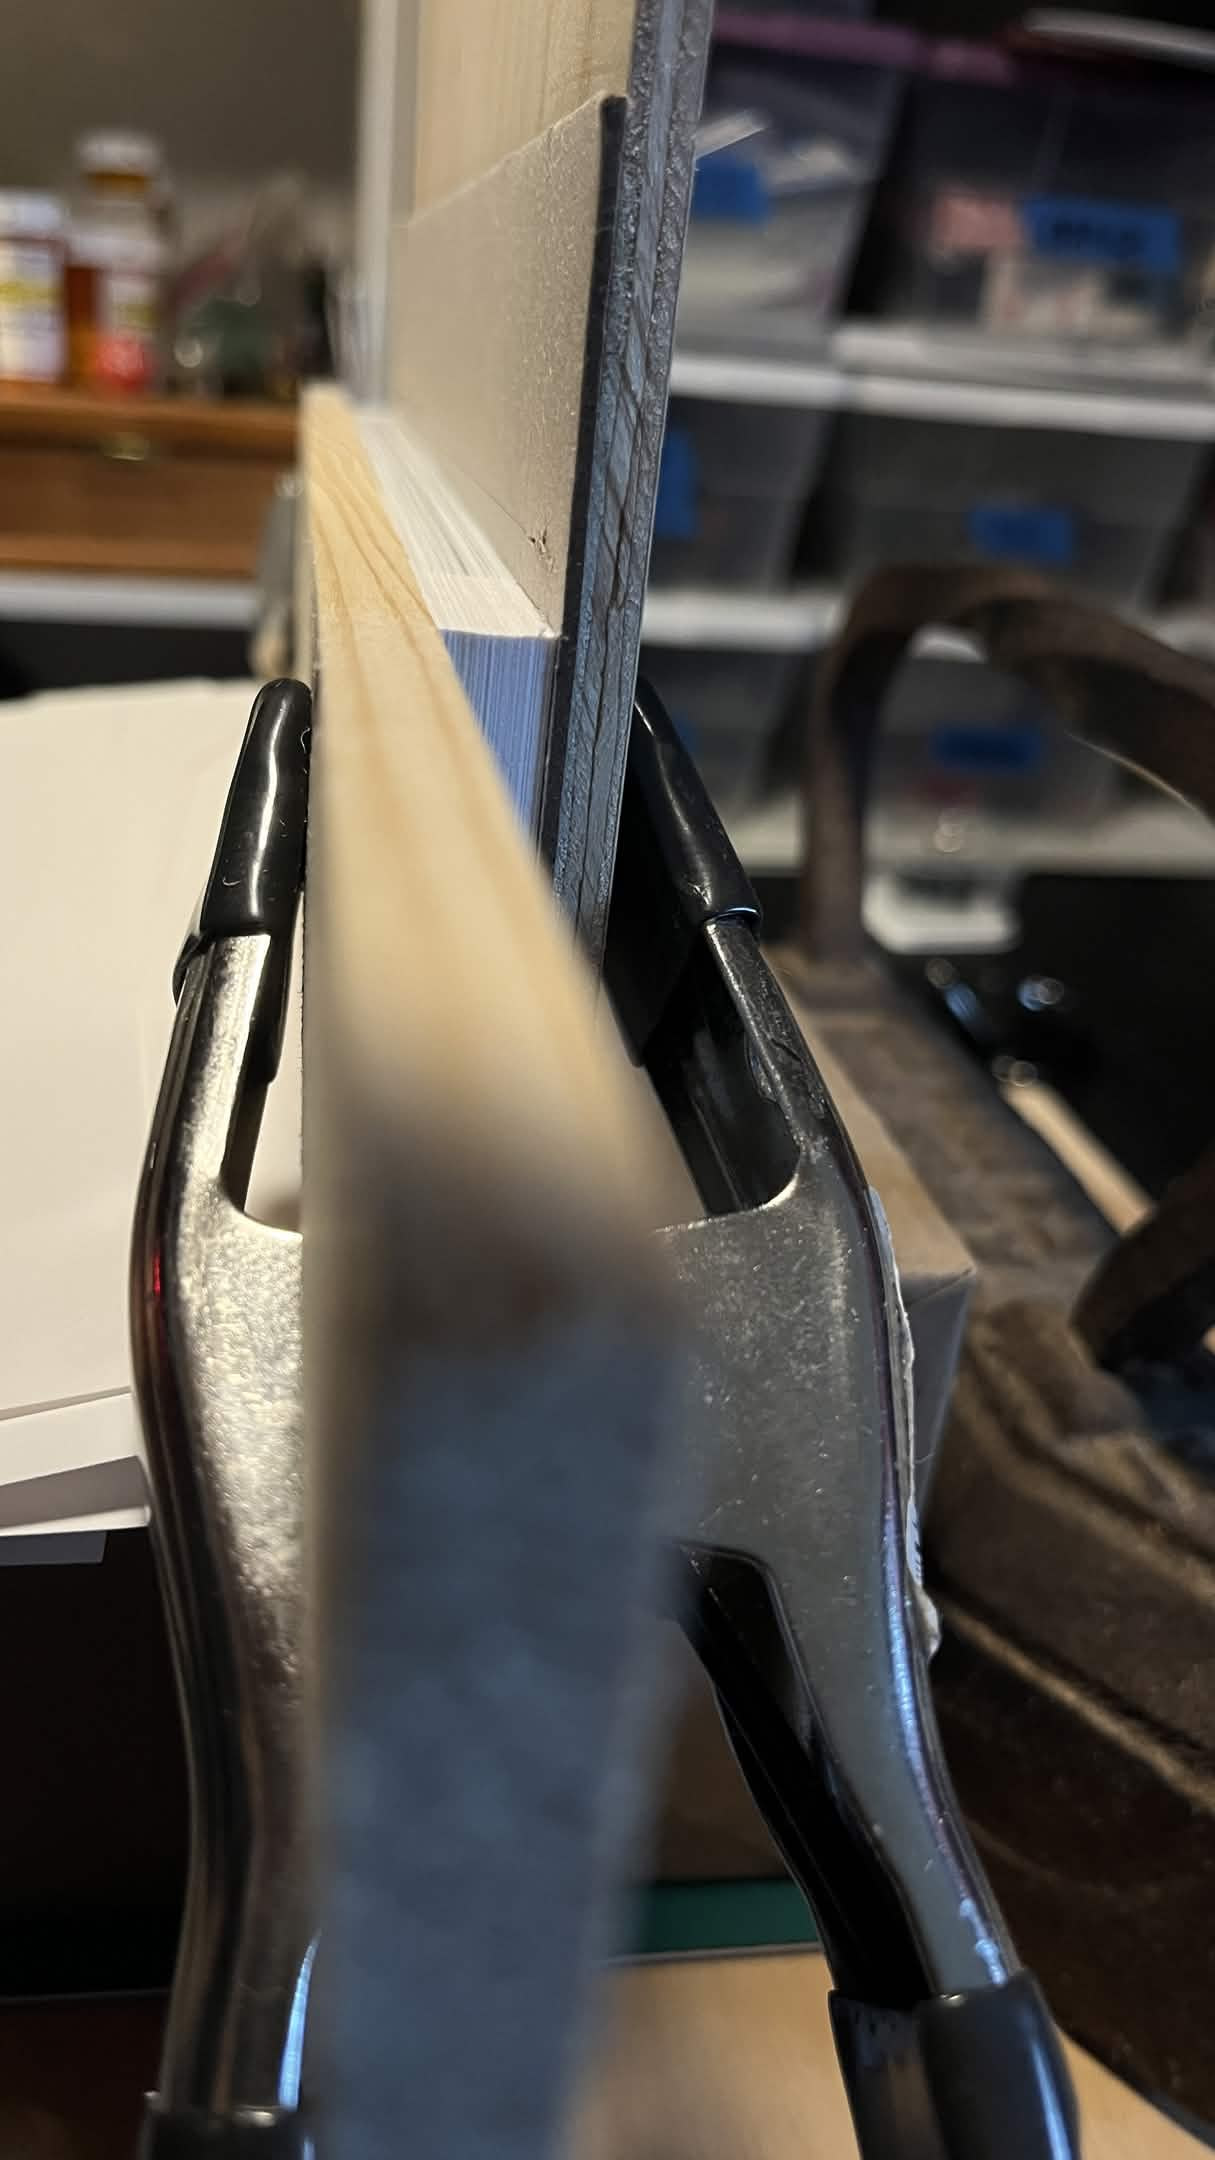
I guess I just clamped the bejesus out of it at some point. This didn’t last long with the chisel as I could only do the starting edge before I needed to reposition the clamps behind my cut.

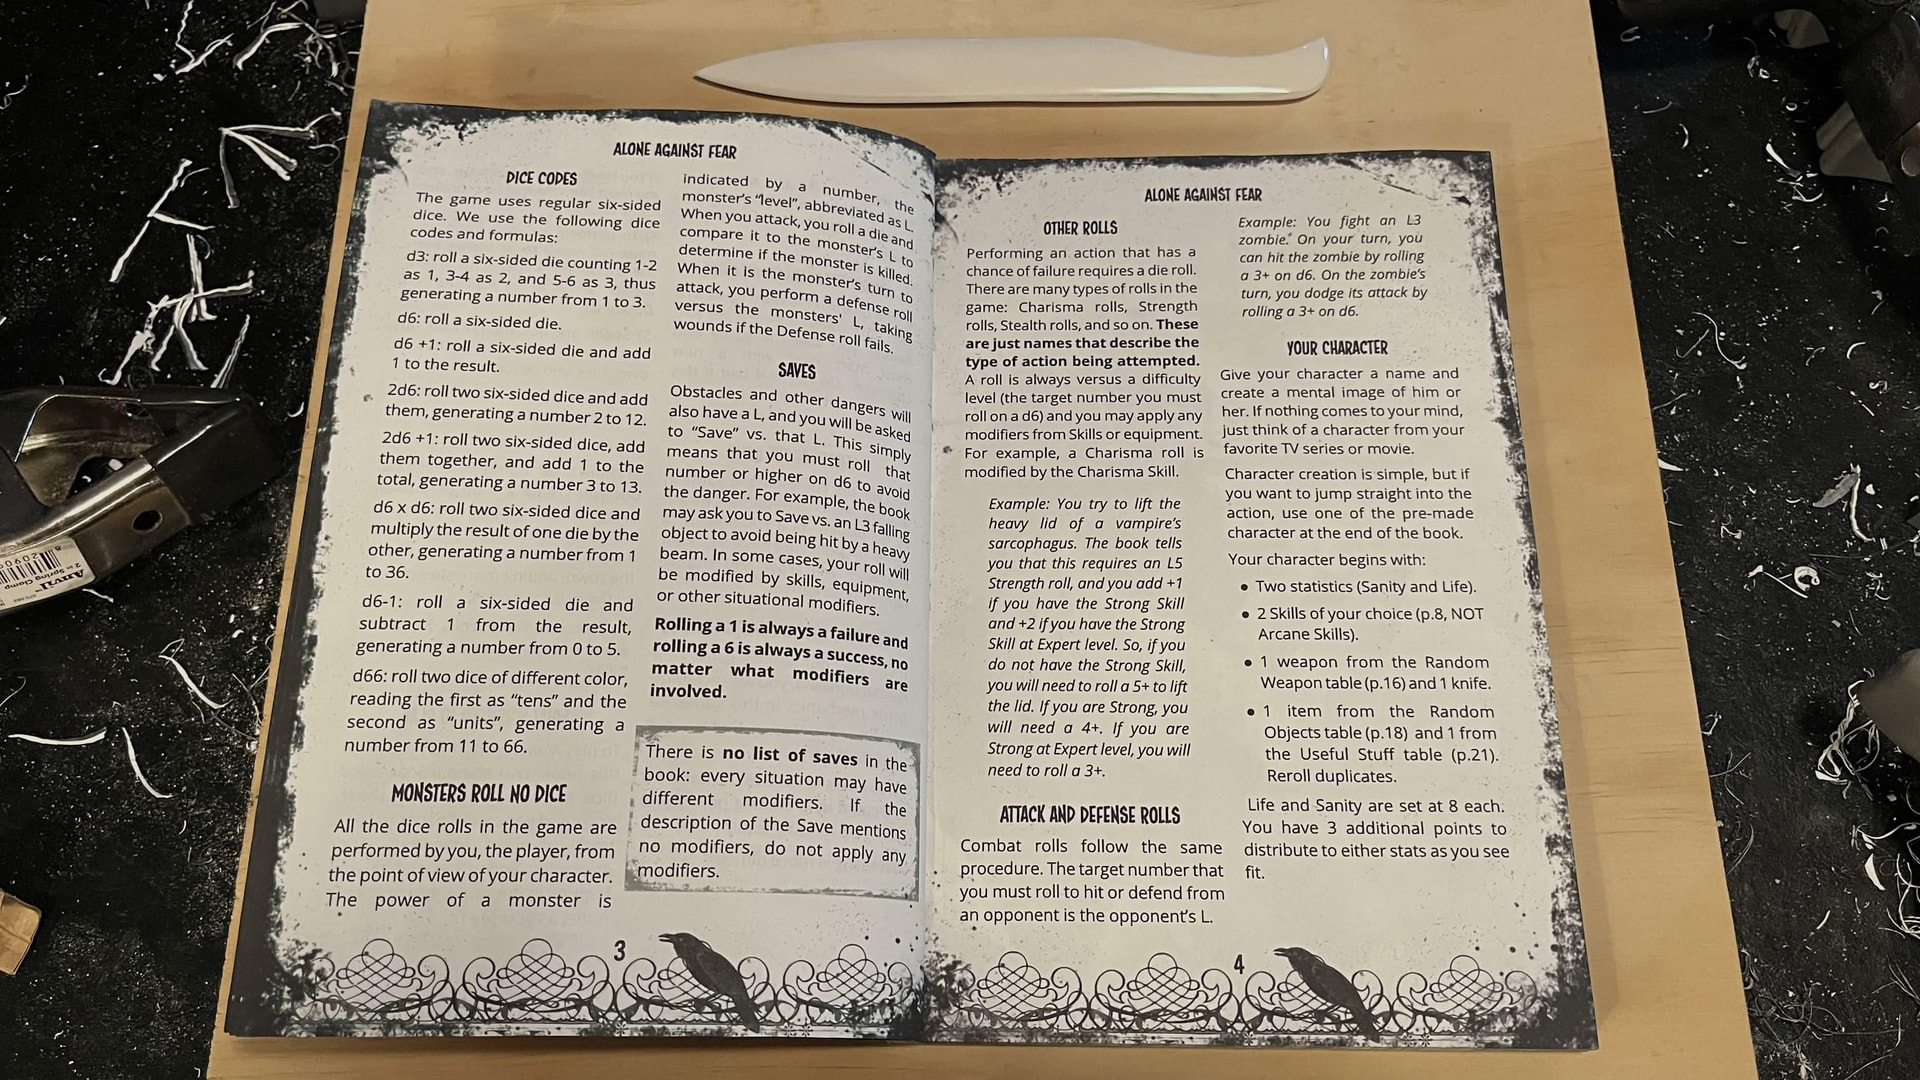
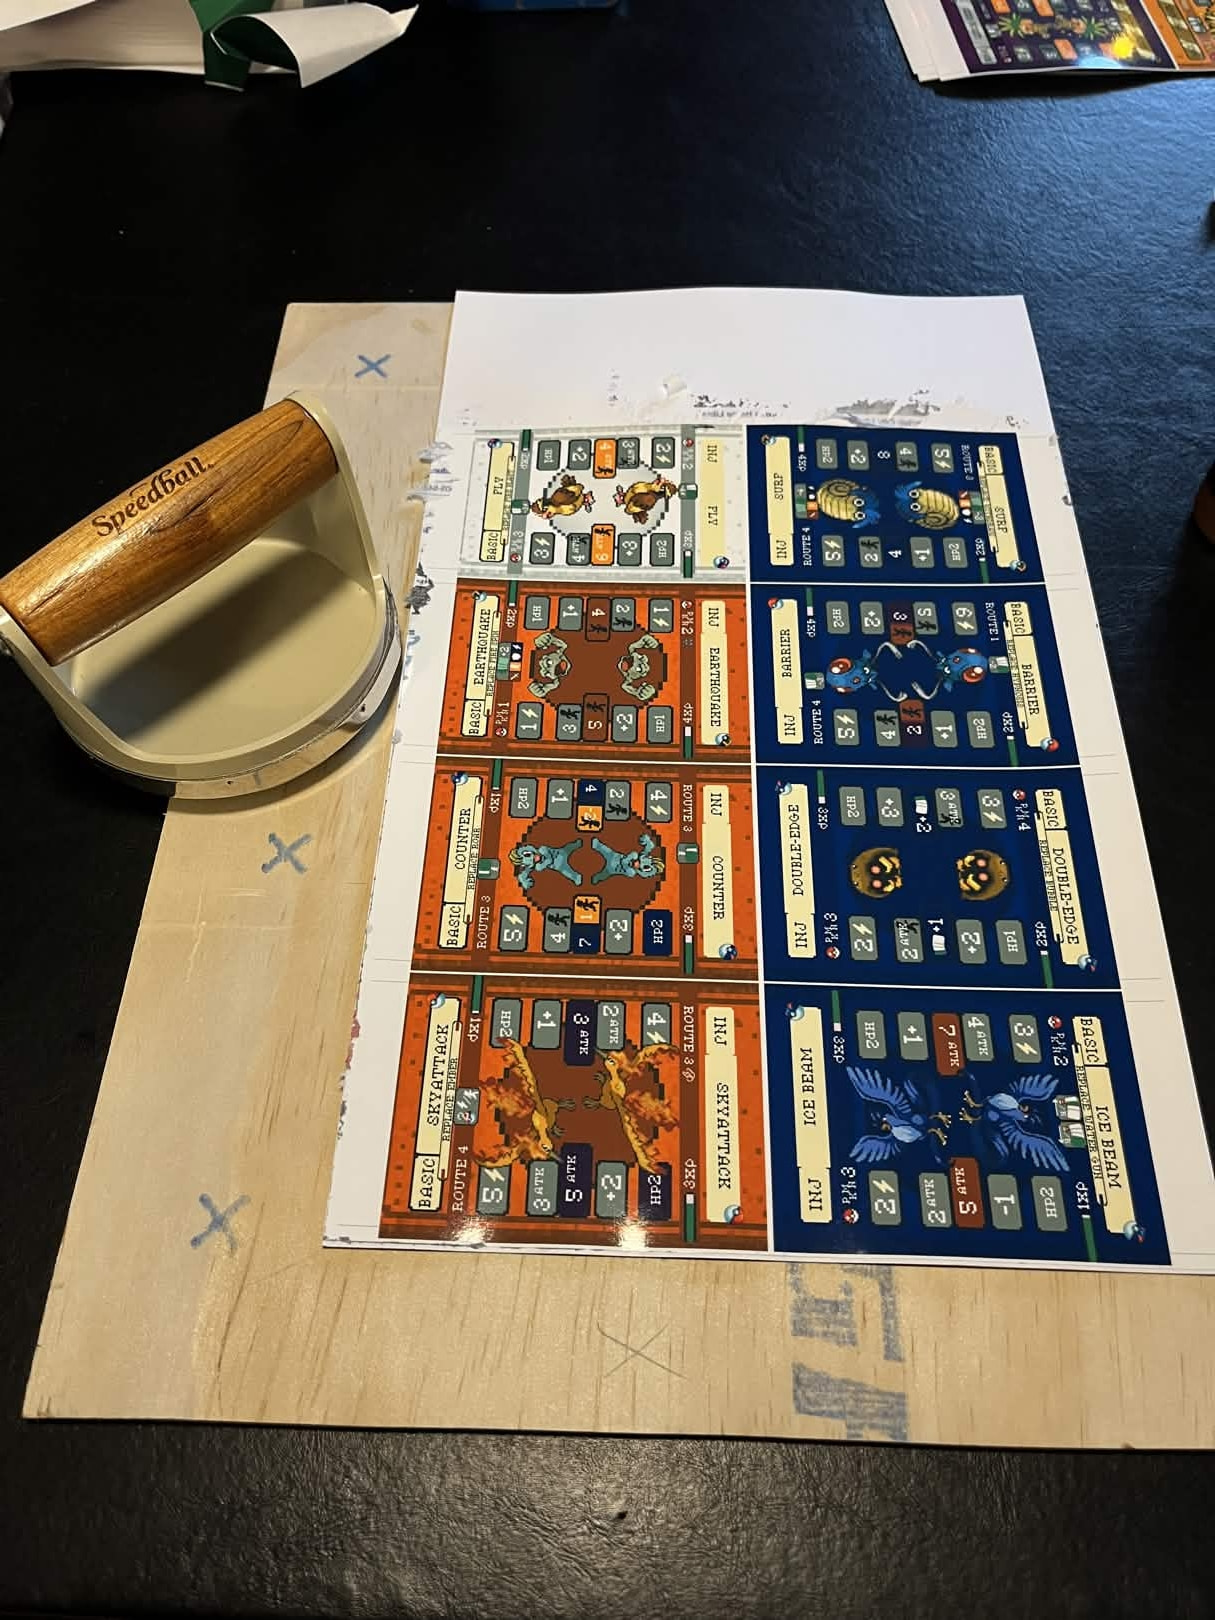
Finally it was time for the last cut on the face of the book and you know what? By this time I had so many different tools, trials and tribulations I just knocked it out in about a half hour. I went back to my little invention, the plunge cutter, since it only takes about 5 minutes to make a cut where as any other technique took over an HOUR! So I cut it, it turned out crooked as expected, I just figured I’d plane it down from there when I was like NO DUH just flip the book around and cut it again leading from the high edge. It totally worked. Then I just smoothed it out and here it finally is.

Holy shit was this a pain in the ass! four straight days working all day on this project. But you know what? The next one is going to be such a breeze in comparison. Worth it? Well, in personal value yes absolutely. This is a hobby after all. I’m starting on the next paperback now.

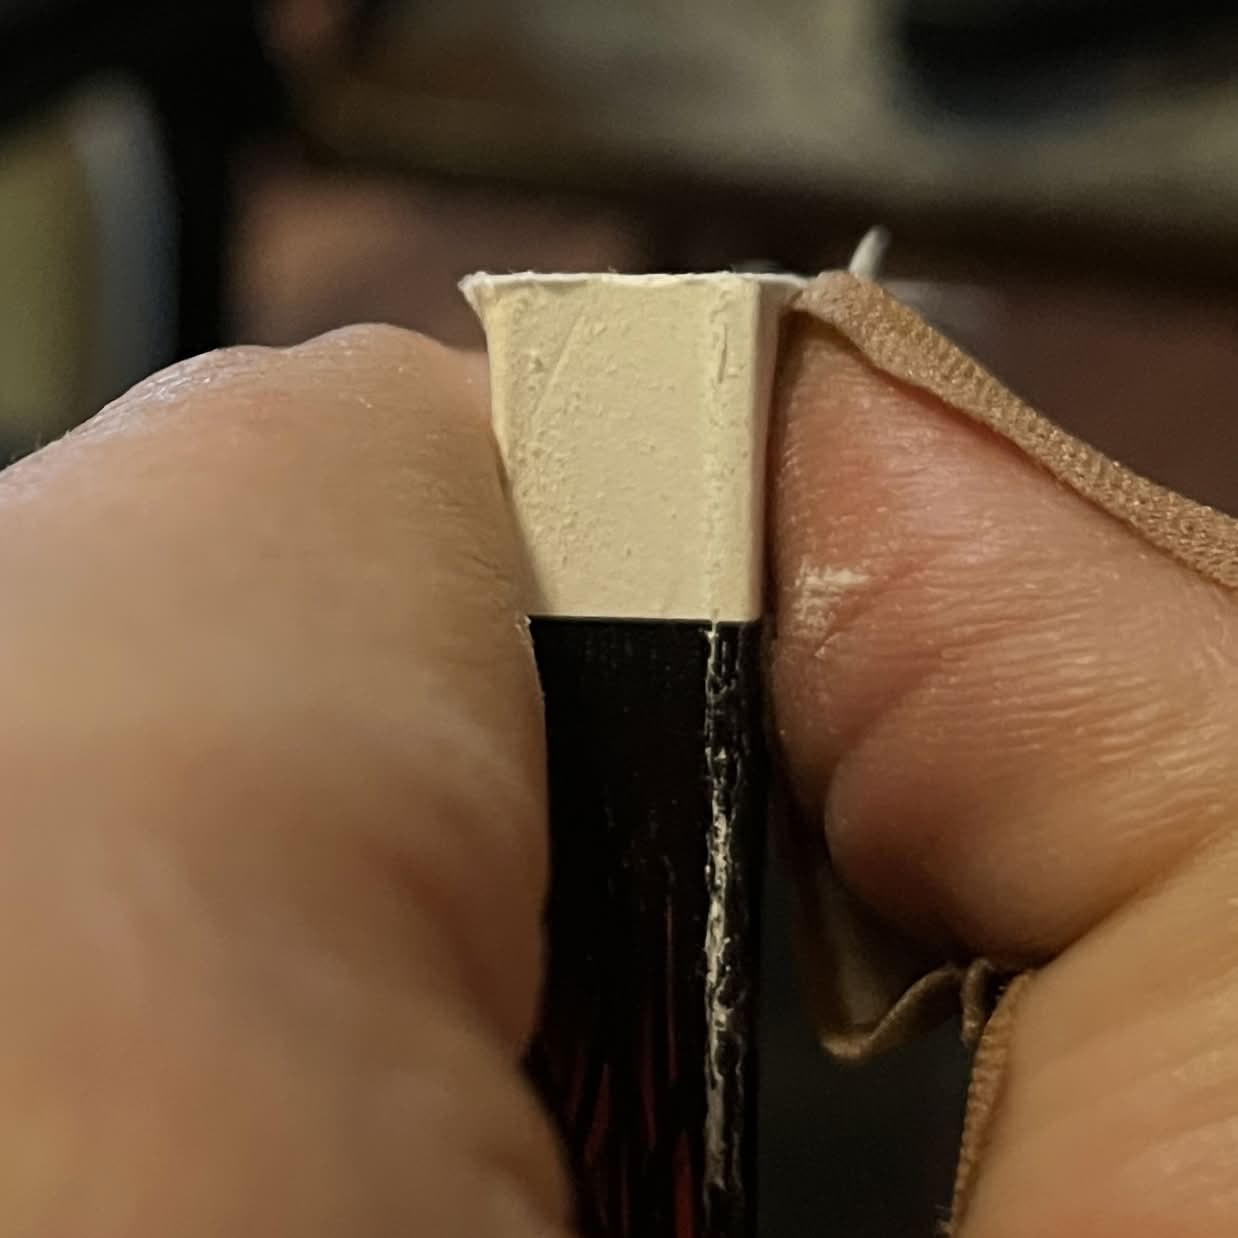
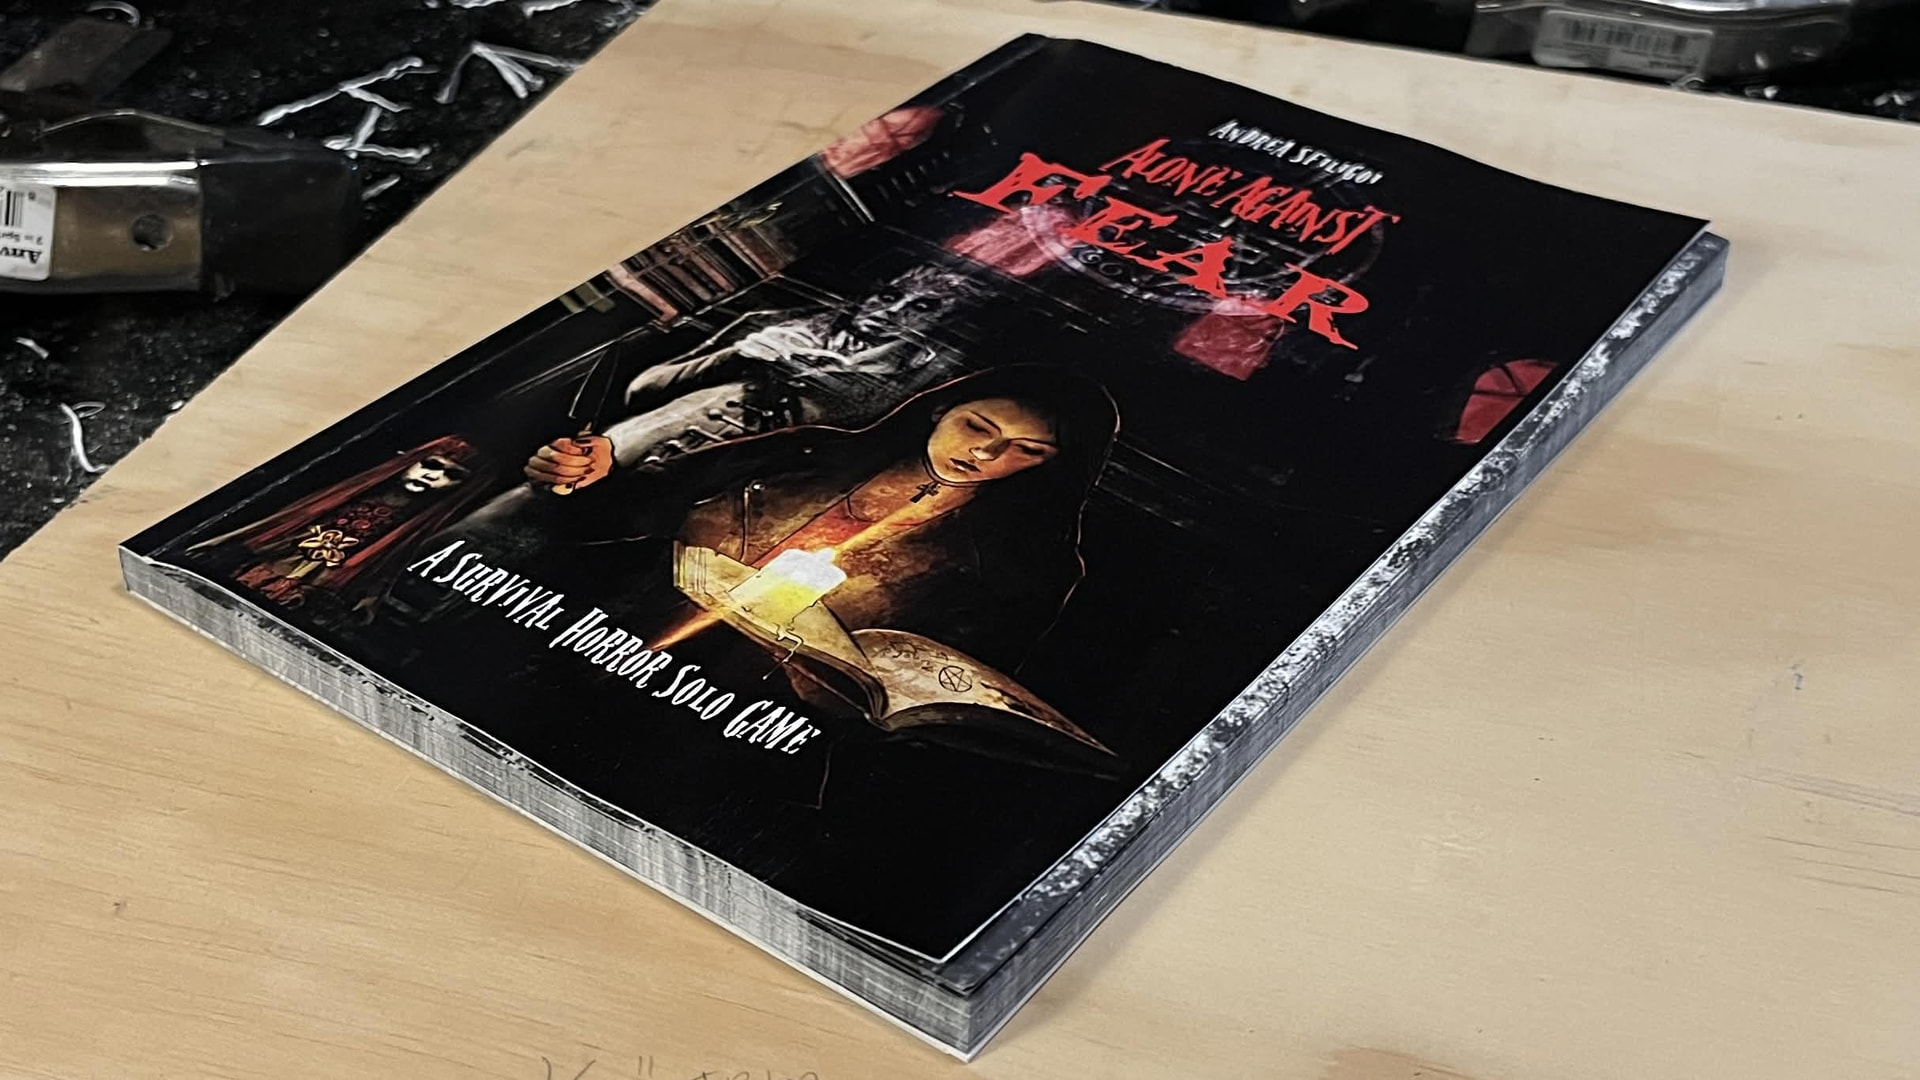
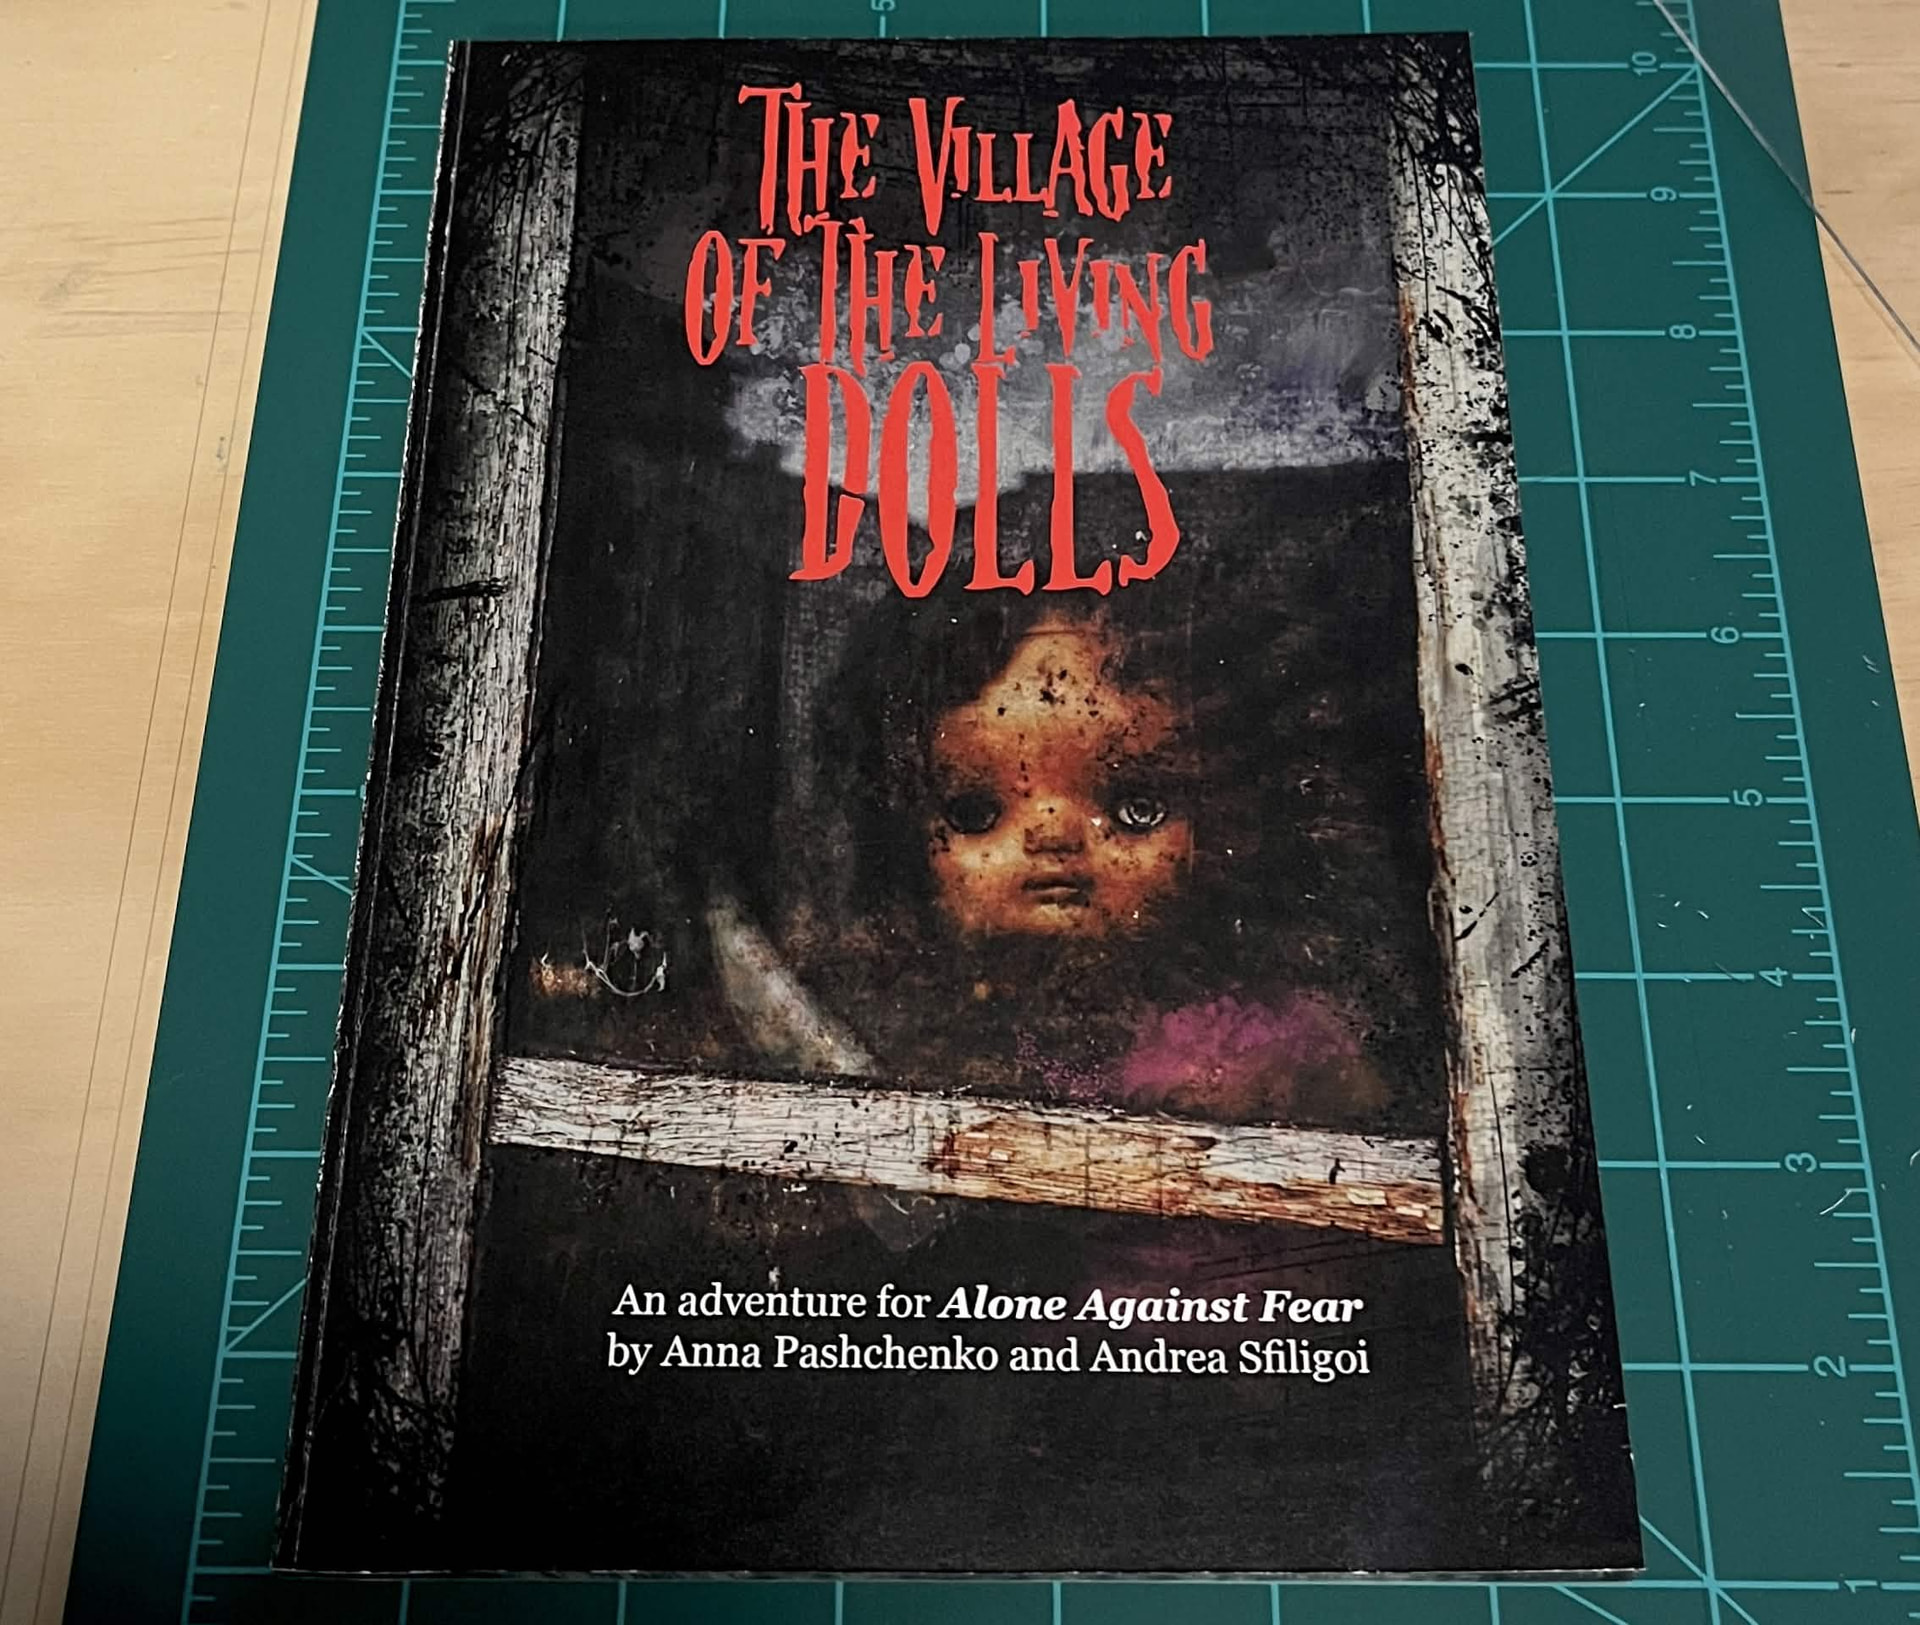
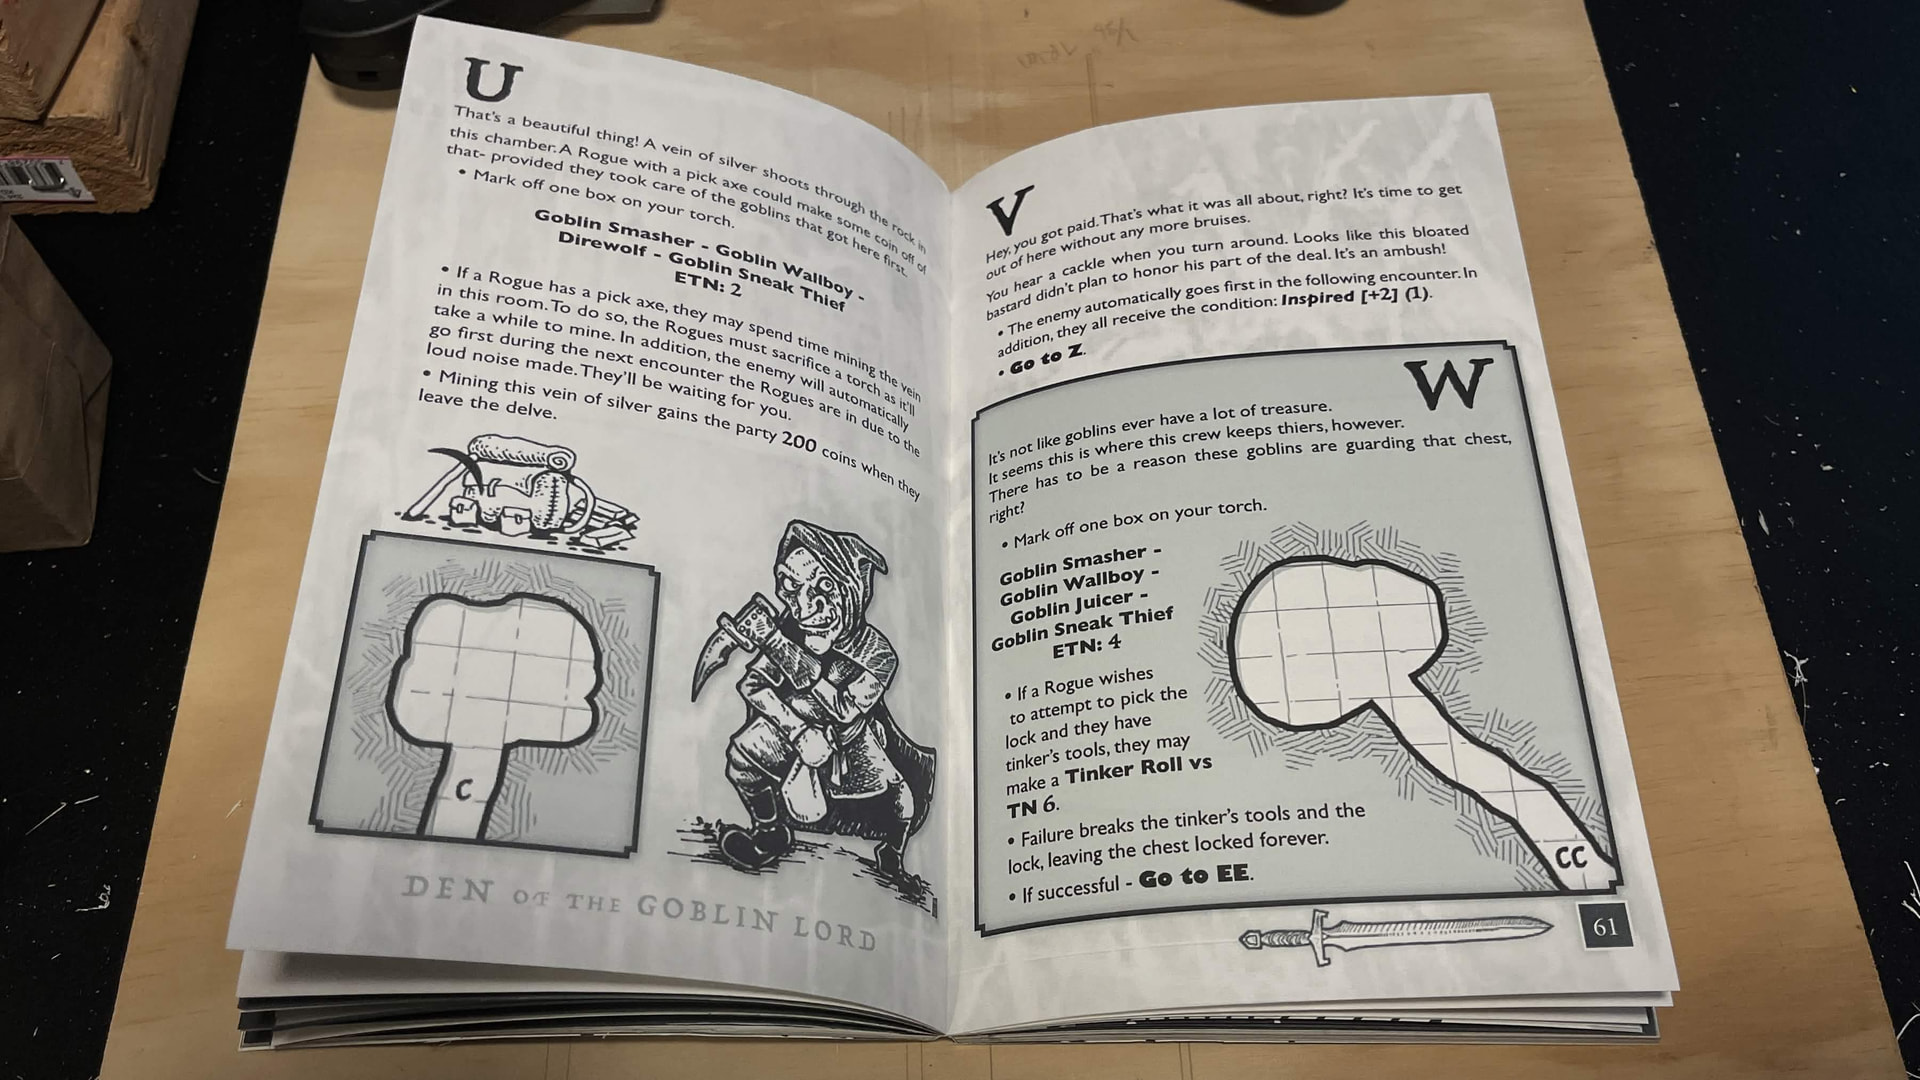
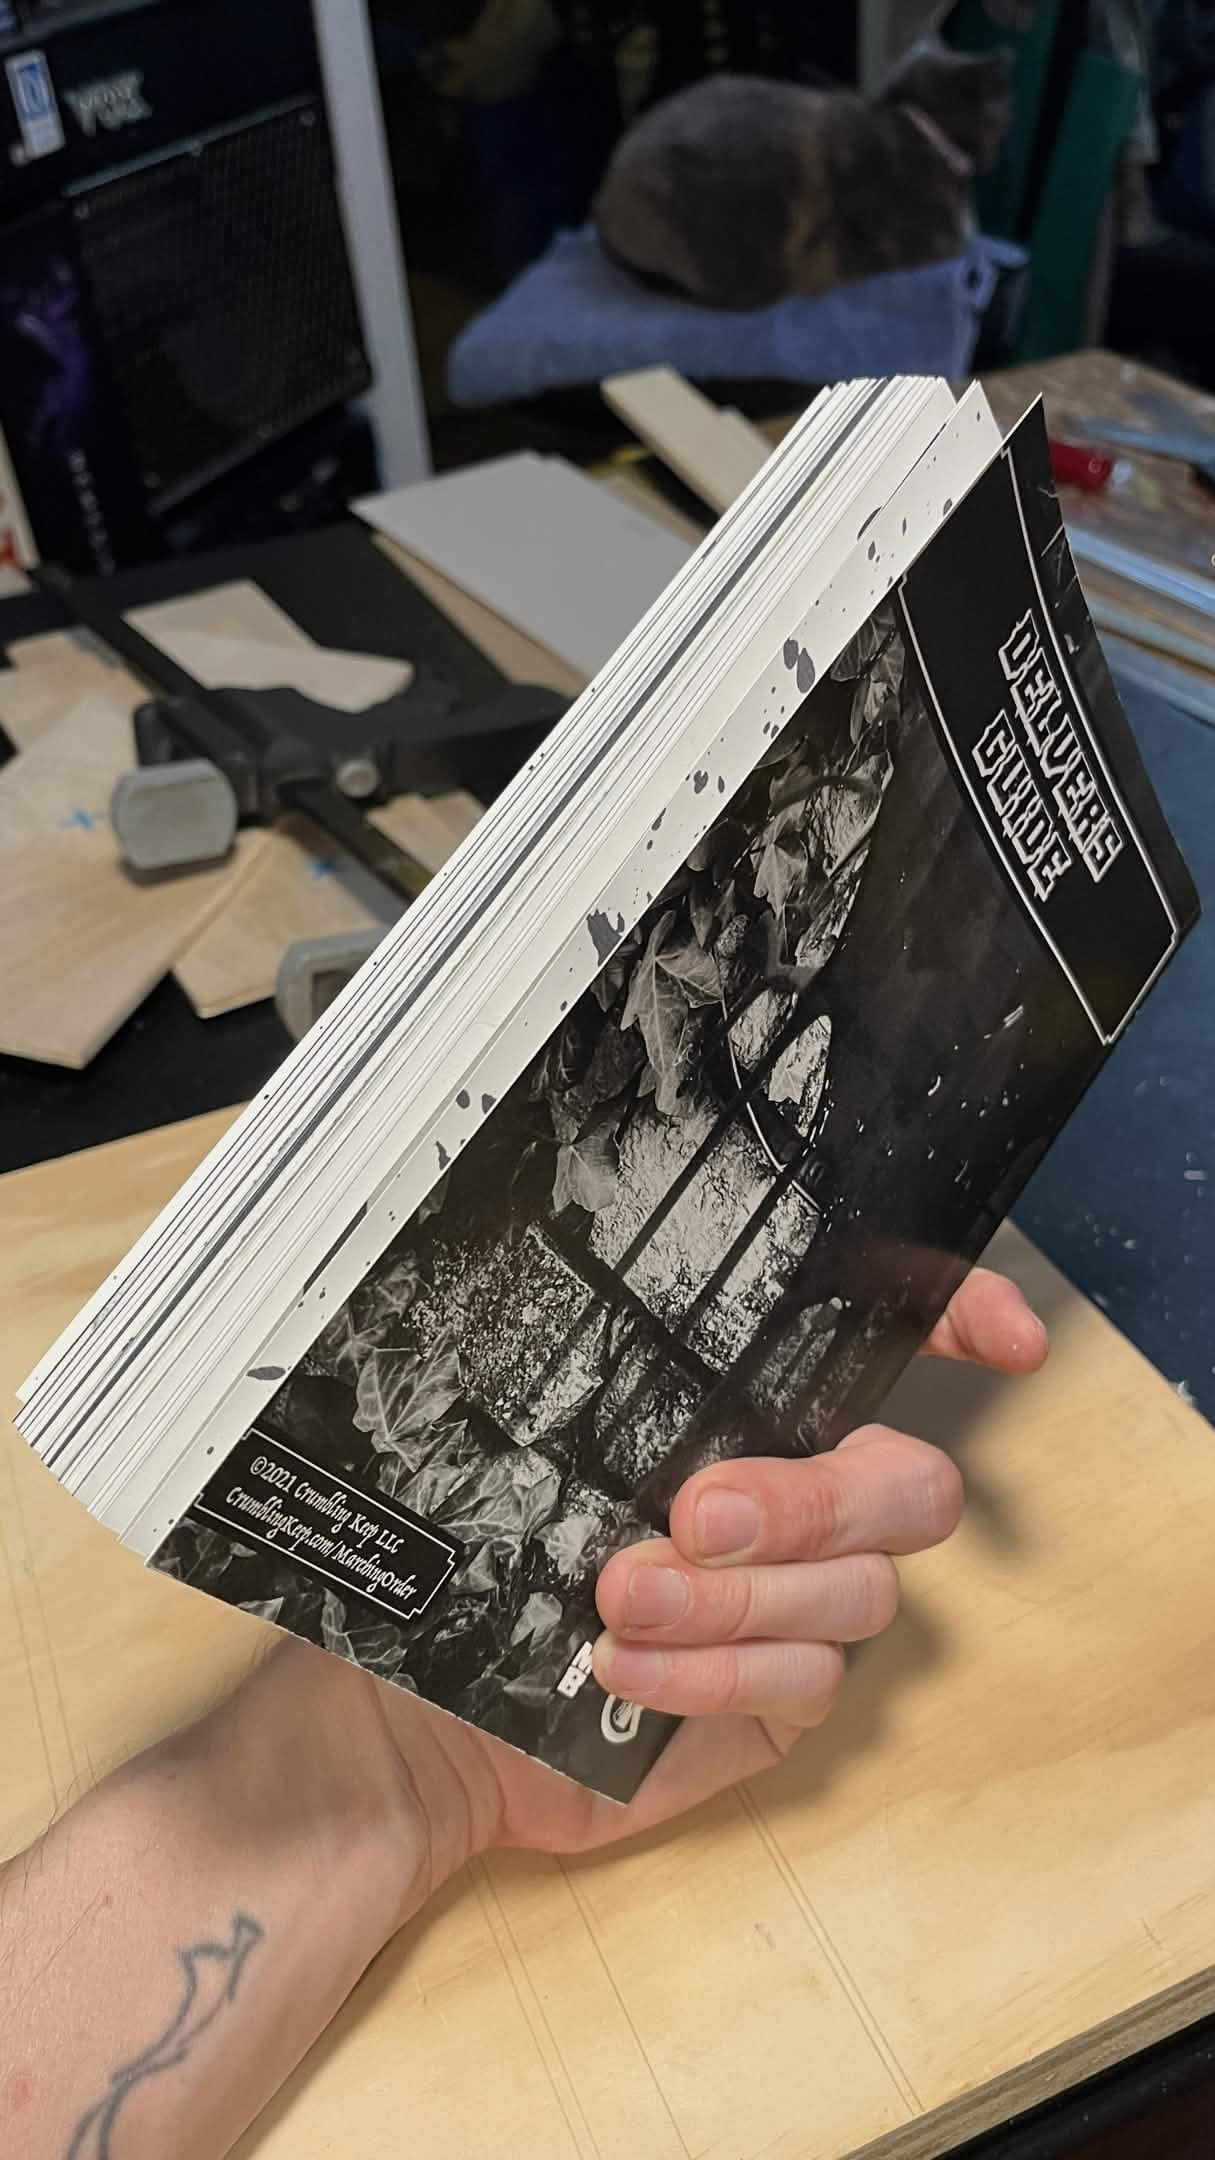
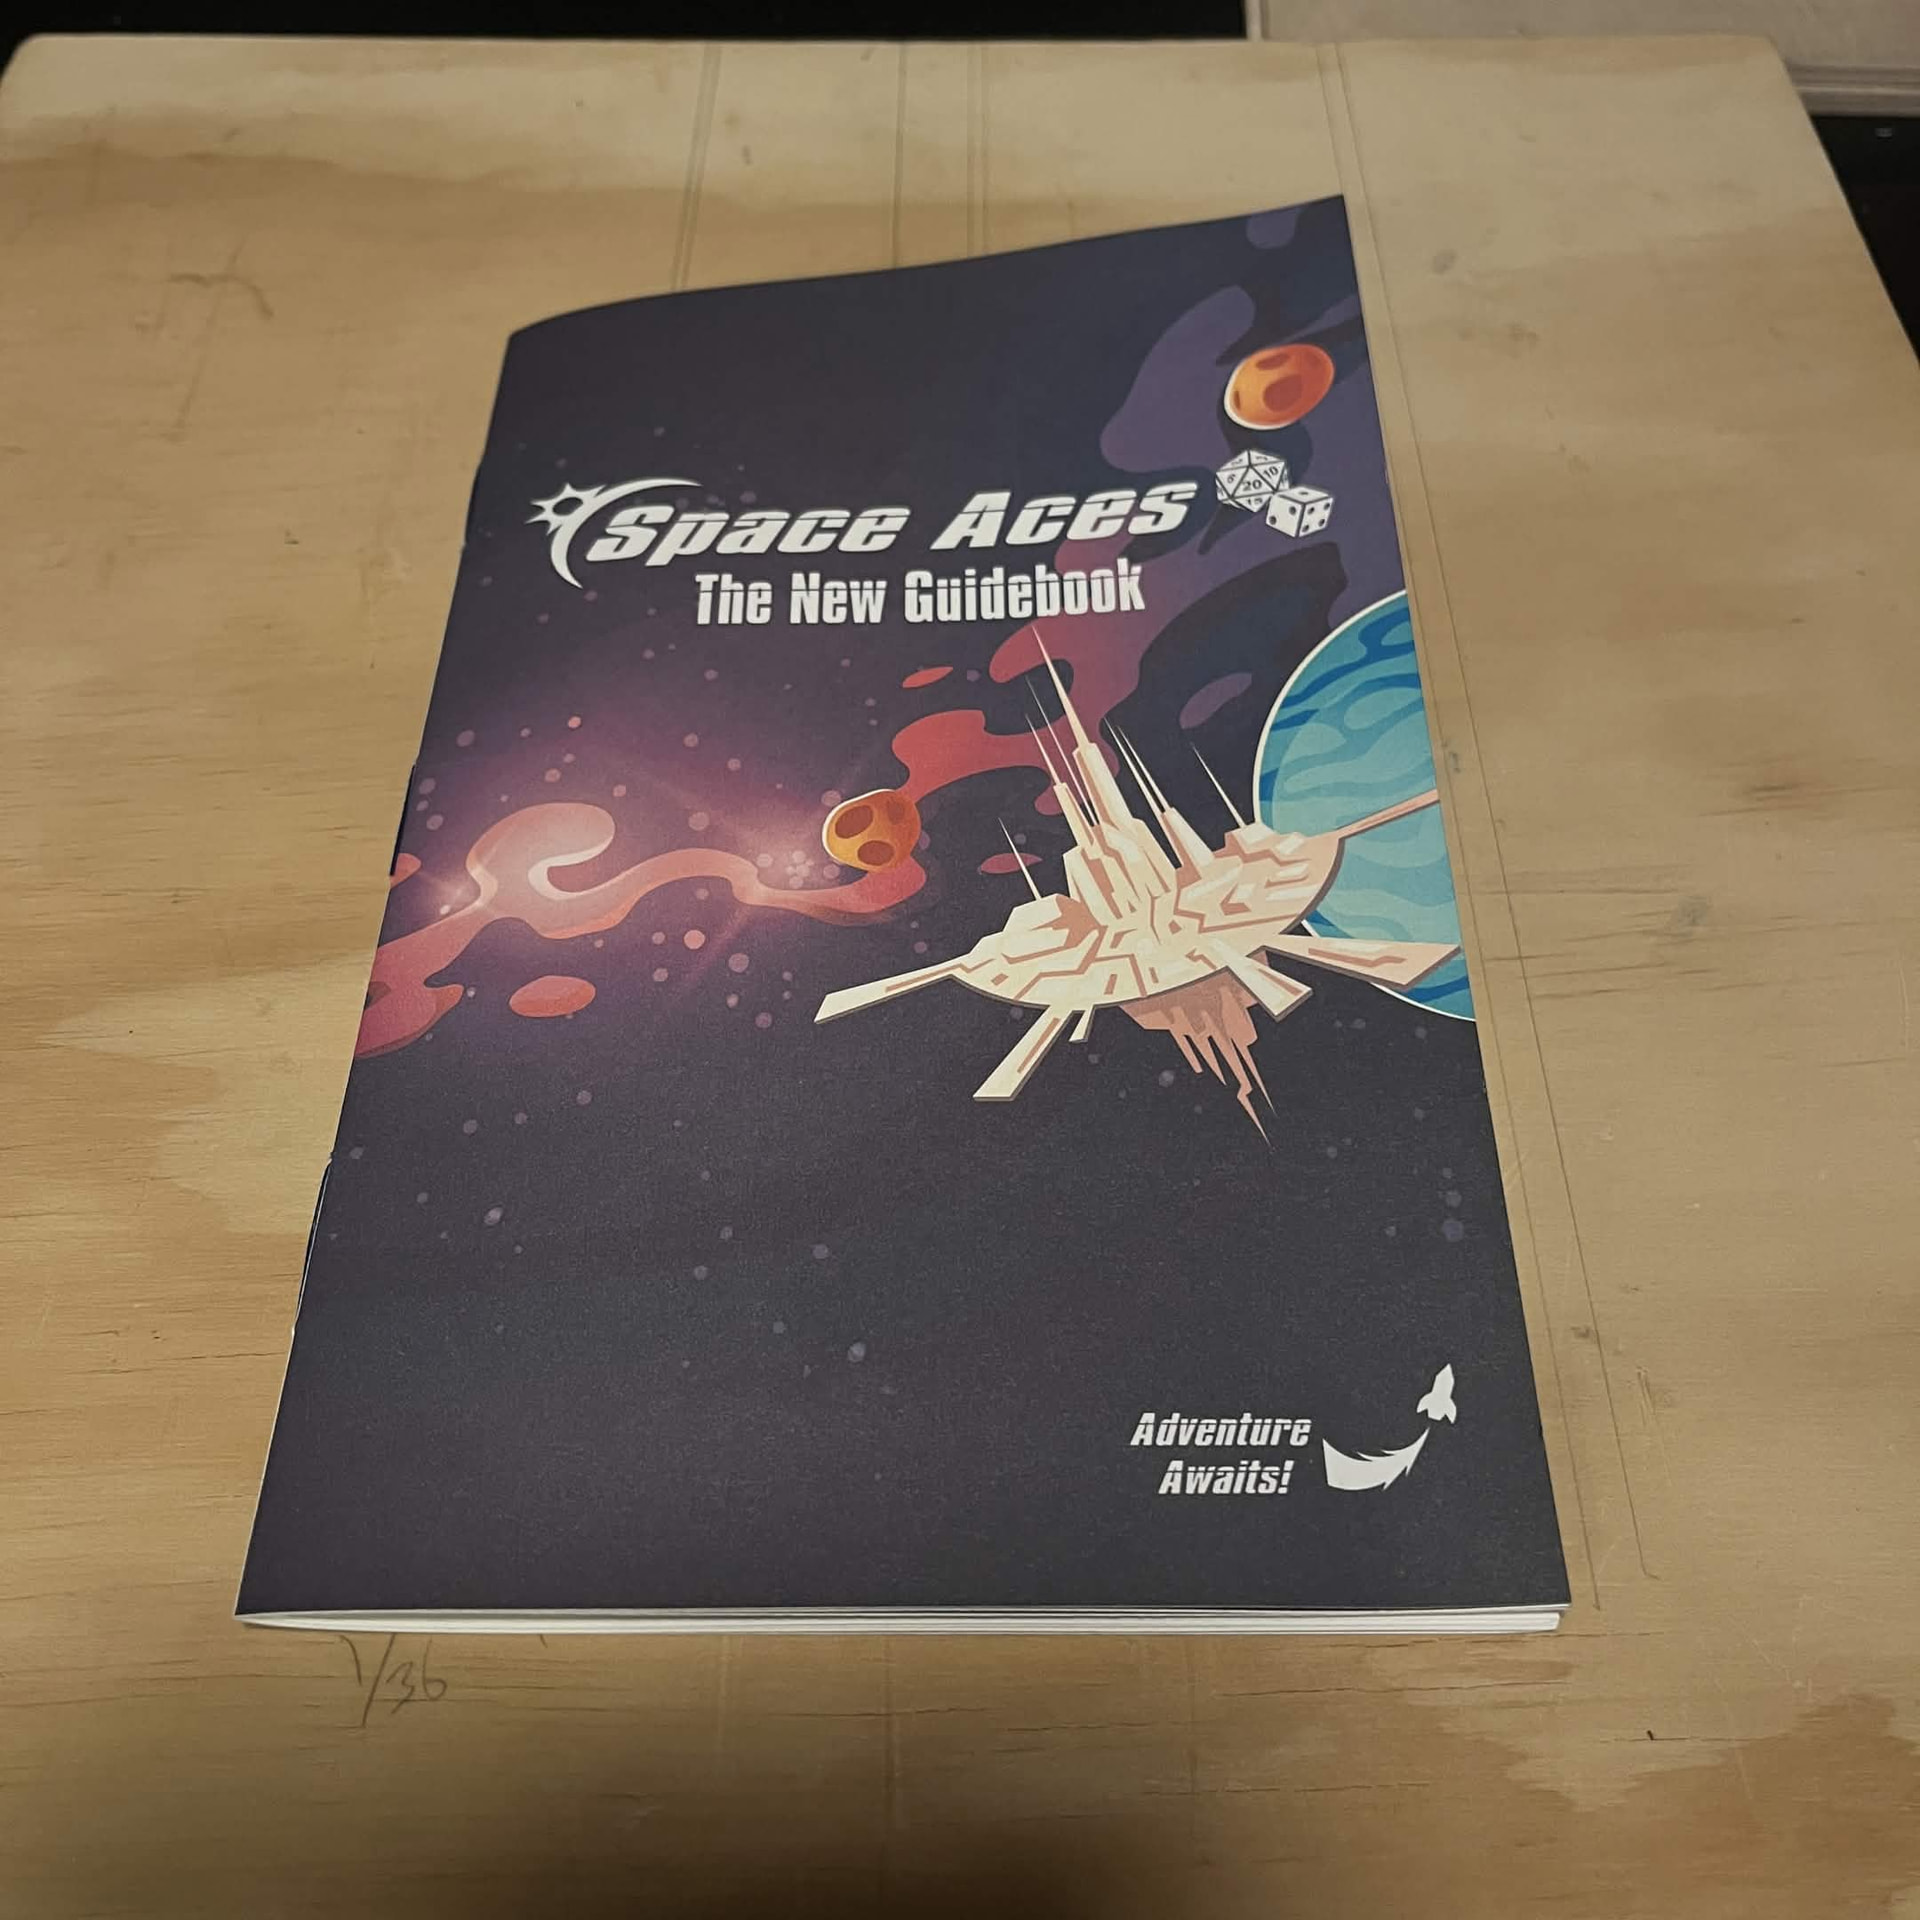
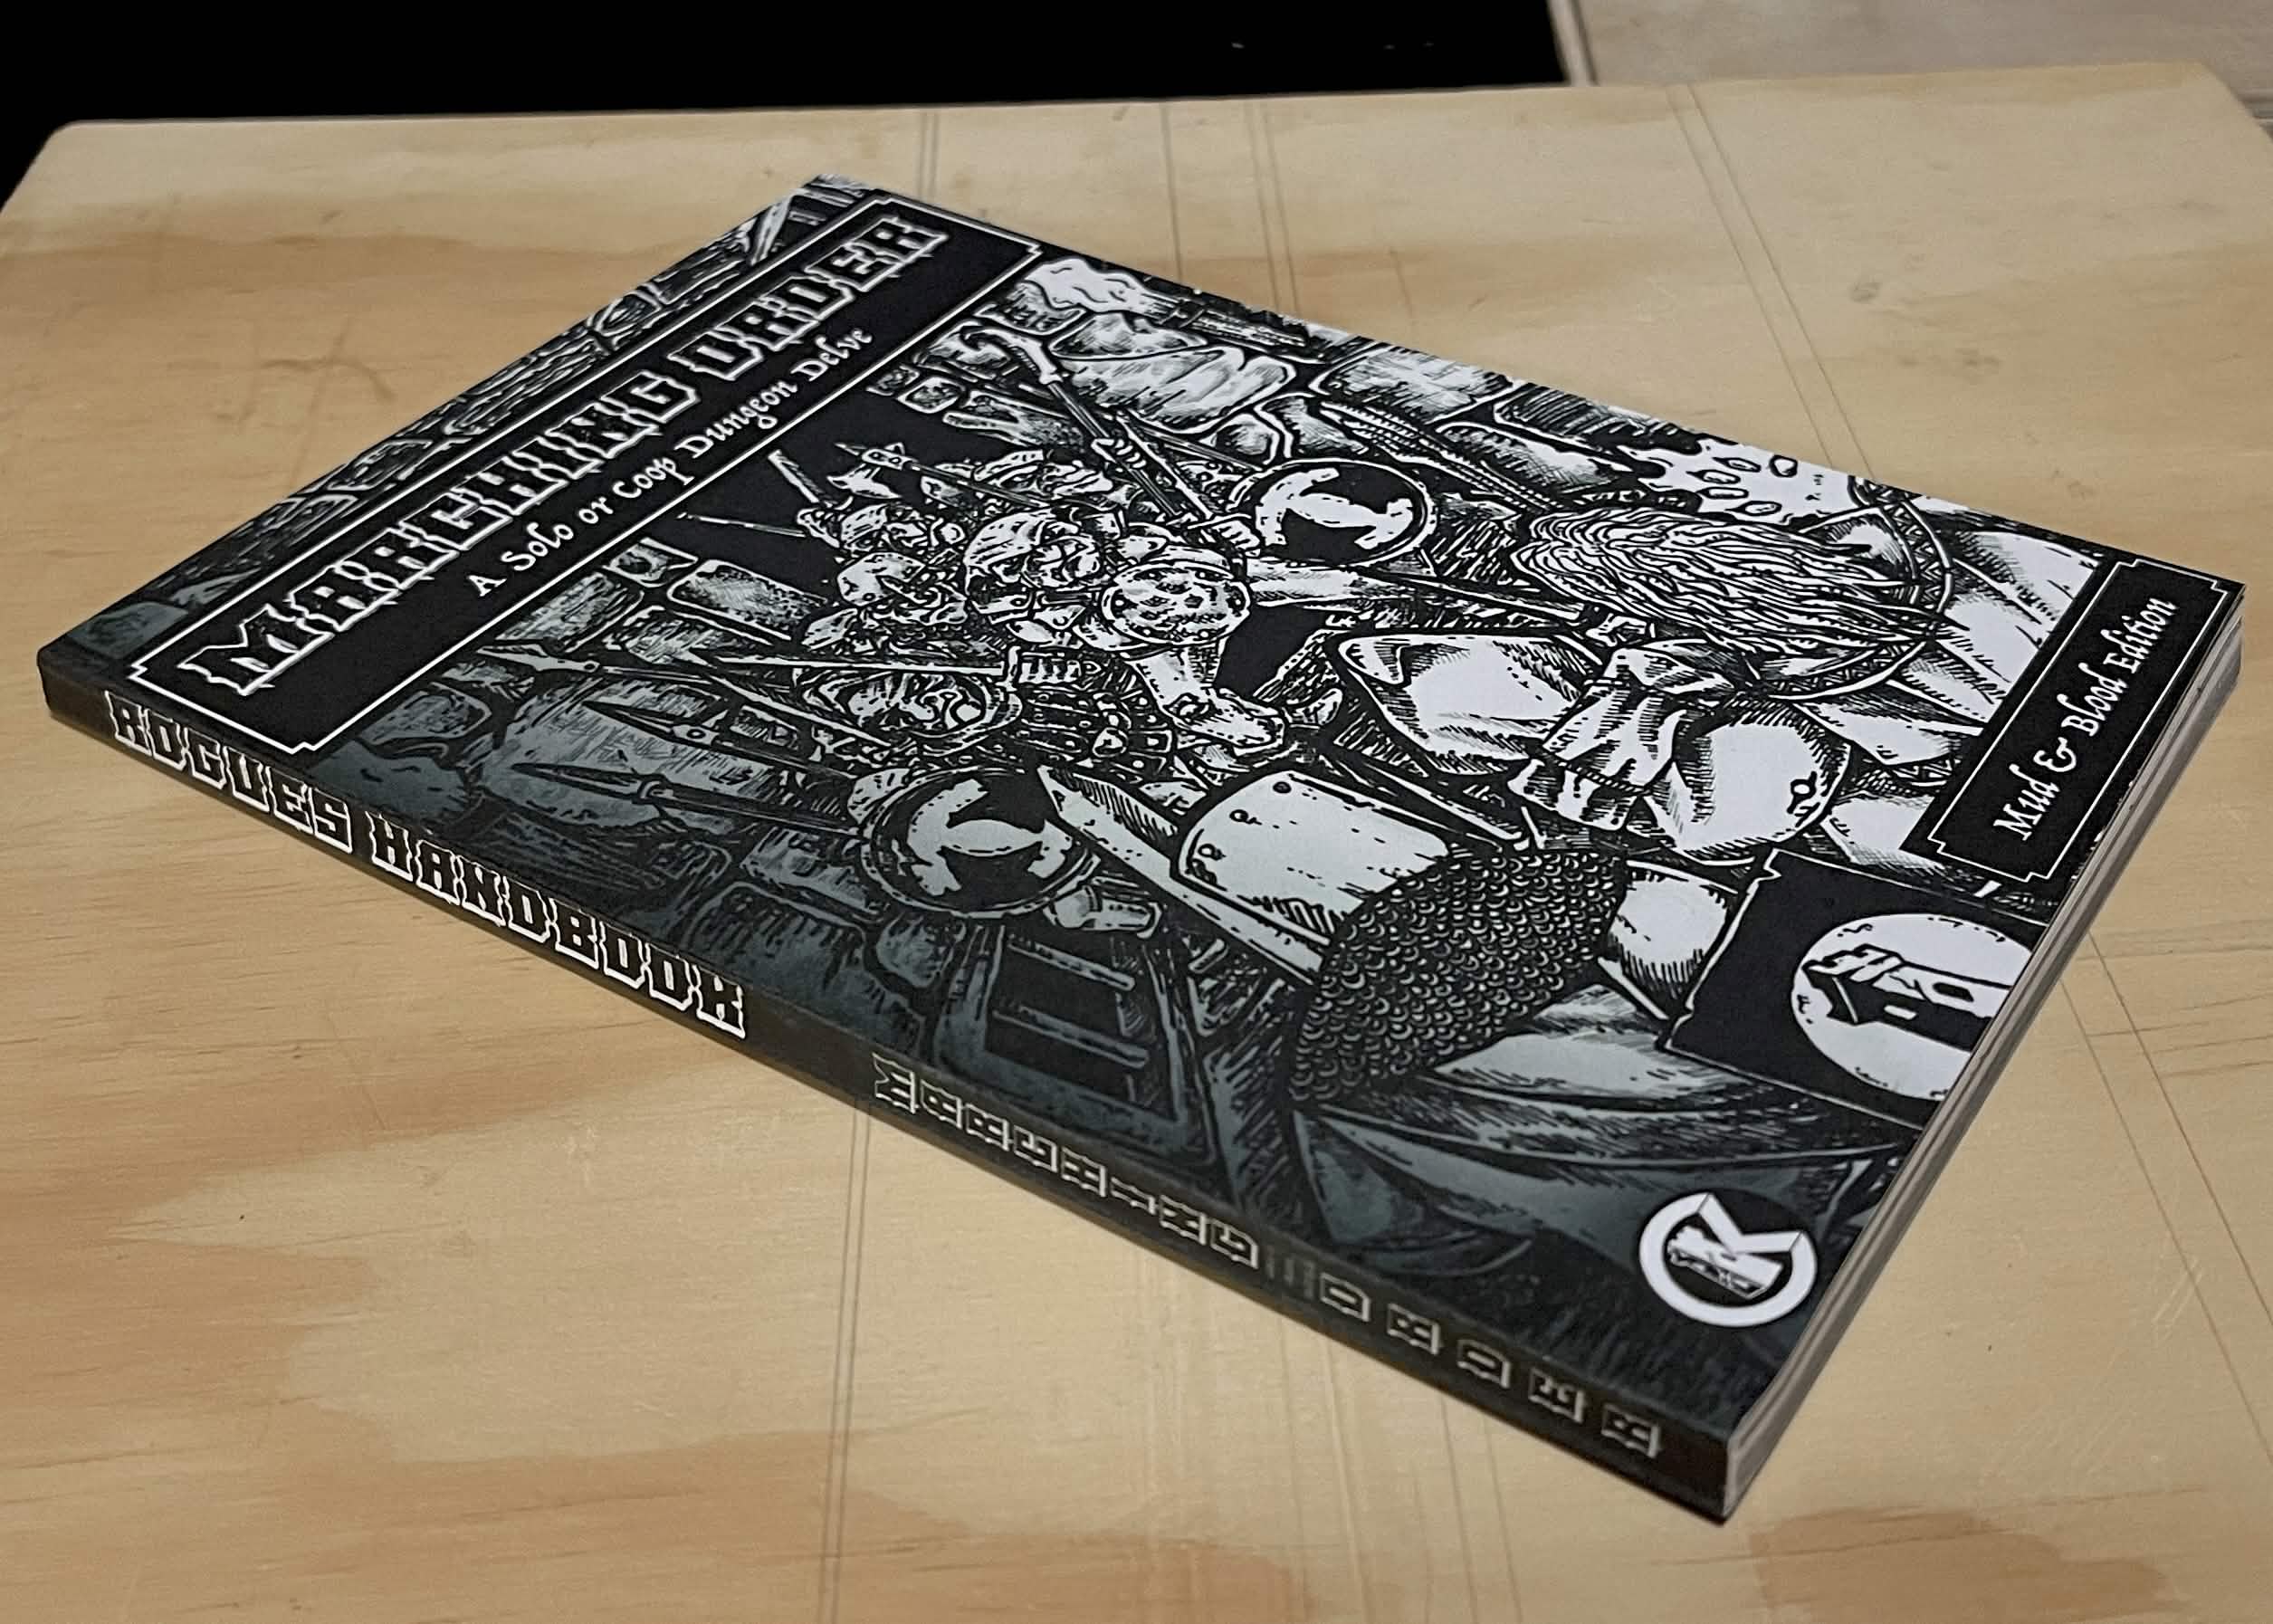
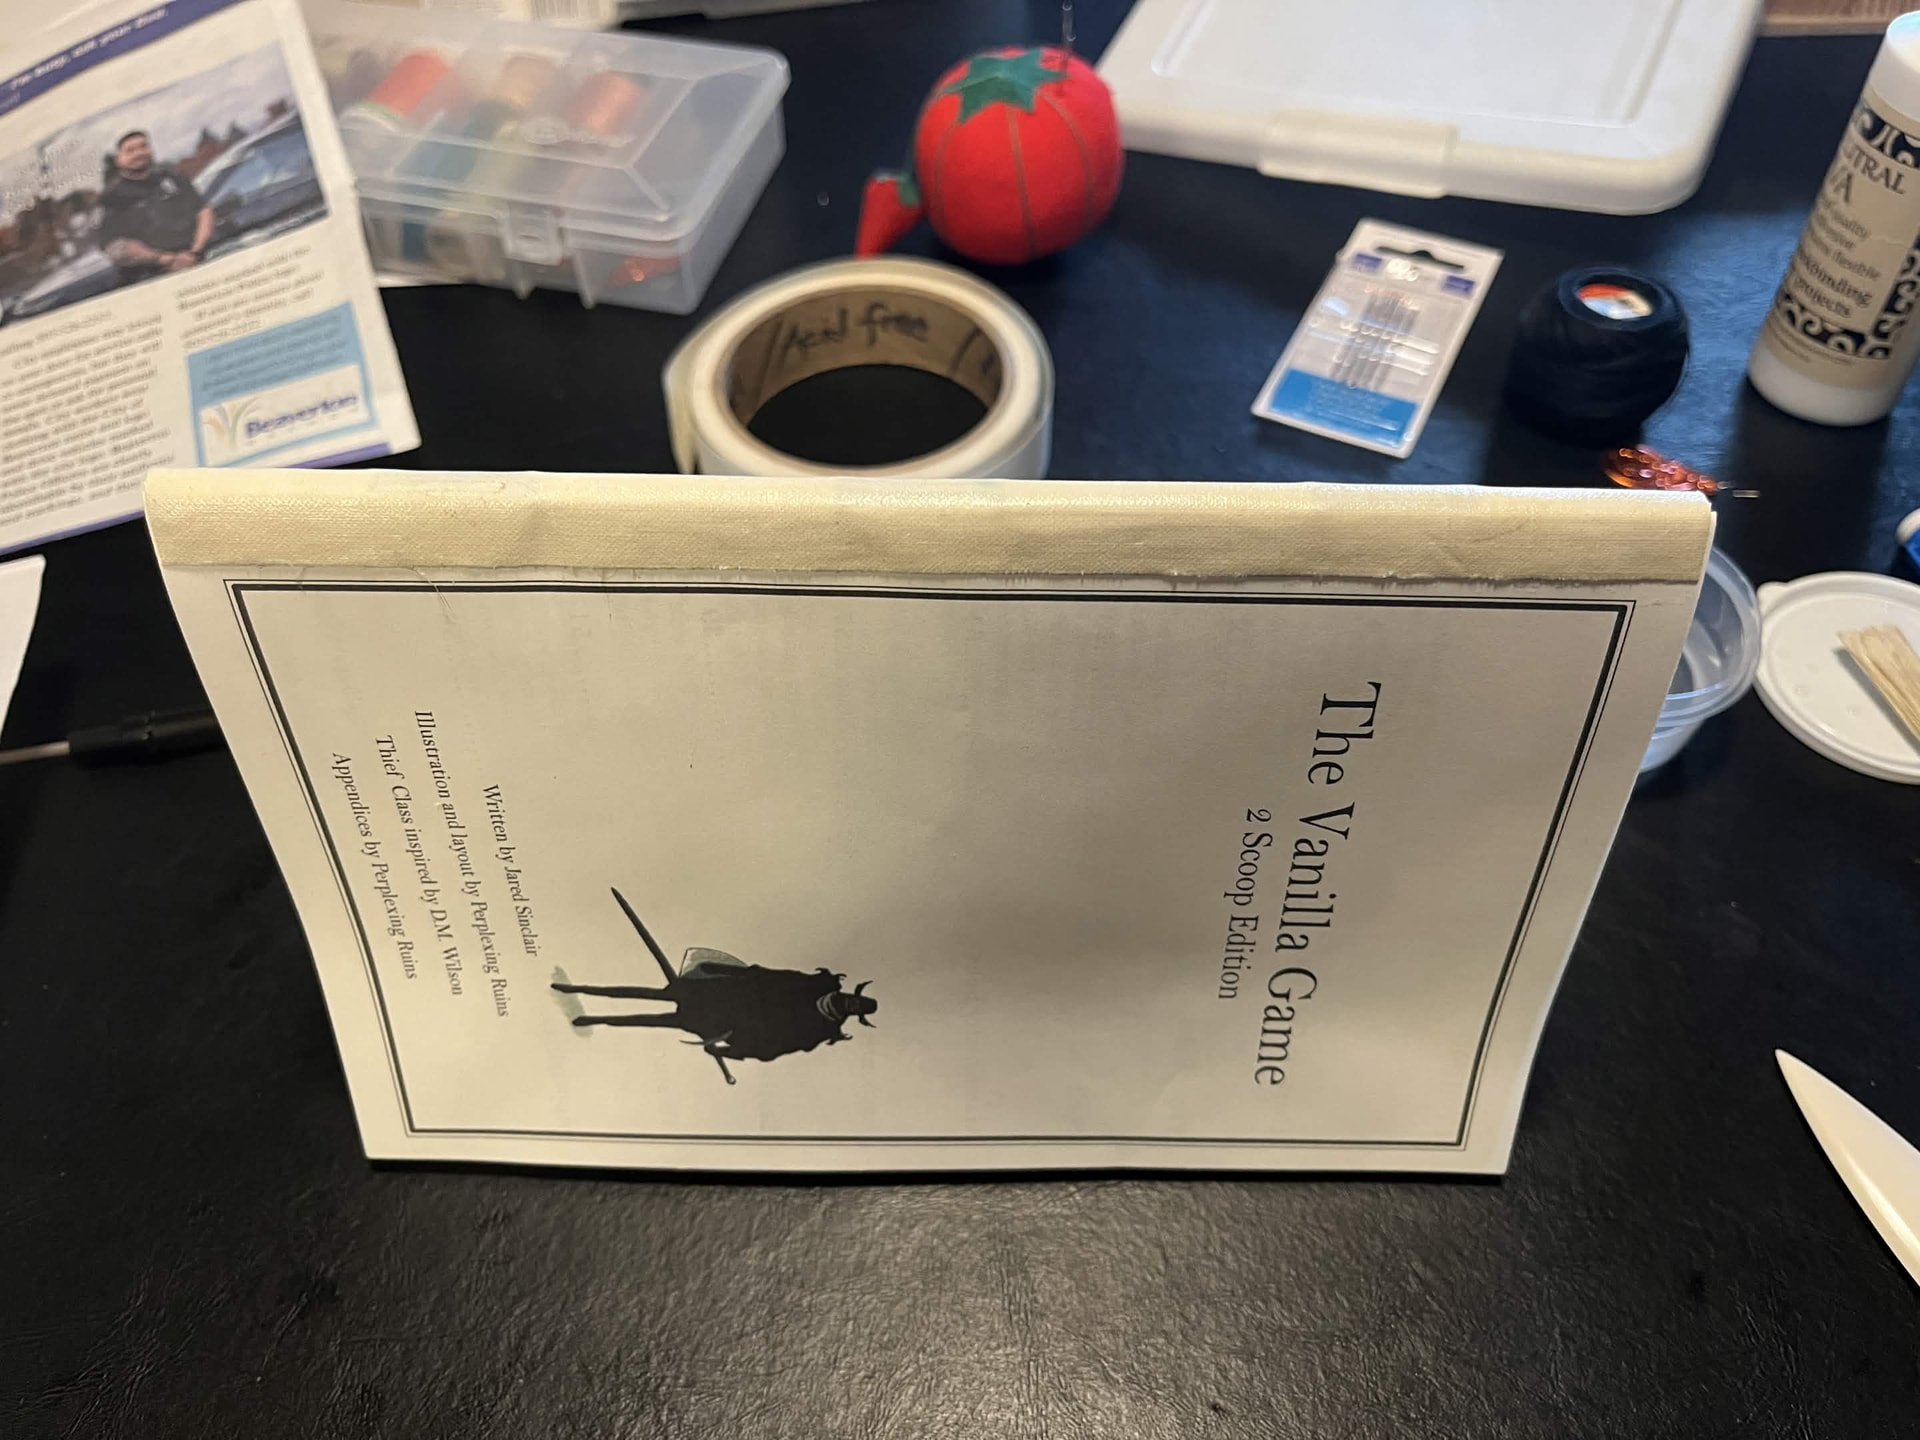
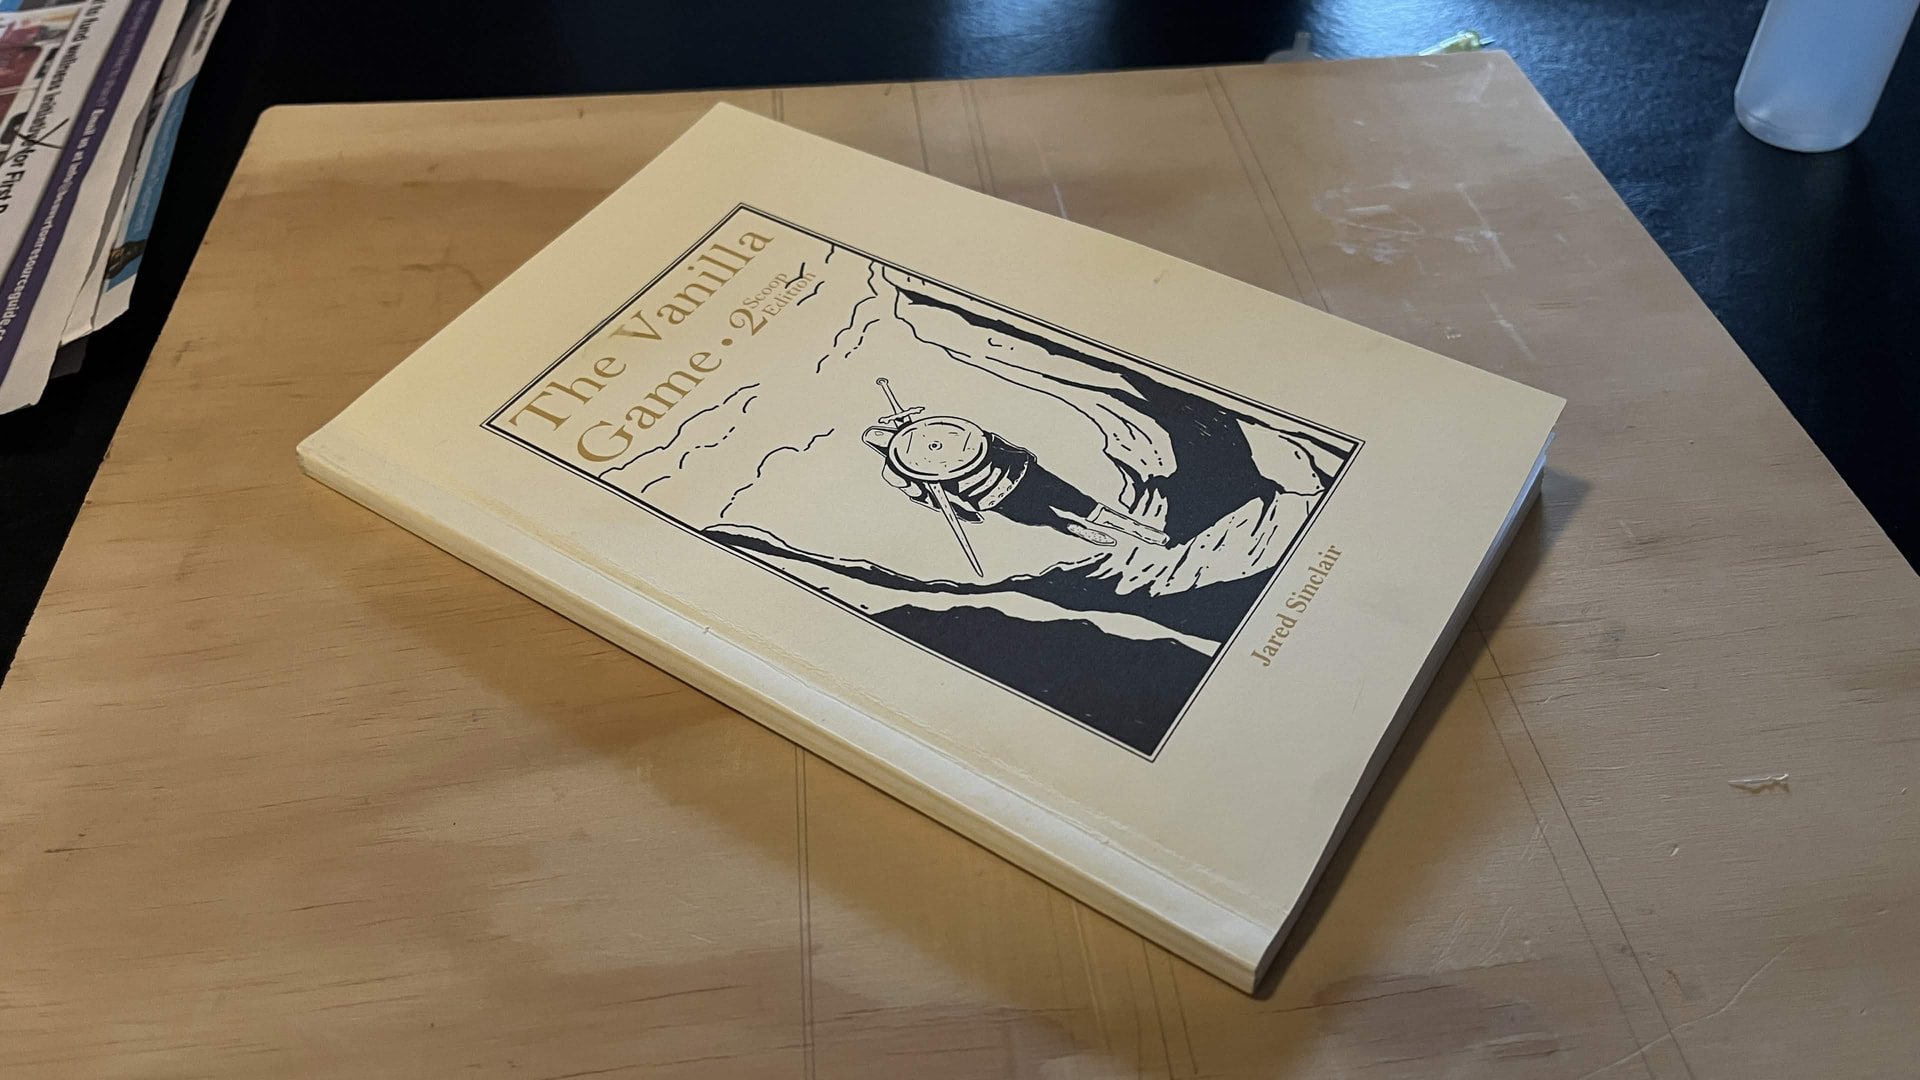
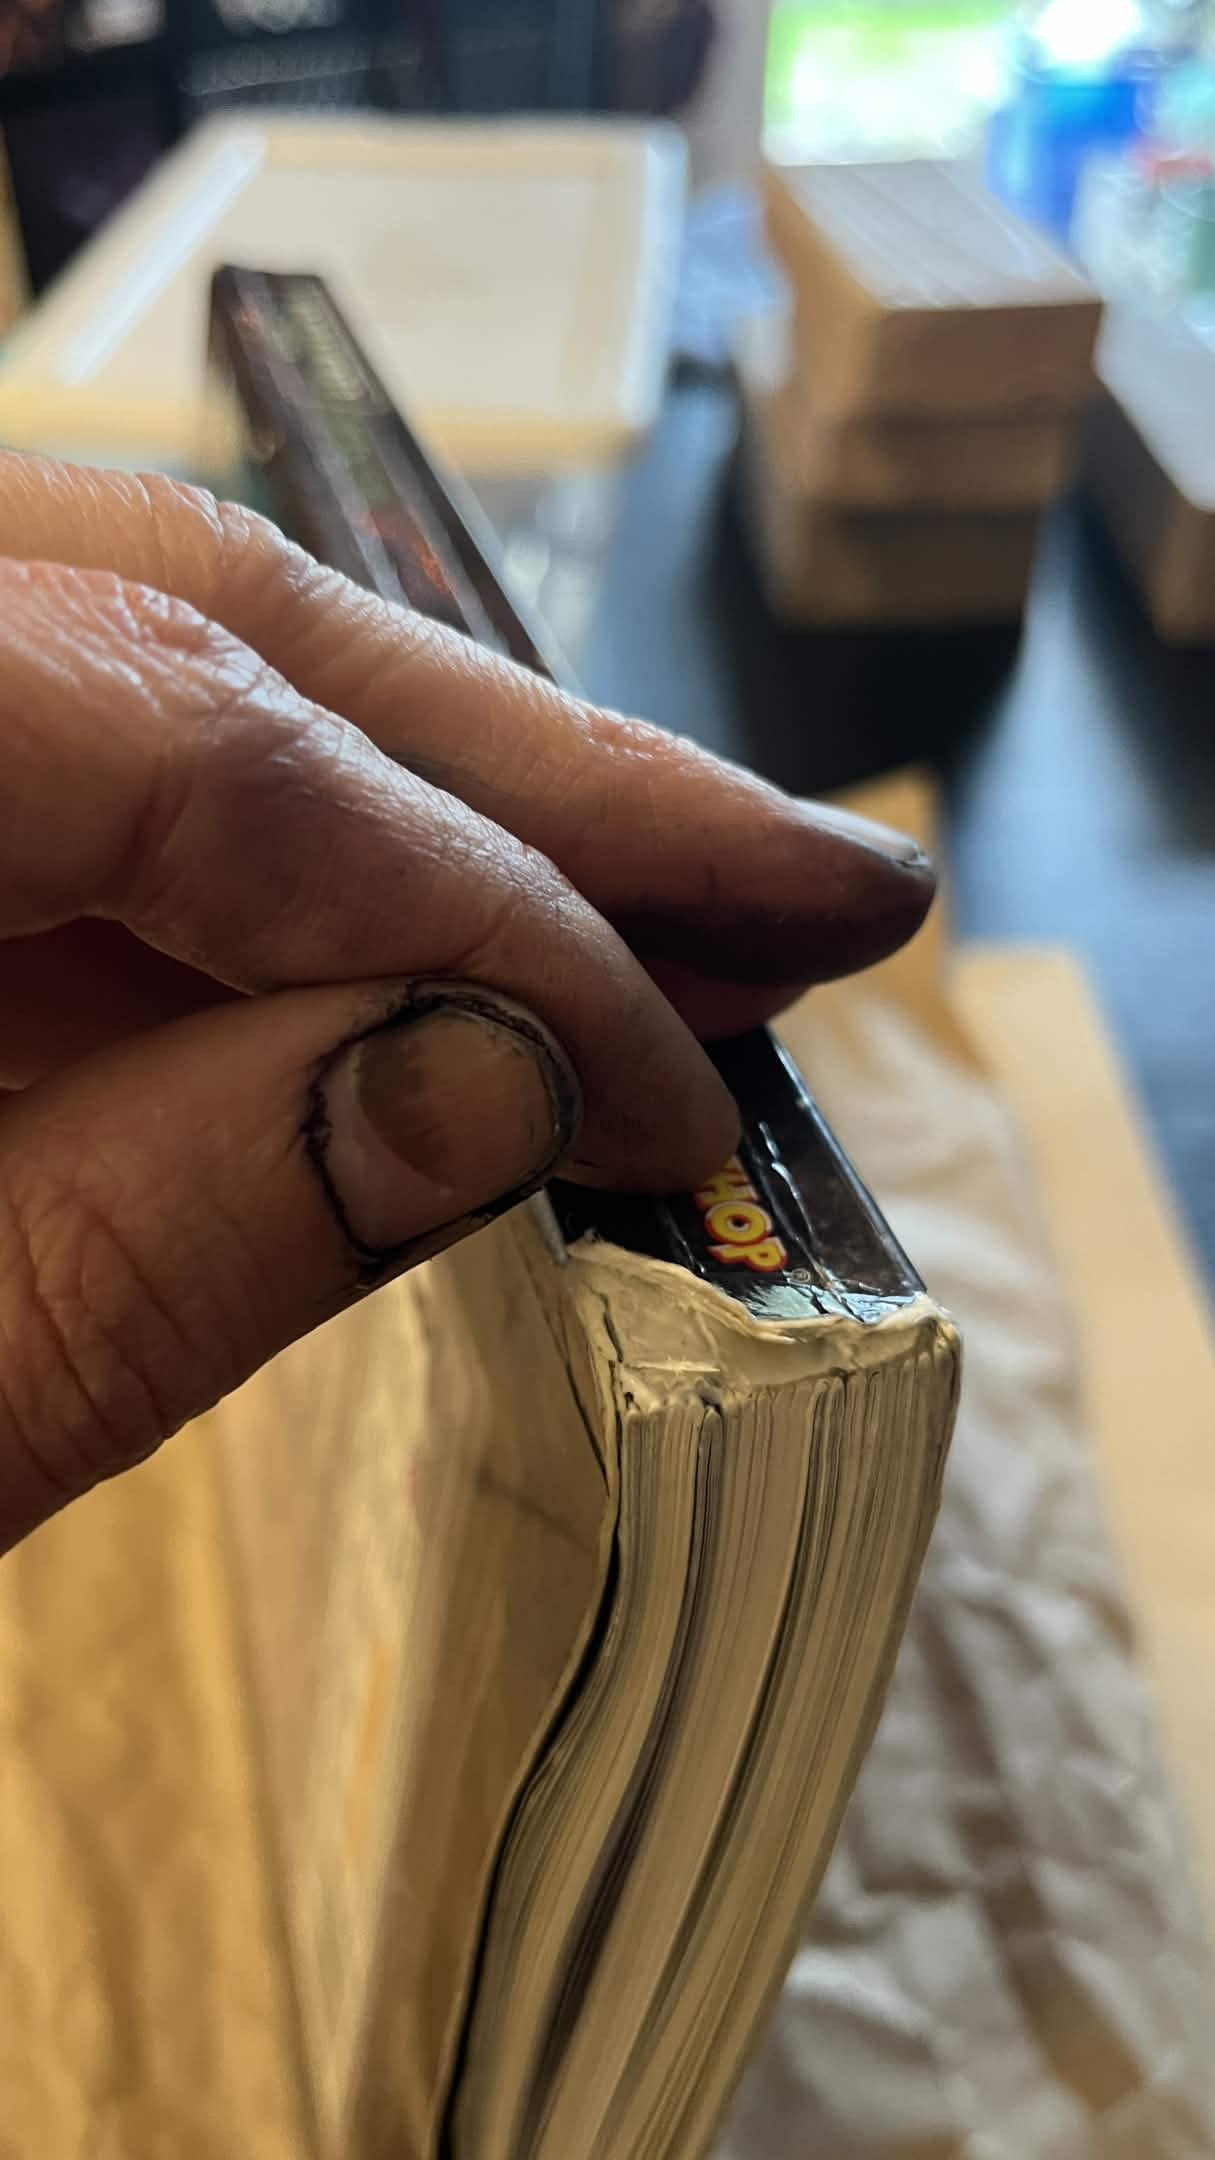
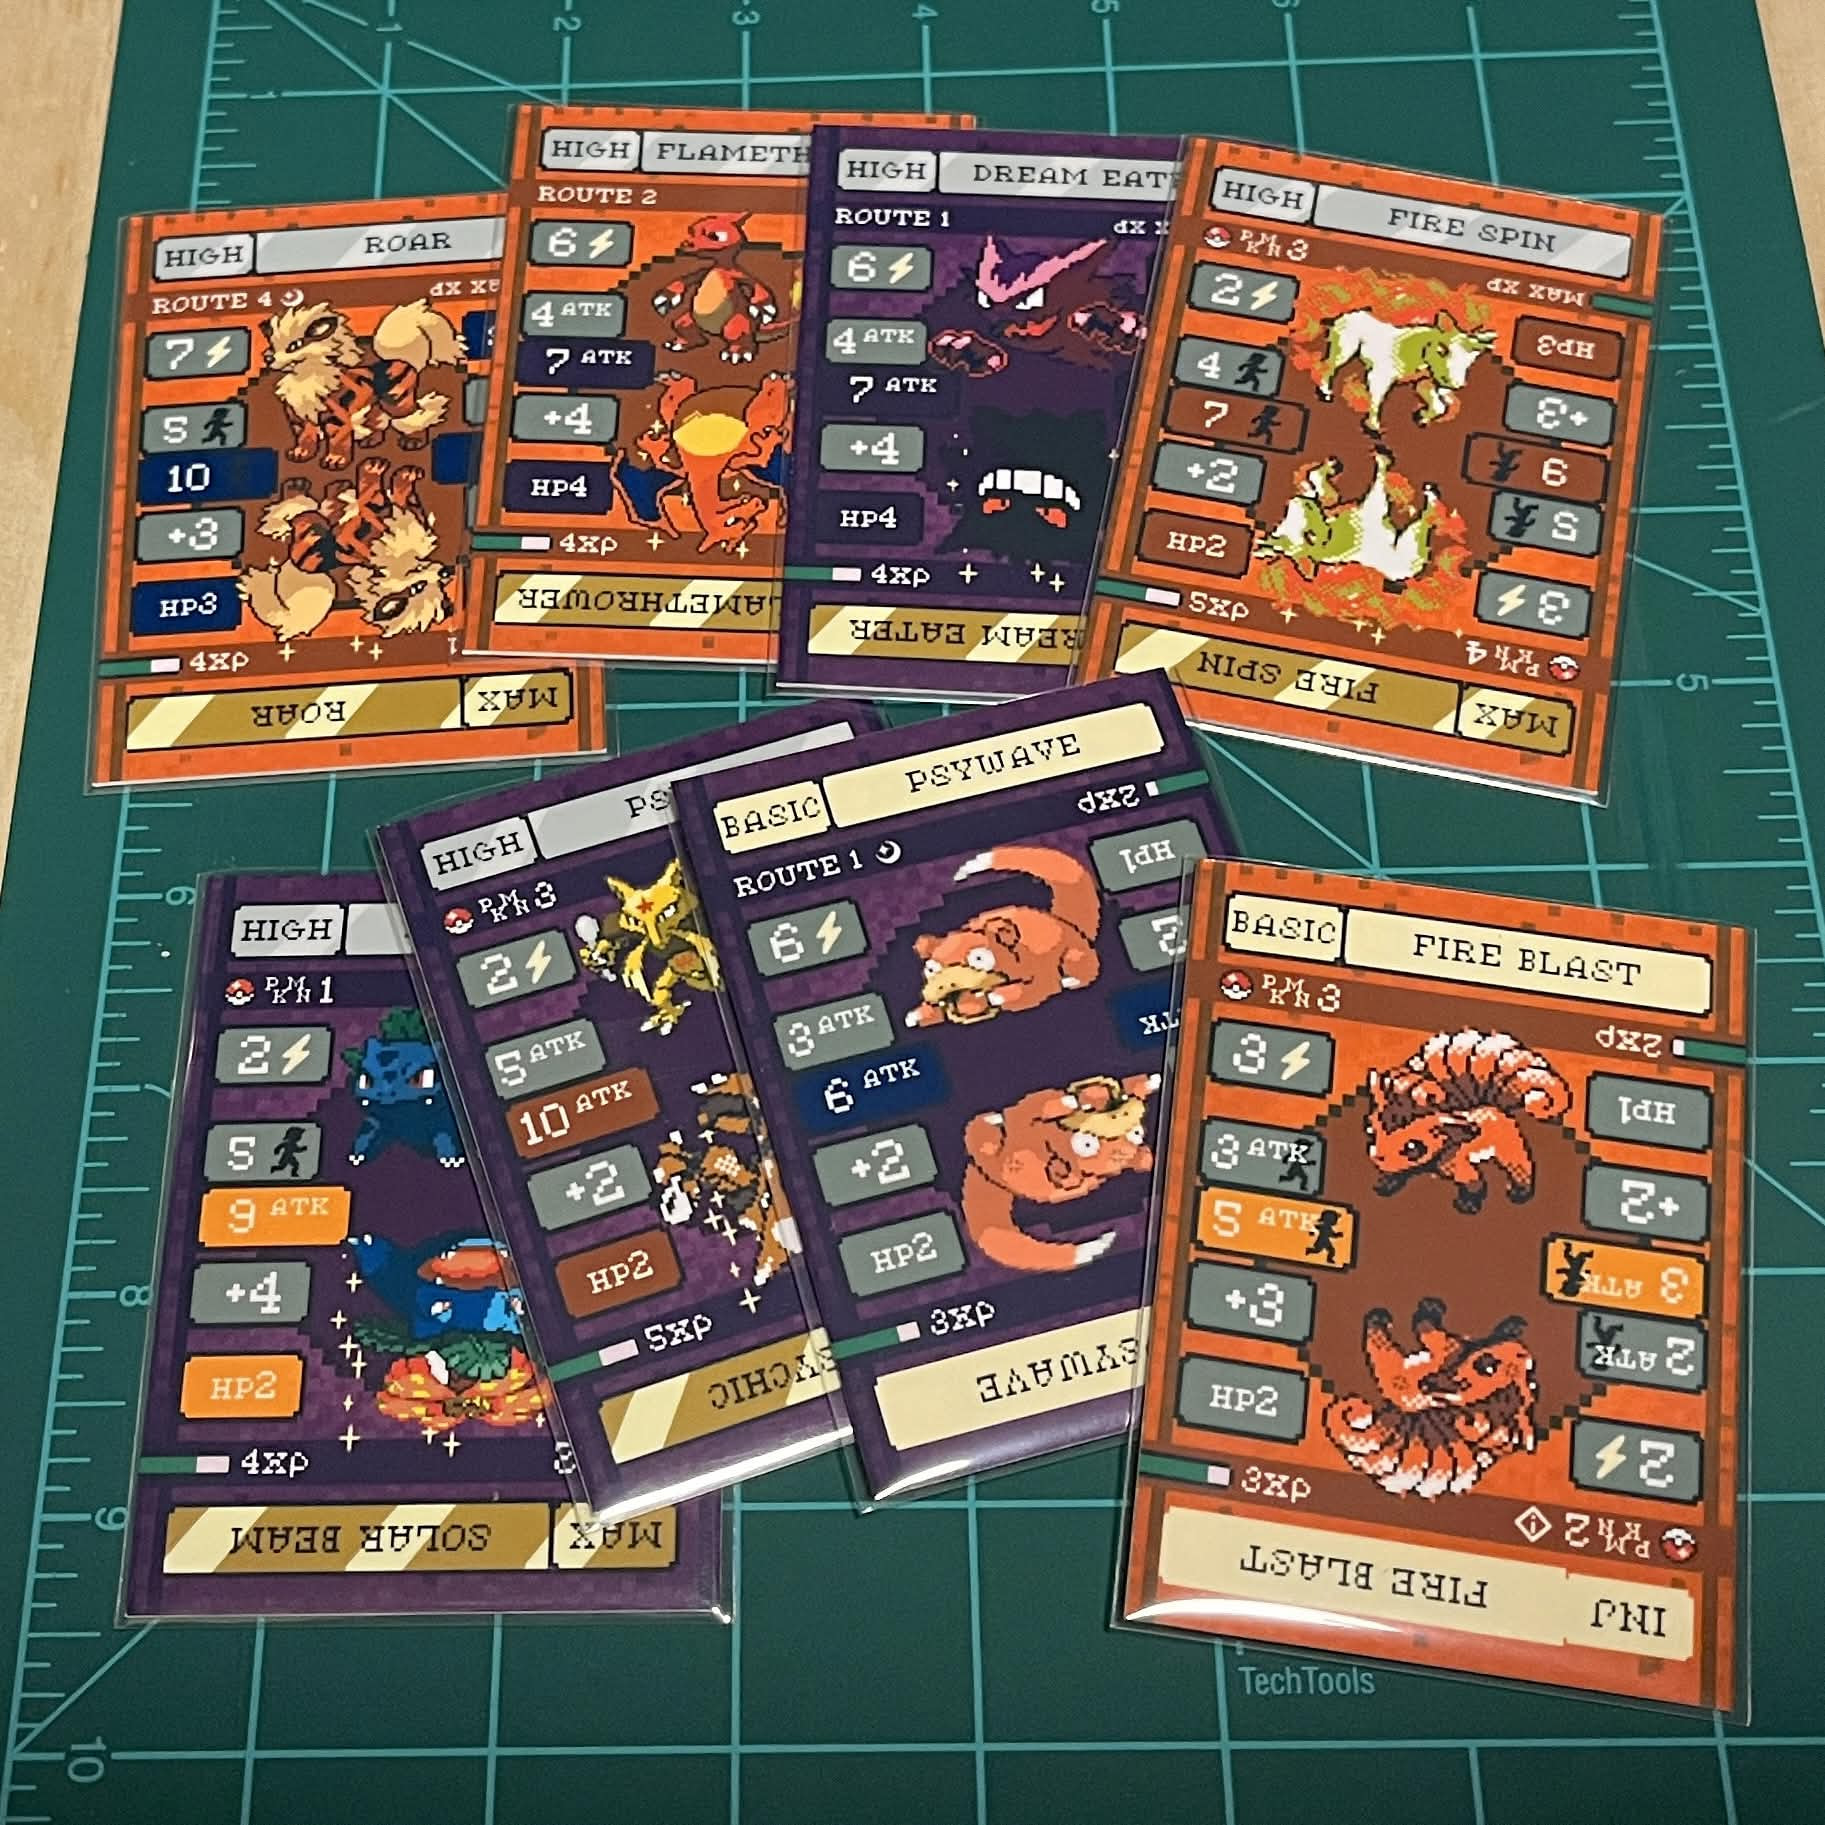
Here it is! It’s pretty effing legit!
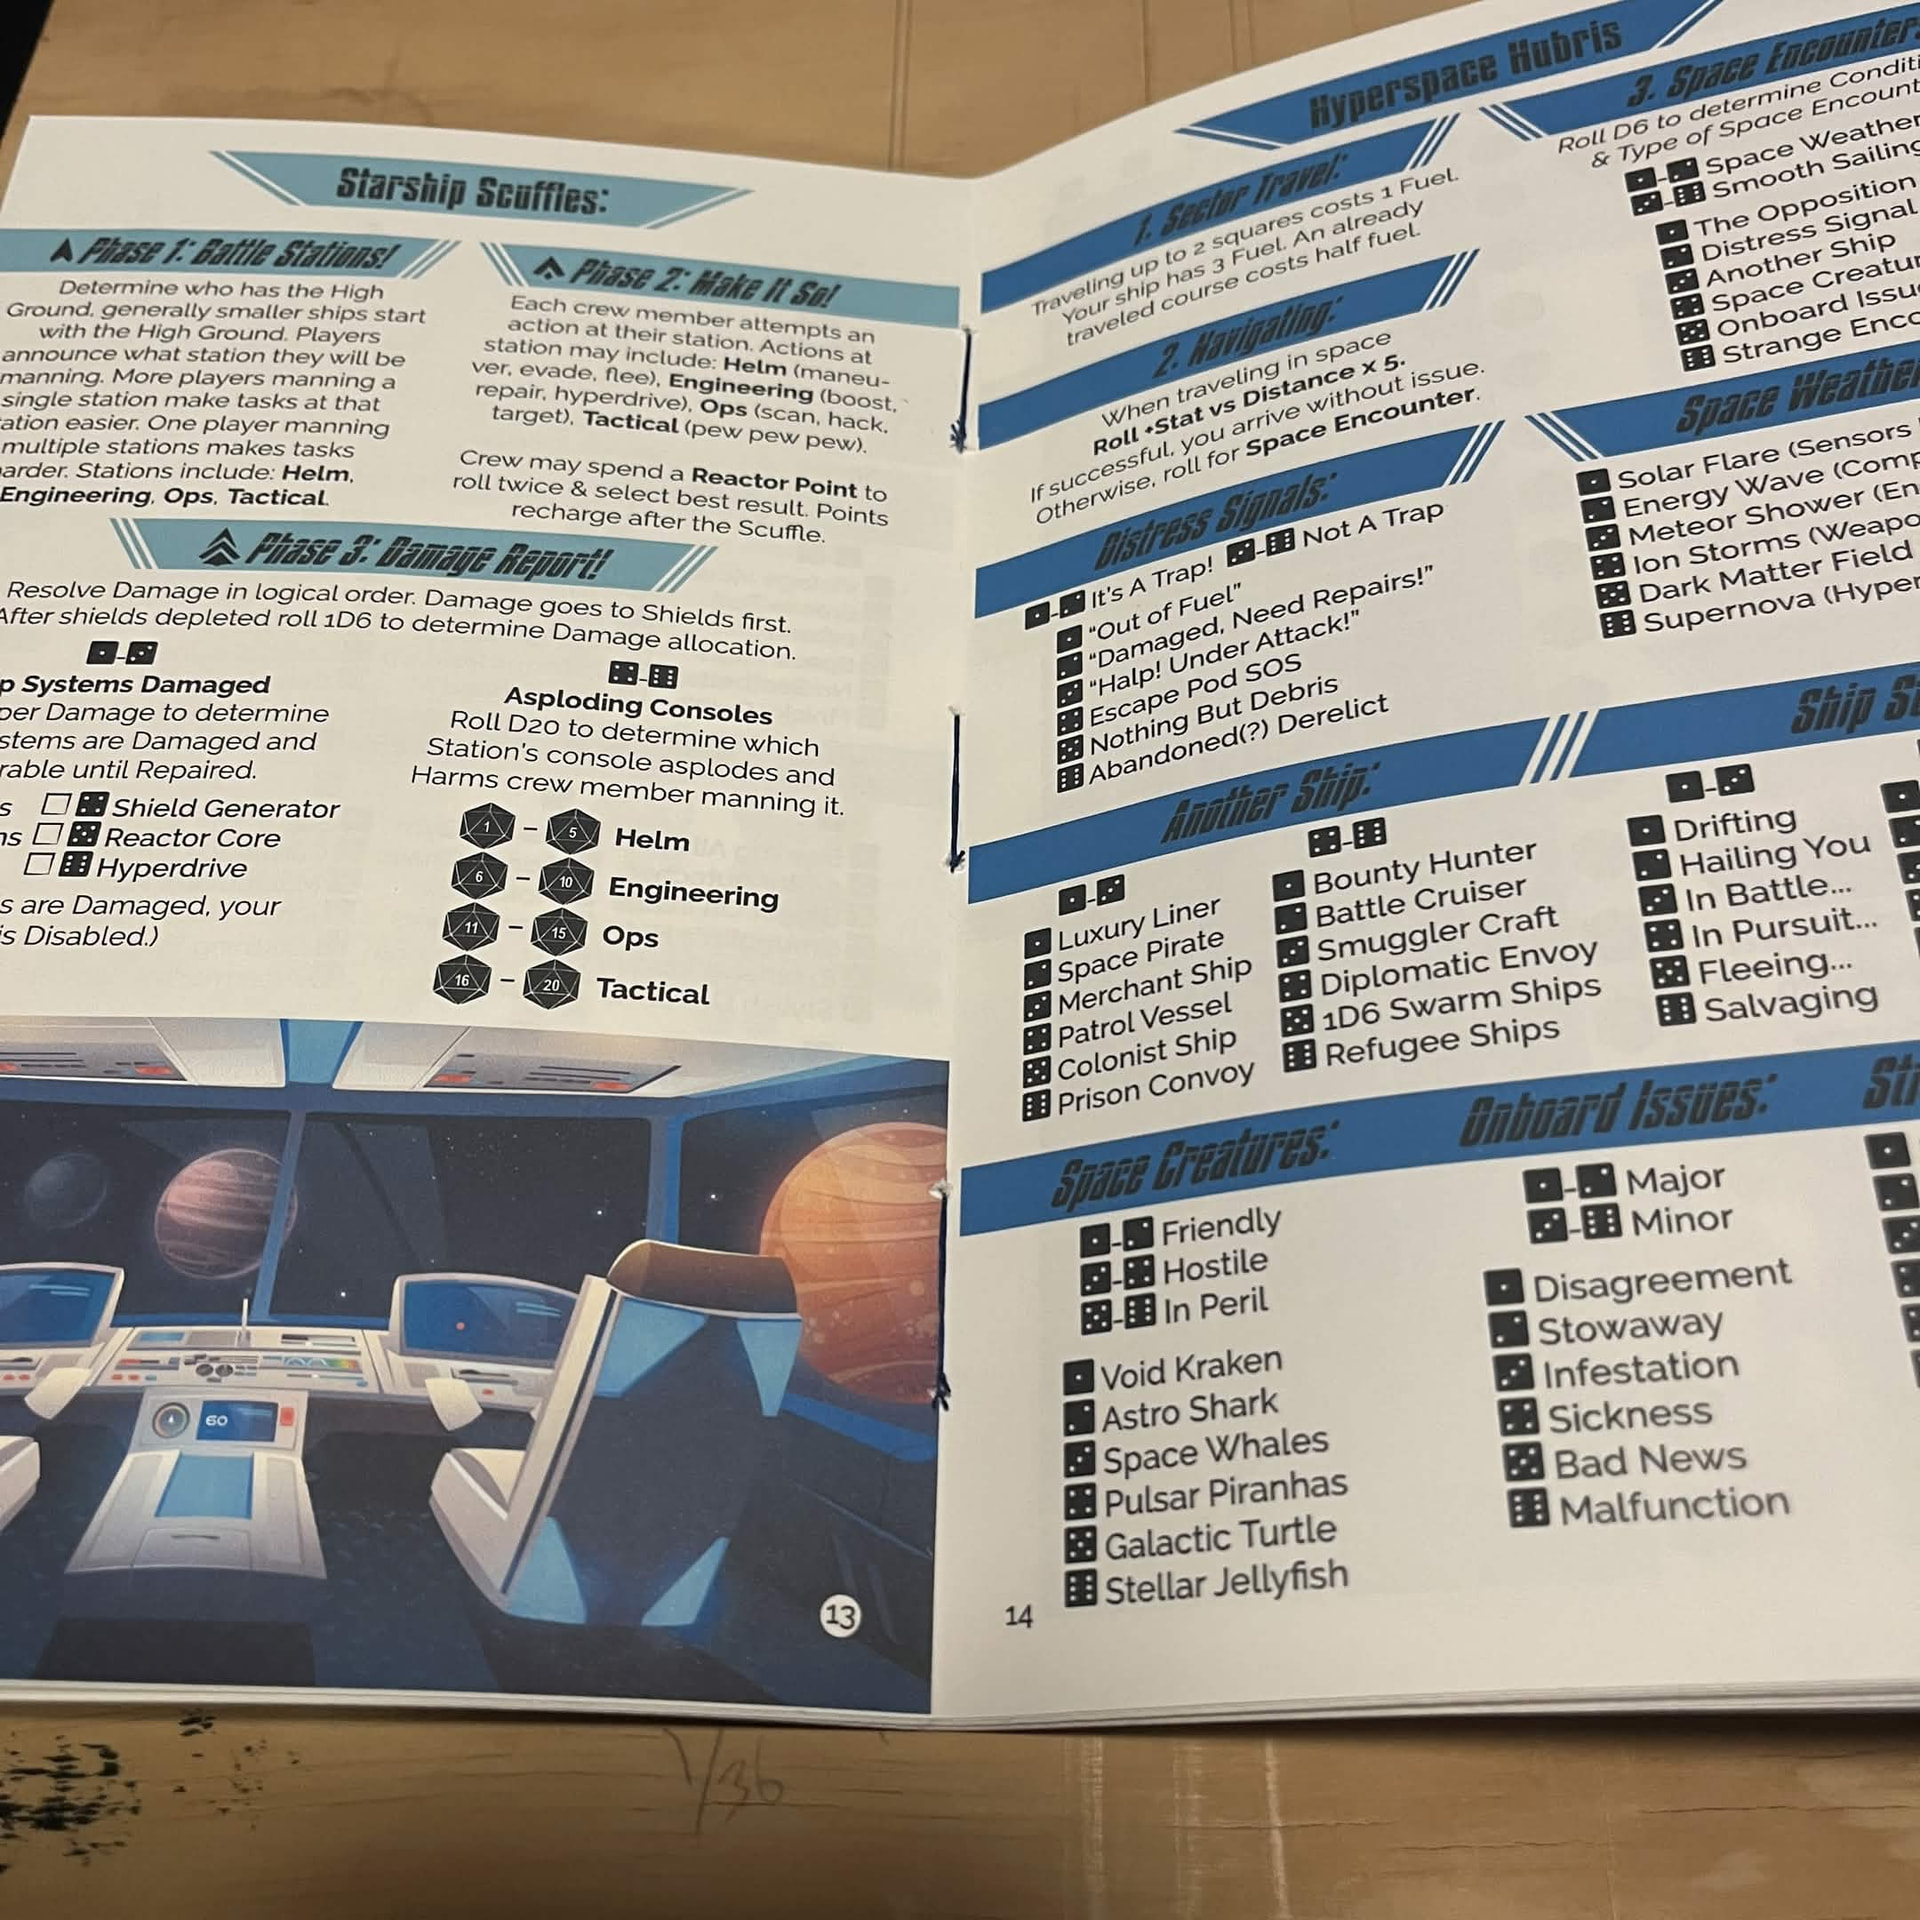
I chose to cut into the inside cover and I actually like the aesthetic, it’s unique and completely functional.

On to the next!

3 Likes

Well done! And sorry about your combination square…

But this has to be significantly more cost-effective to repeat than ordering a custom book from Lulu or DriveThruRPG. No?

EDIT: Also certainly more personally rewarding!

It really depends on the specific product. Some are probably cheaper to just order, if they are on the expensive side to being with. But “cheaper” will likely factor into time invested for most people as well. Four Against Darkness for example, I think it’s $15 for the PDF and $20 with free shipping from Amazon. The MIRU series however, they are $5 a piece I think and $20 a piece to have printed.

But yeah, this is all hobby investment for me, like painting miniatures I am breaking down the total cost in fun per hour. IE; A $50 miniatures kit taking 100 hours to build and paint breaks down to $.50 an hour to have a good time!

Now my printer has failed though. I am about to see if I can get the print head out and manually unclog it, otherwise I have to invest in a print head cleaning kit, which I’d like to avoid.
If I can remove the print head I will be dipping it in heated distilled water repeatedly to work the dried ink out then drying it as best I can before reinstalling it. This is something I have done before with success on an older printer, but that one was made to be serviceable.

1 Like

Mistakes were still made and I’m still learning. Busted this one out in just one day.
I ended up falling all the way back to the original method of just cutting it flat on the table but bringing a bunch of the knowledge I have acquired along the way, particularly how to handle my blade. Also this one is much thinner so there was less margin for error.

The cover I had printed had multiple formatting issues which caused me a headache. I ended up over trimming the head of the book, so this one is about 1/16”-1/4” shorter than the first.
Oh well, it looks great and I am done.

2 Likes

They really do look great!

1 Like

I just have to share this, I feel awesome.
I’ve gone full circle back to cutting by hand. This is the thickest book I’ve done and I got the cleanest result yet by far! *_*

1 Like

And that’s just having better skill with the blade you used and knowing how to hold it now? Or you used a different blade altogether?

Because it was the plunge cutter that you finished with previously, right? Where you flipped it around and cut again from the higher edge when it was crooked?

2 Likes

Correct. Learning how to hold the blade, better, faster and more streamlined setup, etc.

The plunger cutter didn’t work out so well when trying to trim the second face. Not enough material to grab. Better to plane it off if I use that. But I can actually cut it faster just using a craft knife now. I am using the kind where you snap off for a fresh edge. A medium and a small.

1 Like

Went to join the cover with the body,just after applying the glue, and MOTHERF@KKRRR… FedEx flipped the inside image upside down and I didn’t notice because of it’s ambiguity.
Oh well, at least it still has some symmetry.

Book 4 is complete. Mistakes were still made. I actually OVER cut by hand while having the book flat on the table, so the cut was diagonal in the opposite direction. So I returned to cutting it while it’s clamped horizontally in the air. I had to fix it up a bit. The end result is pretty damn decent. =)

4 Likes

That looks pretty legit! I’ve definitely paid to have 3rd parties print me books that looked worse than that.

1 Like

I came up with a knot that allows me to make my booklets much tighter!
This is another Daniel recommended game. I think all of these have been Daniel recommended games actually. XD

Planning on pairing this with One Breath Left.

2 Likes

And here is my latest paperback, the Rogues Handbook for Marching Order.
I rushed the trimming and so the cuts aren’t square on their Z plane. But they are still nice and smooth to the touch.

My roommate gifted me a small hand planer which I tried out minimally and it totally works to correct a wobbly edge but now I have to get some blade sharpening practice in. My roommate also has a set of sharpening stones I can use. This is something I have wanted to get into for years but not sure when the mood will strike me.

2 Likes

This is so cool! May I suggest the admin make a special category for pnp projects! I love seeing people building stuff!

2 Likes

I just found a really amazing subreddit on this yesterday! And there are a lot of people on there looking for game testers as well, which is something I am trying to get more in to.

https://www.reddit.com/r/printandplay/

I really want to PnP this. https://www.reddit.com/r/printandplay/comments/1rve8je/try_my_print_play_dungeon_crawler_let_me_know/

1 Like

Okay, finally I have wrapped up another book.
The reason it has been so long is that my printer decided to get all effed up about a week ago and it’s pretty much been me only working on that day in and day out.
I think it’s finally coming around, I got MAGENTA printing again at least. 3 more colors to go.

I wanted to take a crack at a multi-signature book so I jumped on this free release called Vanilla Game with illustrations from Perplexing Ruins.
I improvised the stitching and I am quite pleased with the results.

I then glued in some book binding tape/cloth. It’s linen.
The reason it took me so long to wrap up is I didn’t put glue inbetween the cloth and the signature edges so I had to go back, after I obtained some needle point glue bottles, and inject additional glue in there.


Then I glued the cover to the cloth.
It turned out pretty great except for the fact I got water on the cover damn it.

Here it is complete, and here is the sewing bits within the body of the book.
So it’s a combination of sewed spine and glued spine/paperback.

Vanilla Game 2 Scoop Edition Free Download: https://perplexingruins.itch.io/the-vanilla-game-2-scoop-edition

1 Like

And just for the heck of it I thought I would do some minor repair on my vintage 40K book. Just quick and dirty, far from proper. I’ll see how it turns out and learn from there.
If I wanted to do it properly I would remove the entire cover and take out all the old glue rather than just gluing right on top of it.

1 Like

Oh yeah, and I was making some game cards, I forgot due the printer issues.
These are the best cards I have made so far but also, plenty of room for improvement.
I printed on very thin cheap photo paper then used a foam roller with water thinned PVA Tacky Glue to glue both faces to an inner core piece of cardstock.
The glue actually made them SUPER rigid and thick, so they are actually too thick!
Next time I make cards I may just use regular heavy 32lb paper as the core.
Also some of them turned out wavy from too much water in the mix.
They also have to be sleeved because photo paper is not meant to be handled. I may laminate the next batch.

I ended up using this Baren style brayer. I don’t know how to say it, but it helped me press the layers together.

Bonus Info: This is a free download re-skin of Dragons of Ethinstone!
https://boardgamegeek.com/filepage/306995/legends-of-kanto

1 Like

Worked like a charm.
Went back over this section. This little flexible needle adapter I picked up is awesome! It works like a tiny paint brush.

2 Likes