For today’s adventure in cardboard, try making your own inserts. You don’t need a 3D printer or foamcore, just a couple clean sheets of cardboard, a craft knife, a ruler, and maybe some glue. The “inside flaps” of any modest-size box you receive in the mail often do nicely.
Here’s an example with a small box for the 2-player game Akrotiri.
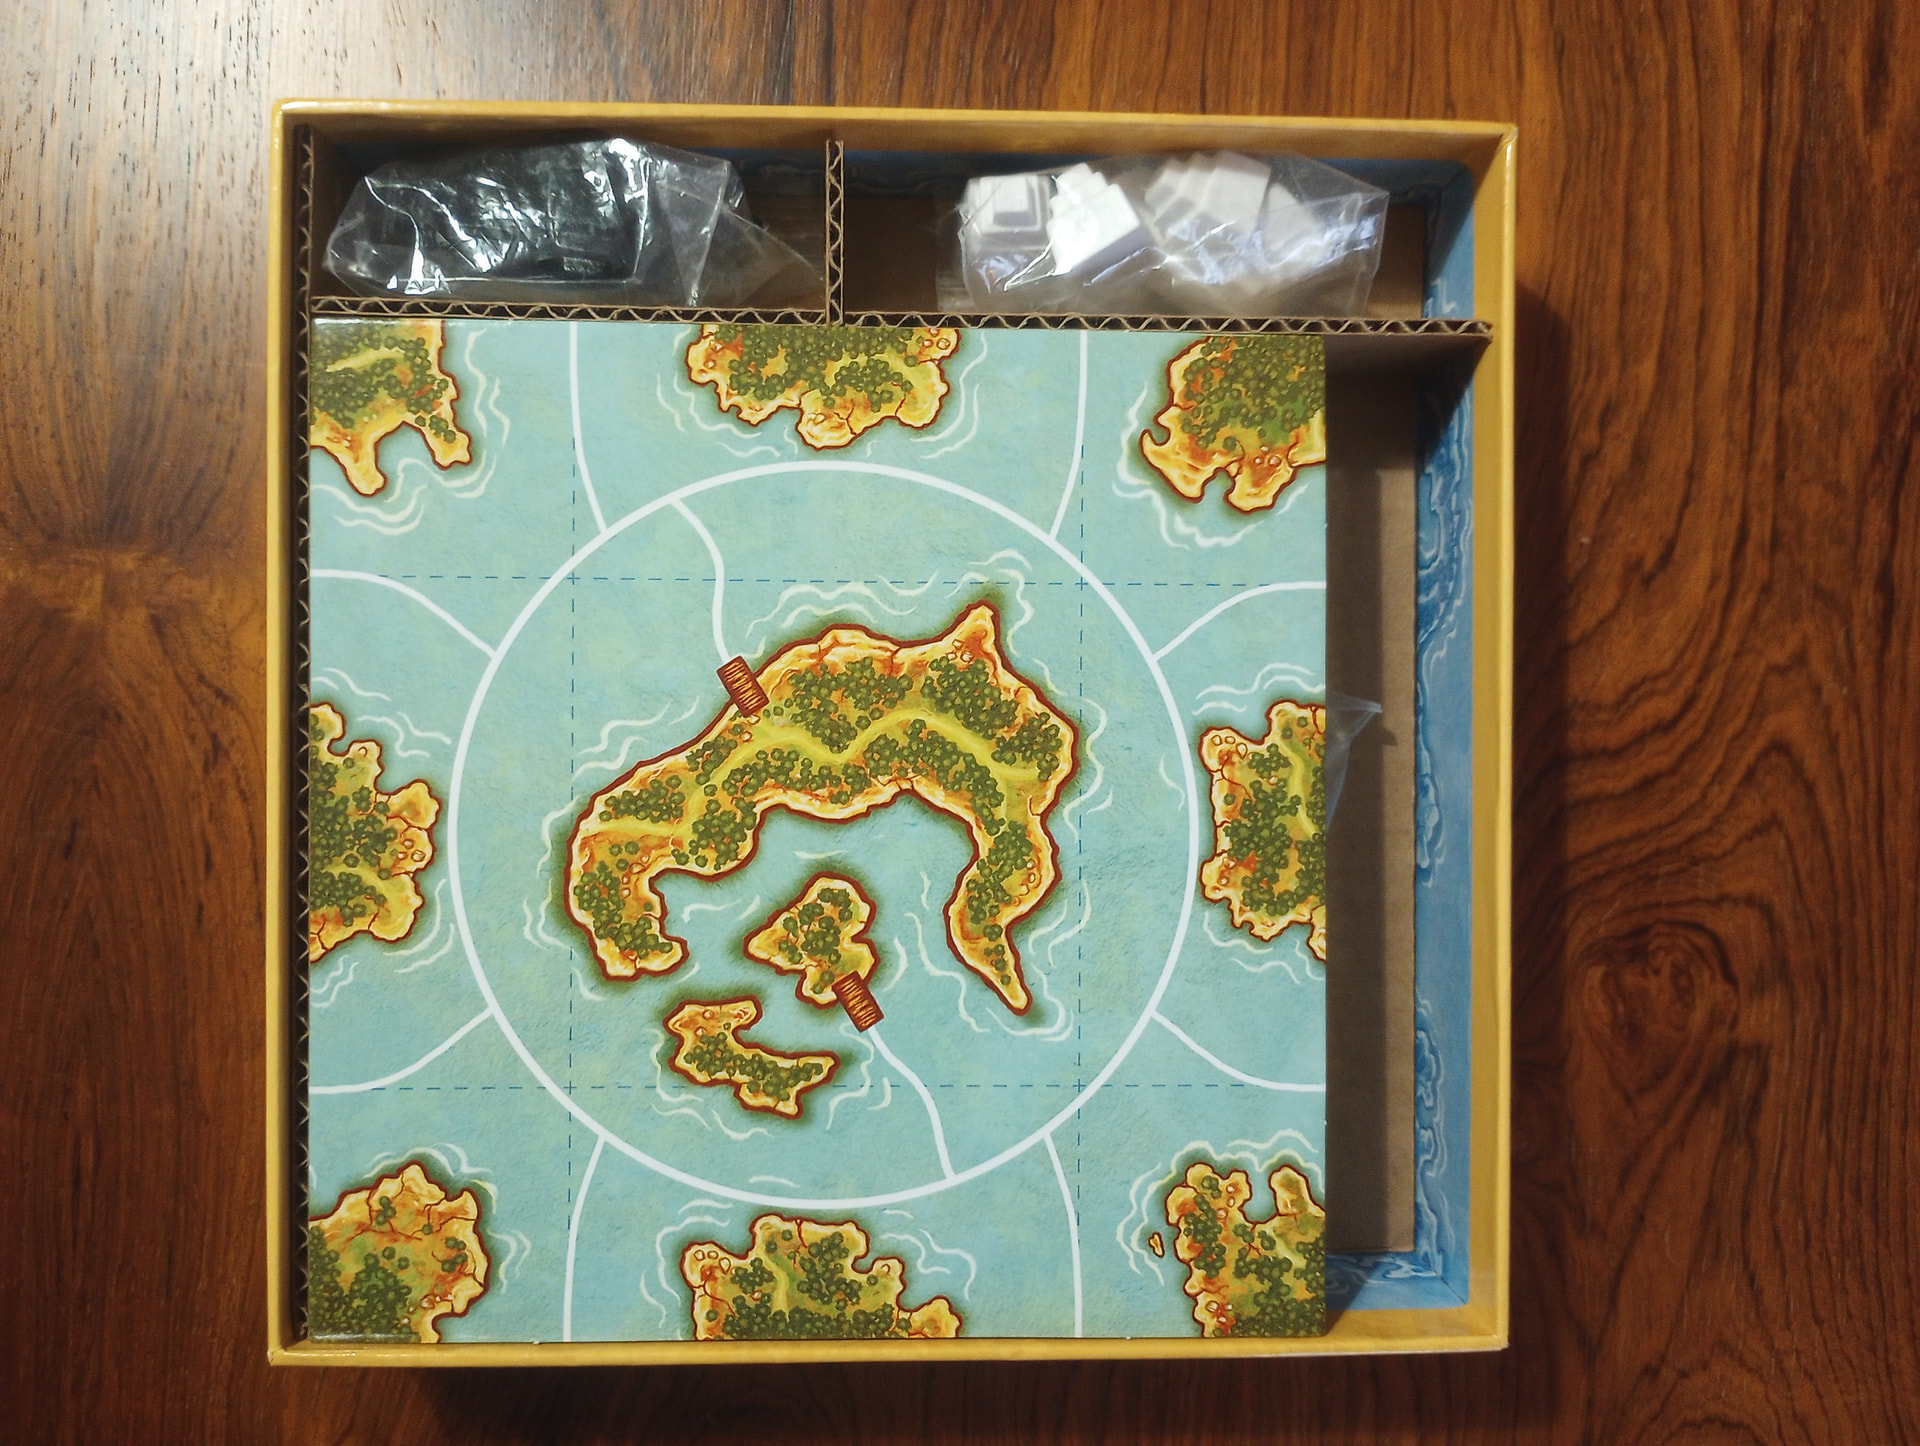
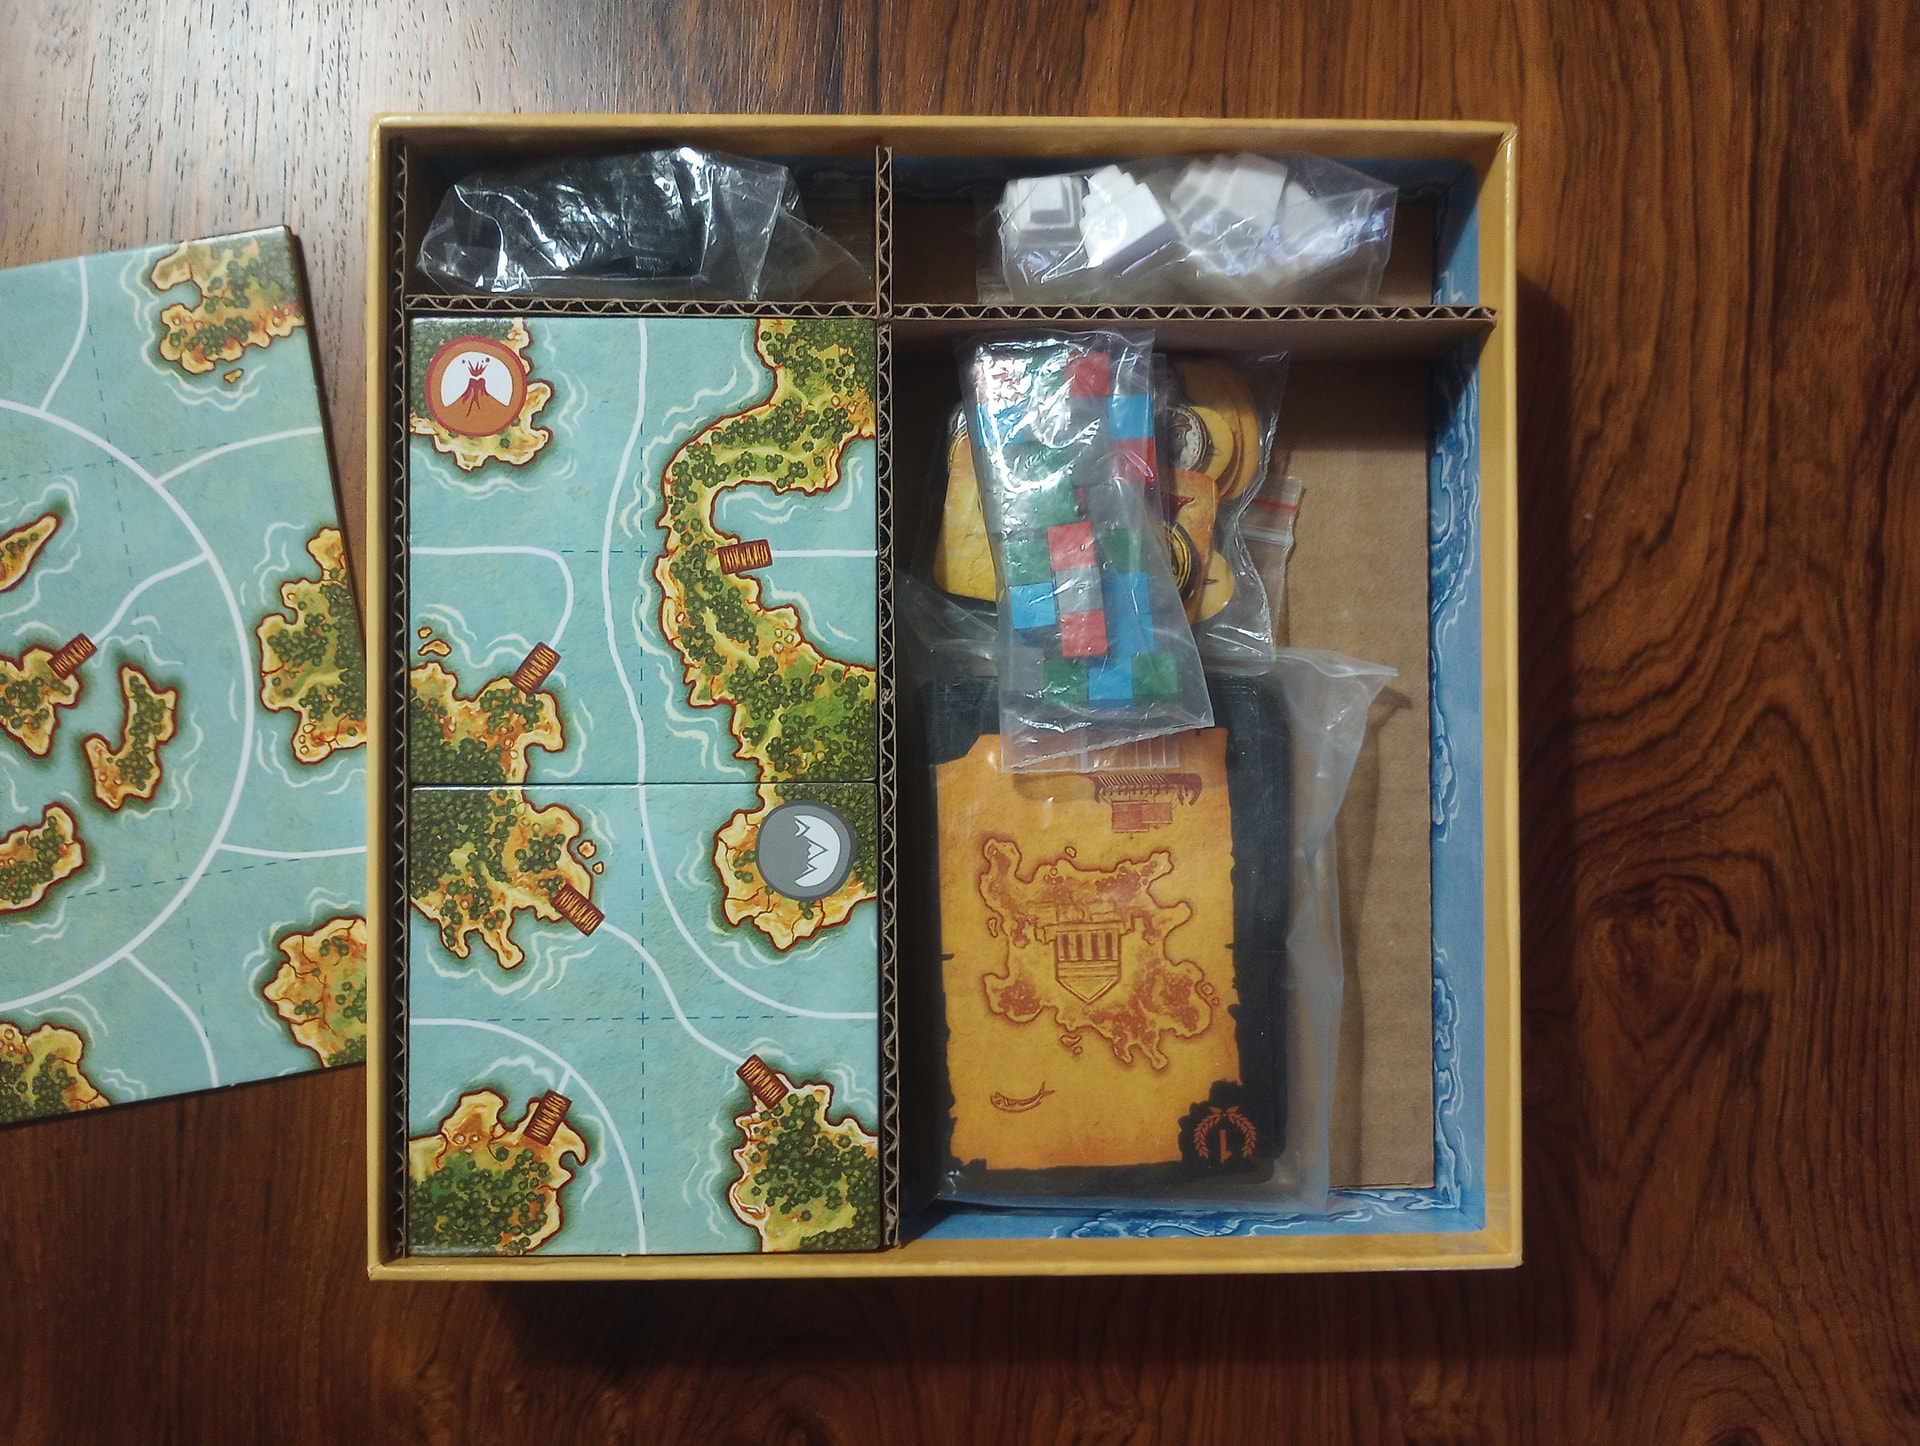
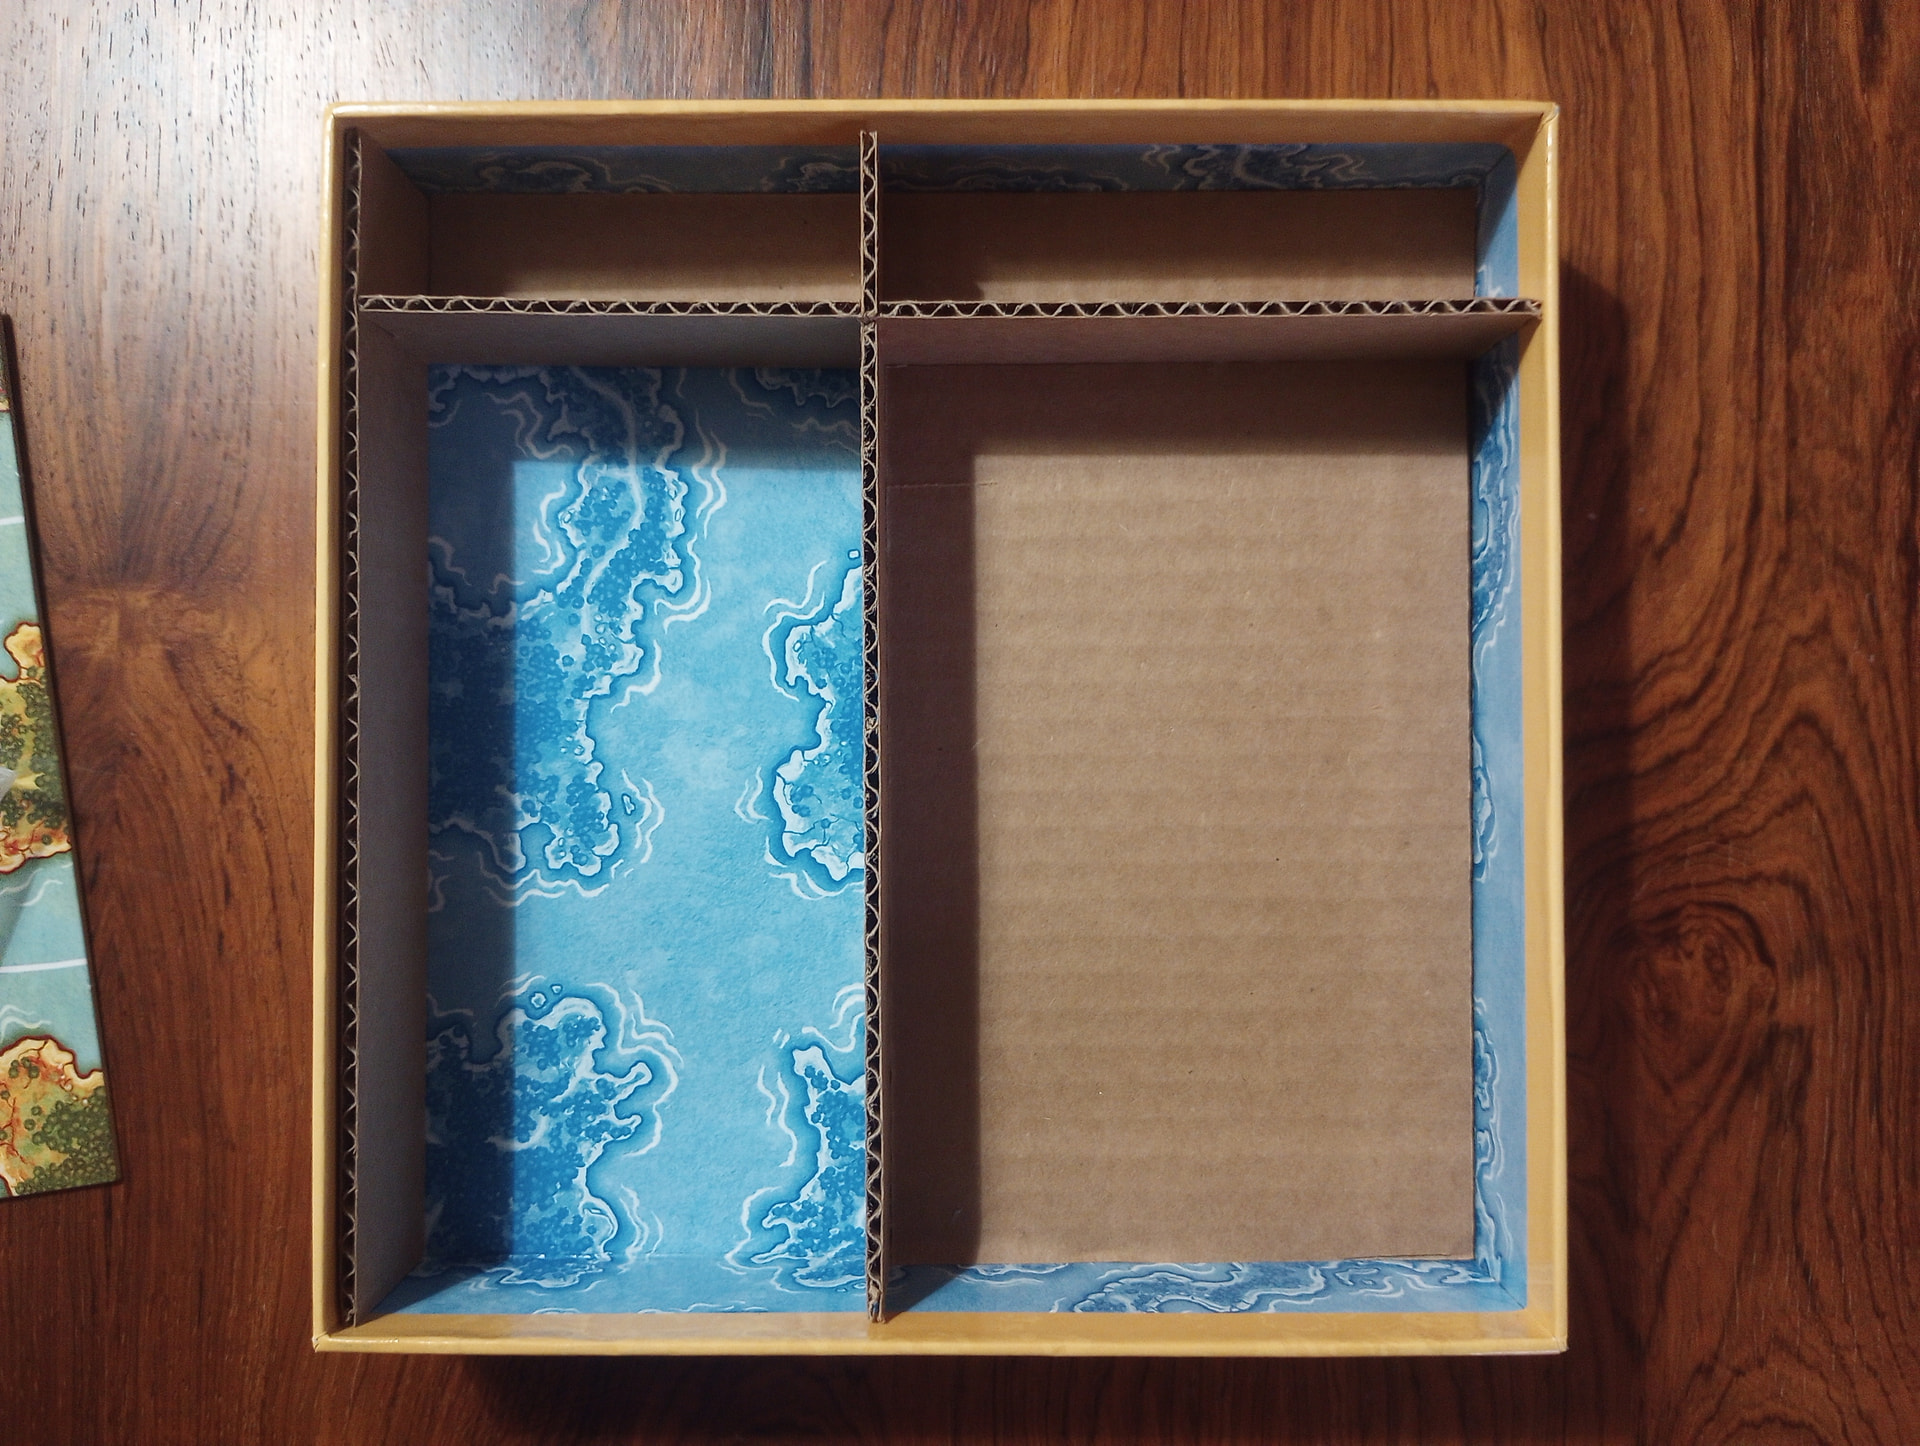
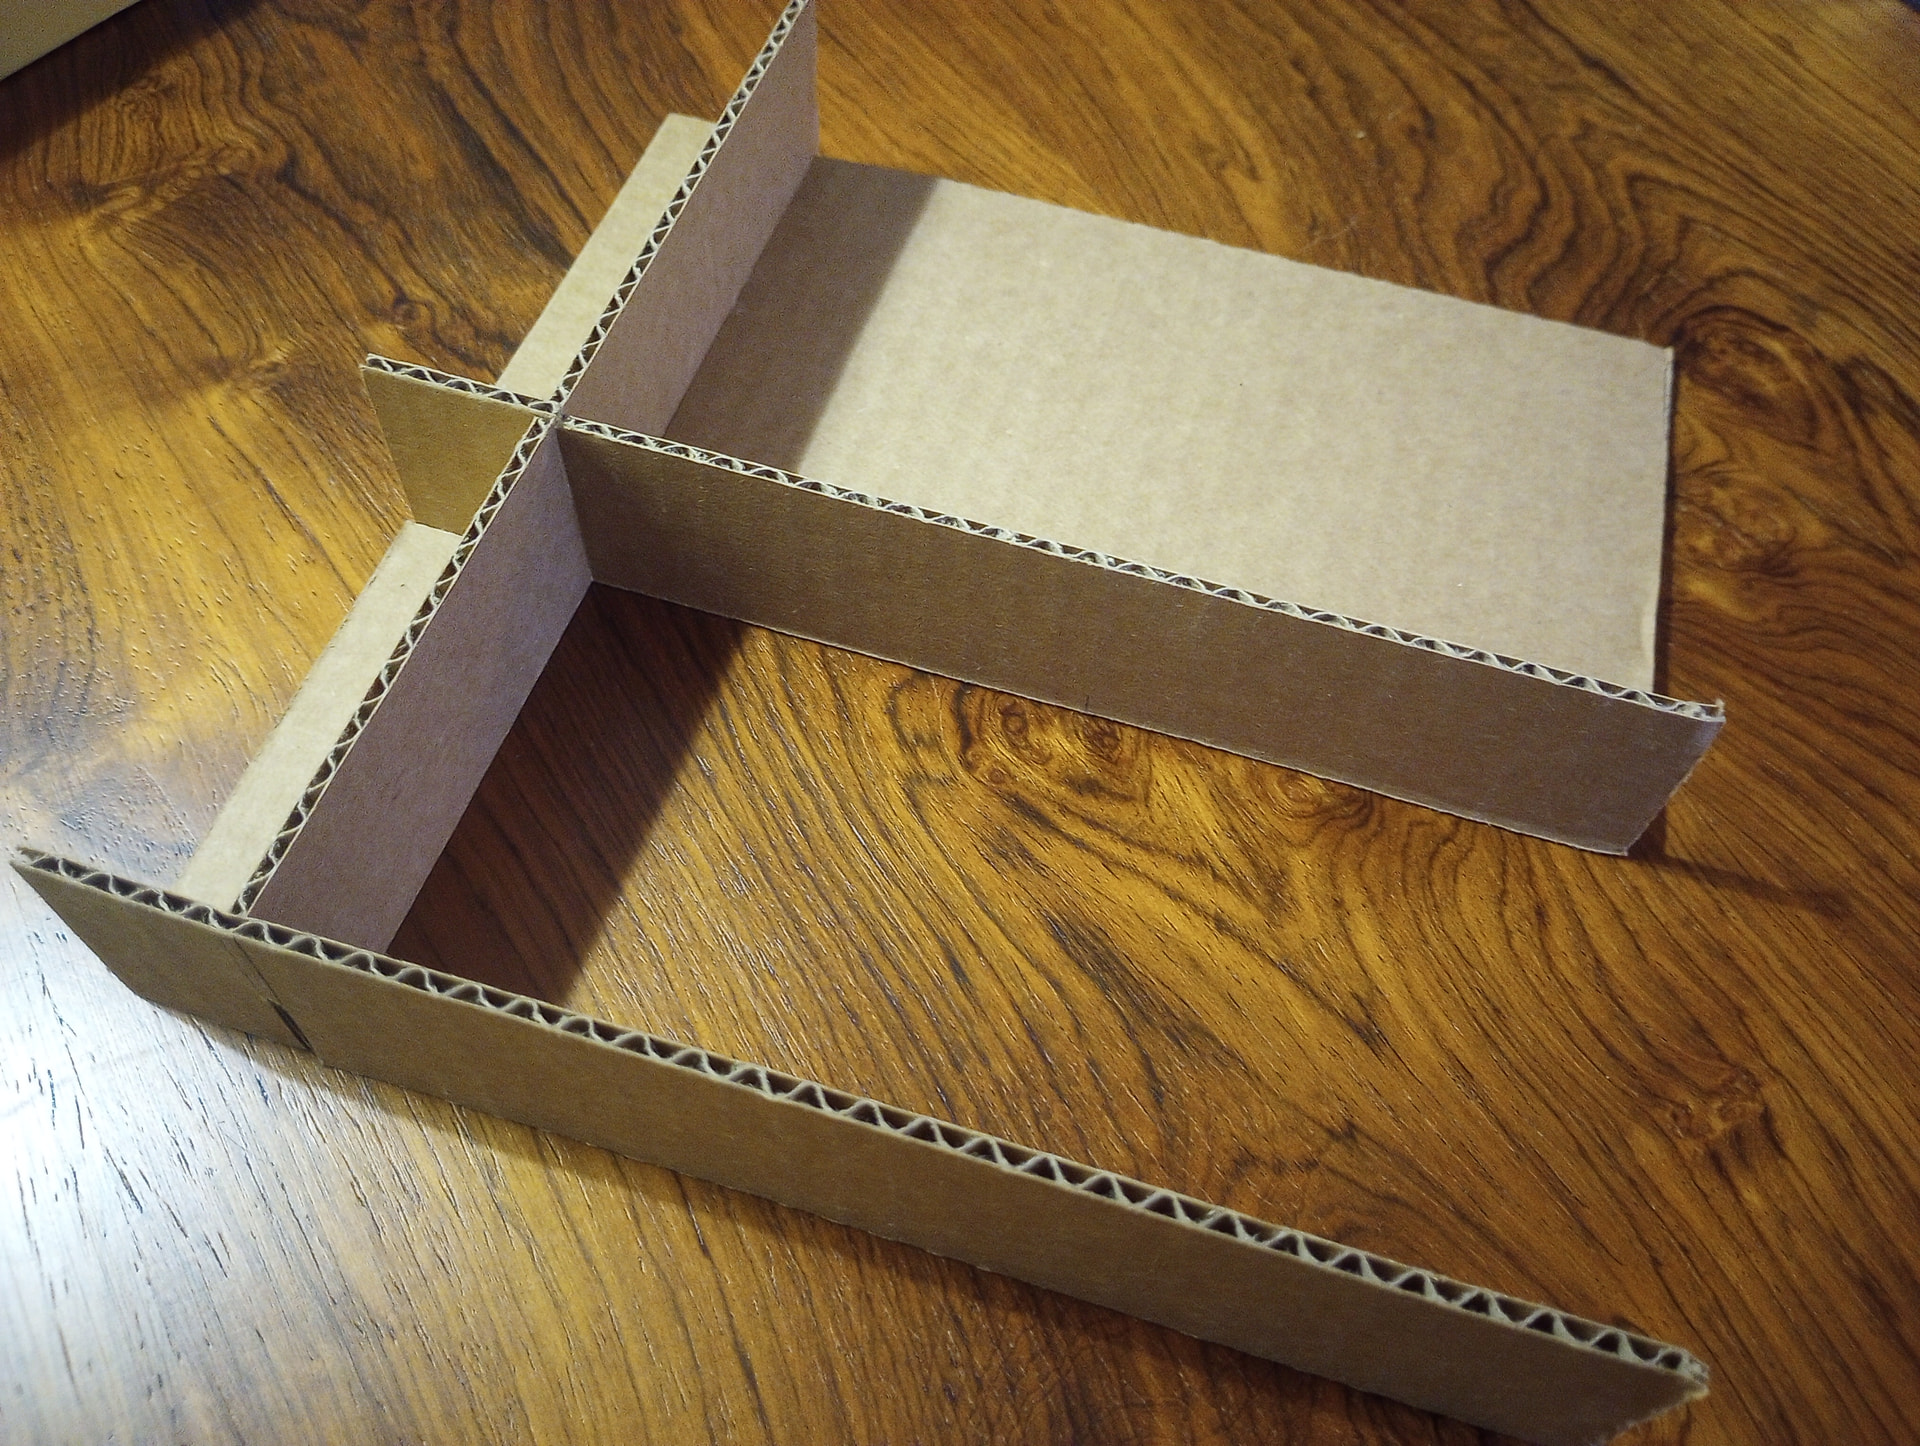
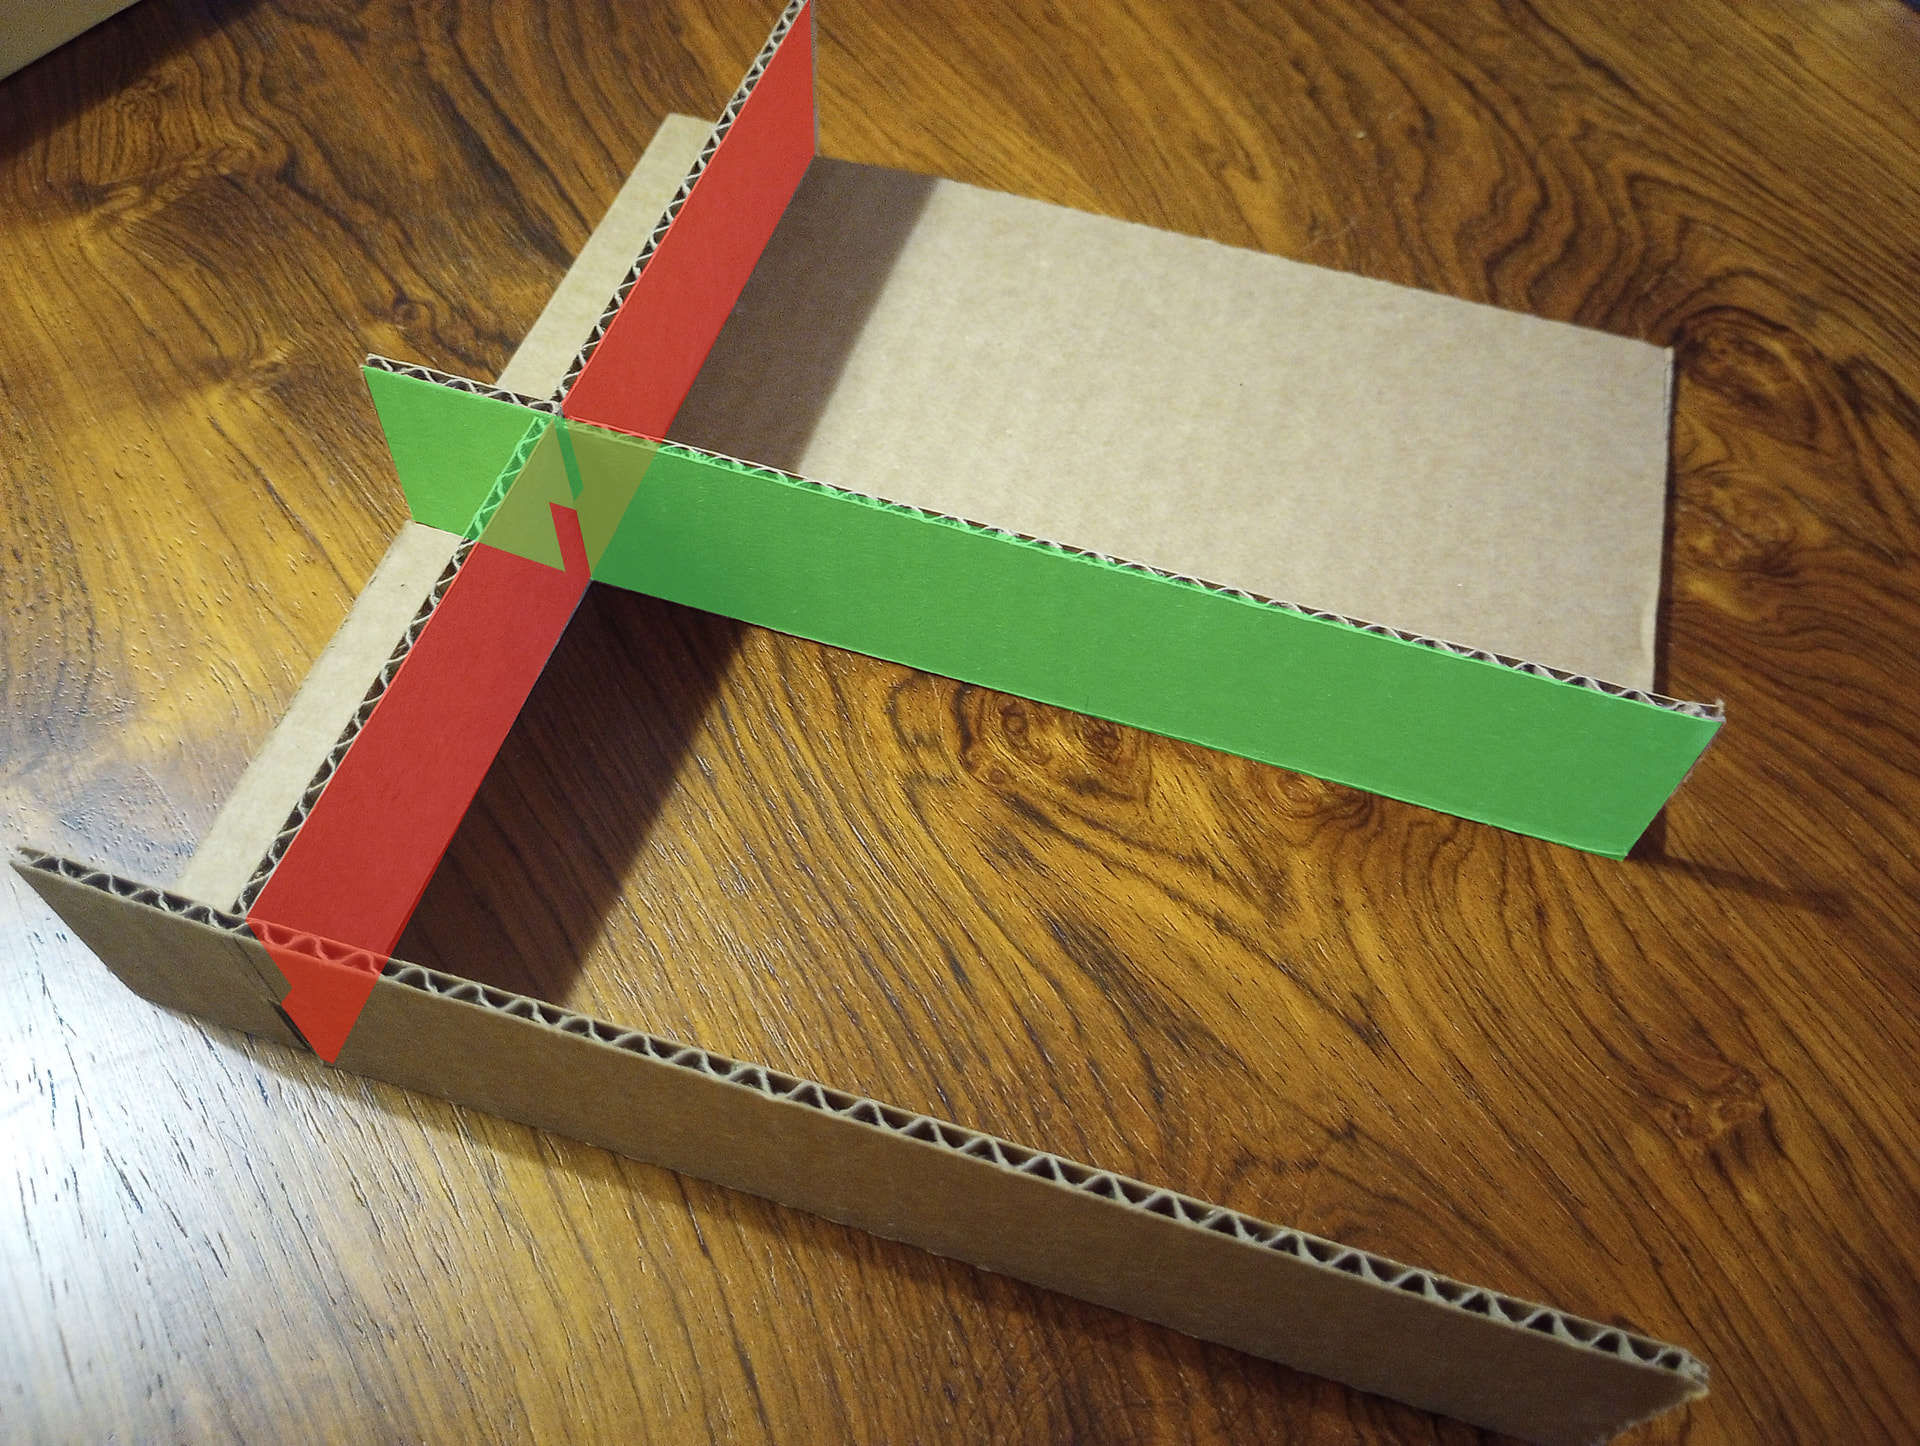

The insert is just some walls that divide the box into different regions. Start by cutting all the walls you need to fit the length, width, and height of your box. In this case I have a total of 3 walls, plus some “floors” under some compartments. I was mainly focused on the compartment in the bottom-left corner that’s holding map tiles. I measured out where the walls should intersect to create a compartment in which 2 piles of tiles fit snugly, and then left the rest of the box for leftovers. I’ve used red and green highlighting here to schematize how to cut small notches in the walls so that they slide together at their intersections. 2 walls in the green pattern + 1 in the red pattern make the core of this insert. Some glue at the joints, plus the floors, adds stability,
For heavier boxes, add more walls in each direction and, if needed stronger cardboard. Here’s an insert for First Martians… admittedly there’s not a huge demand for this specific design but it’s for uh, illustrative purposes.
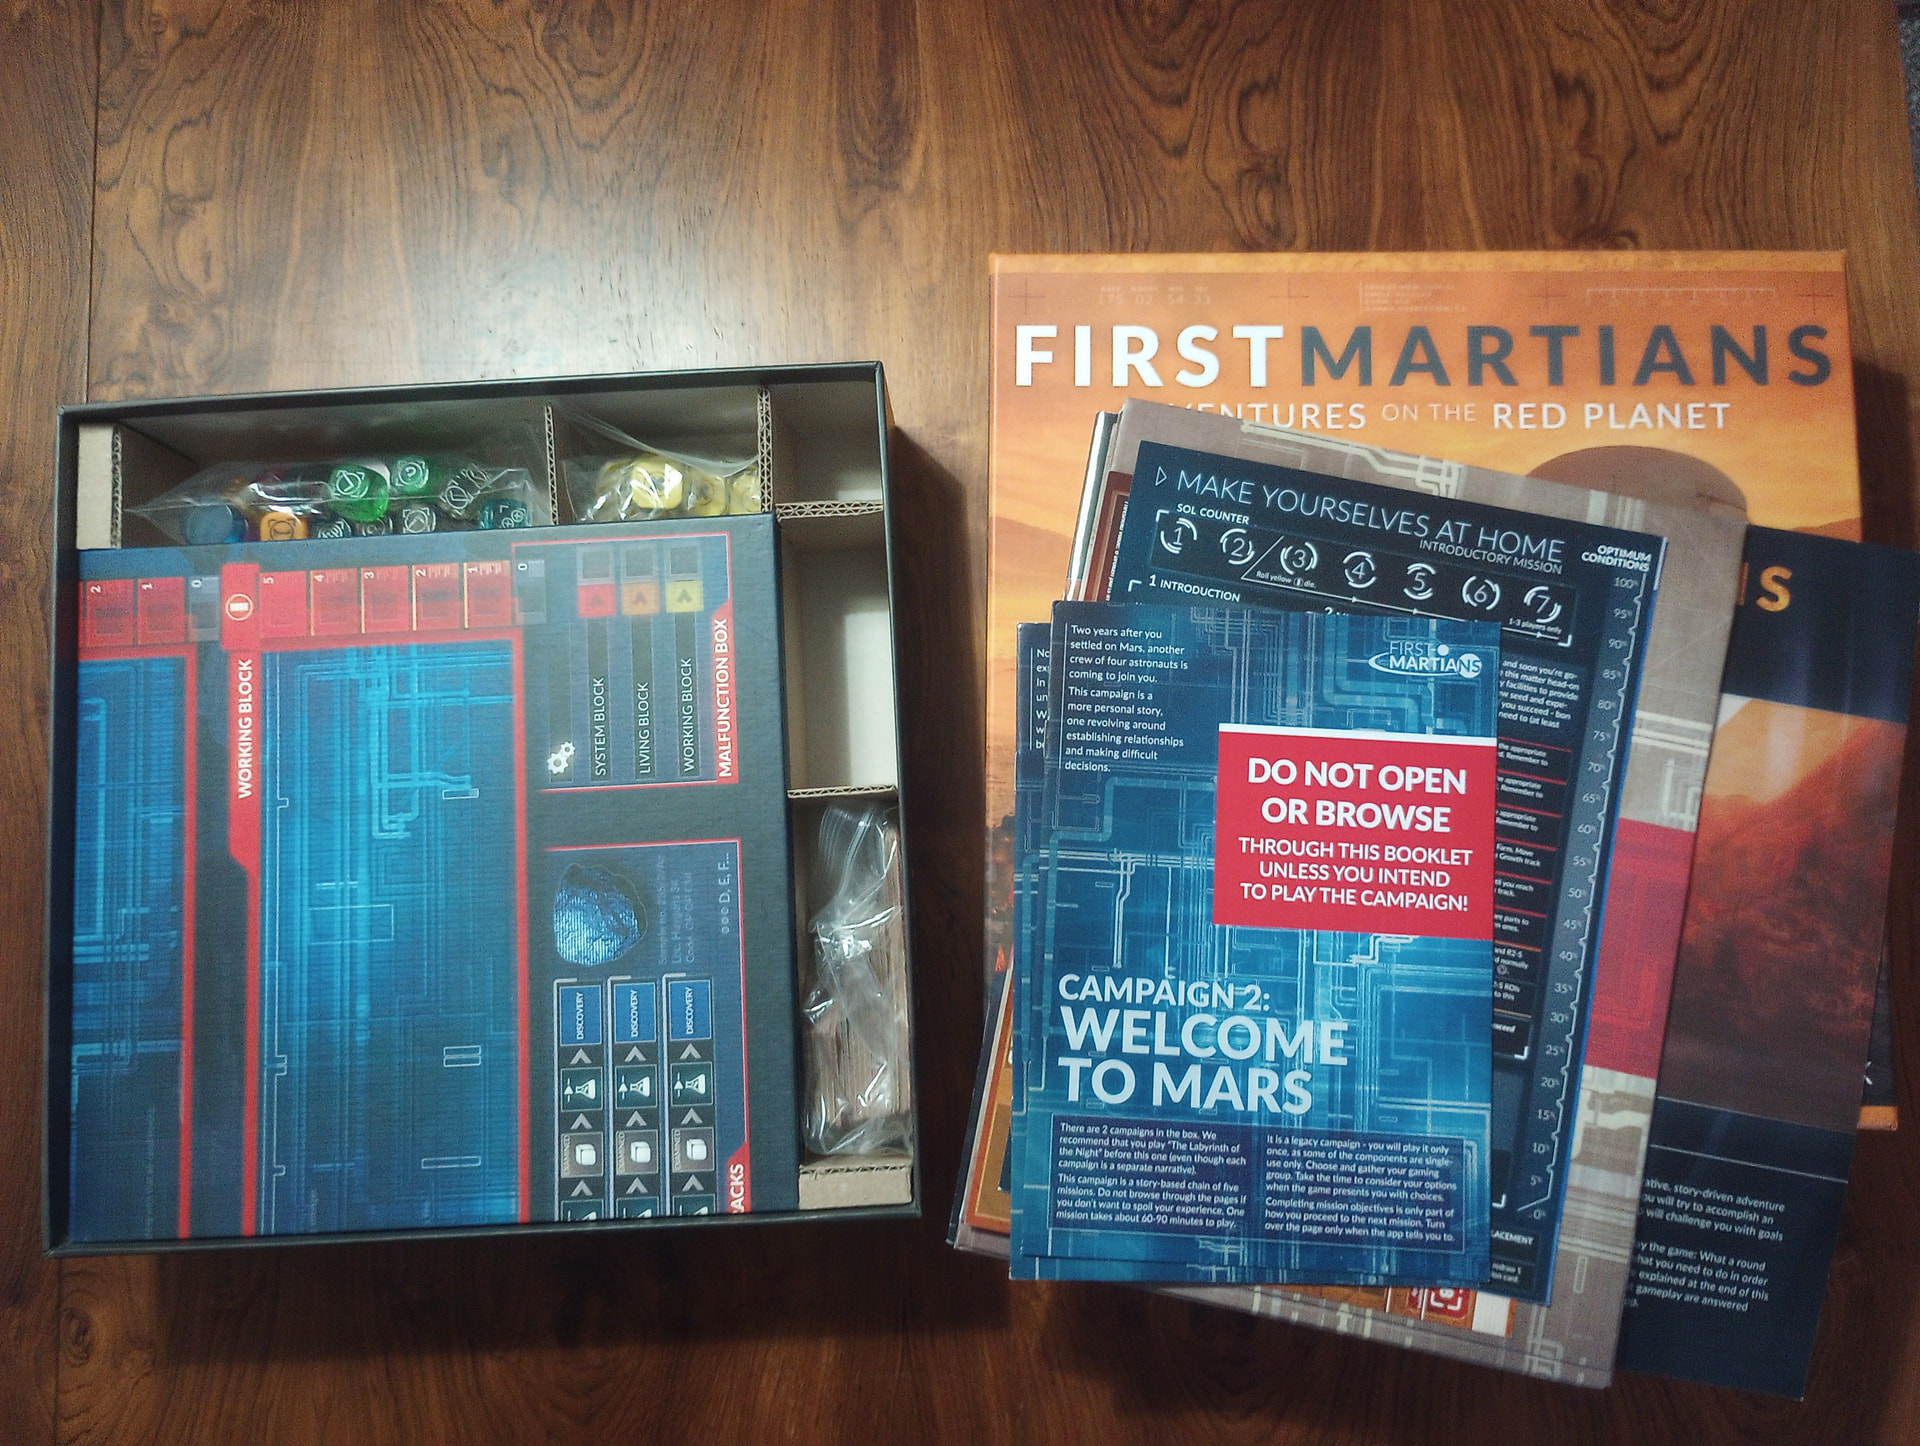
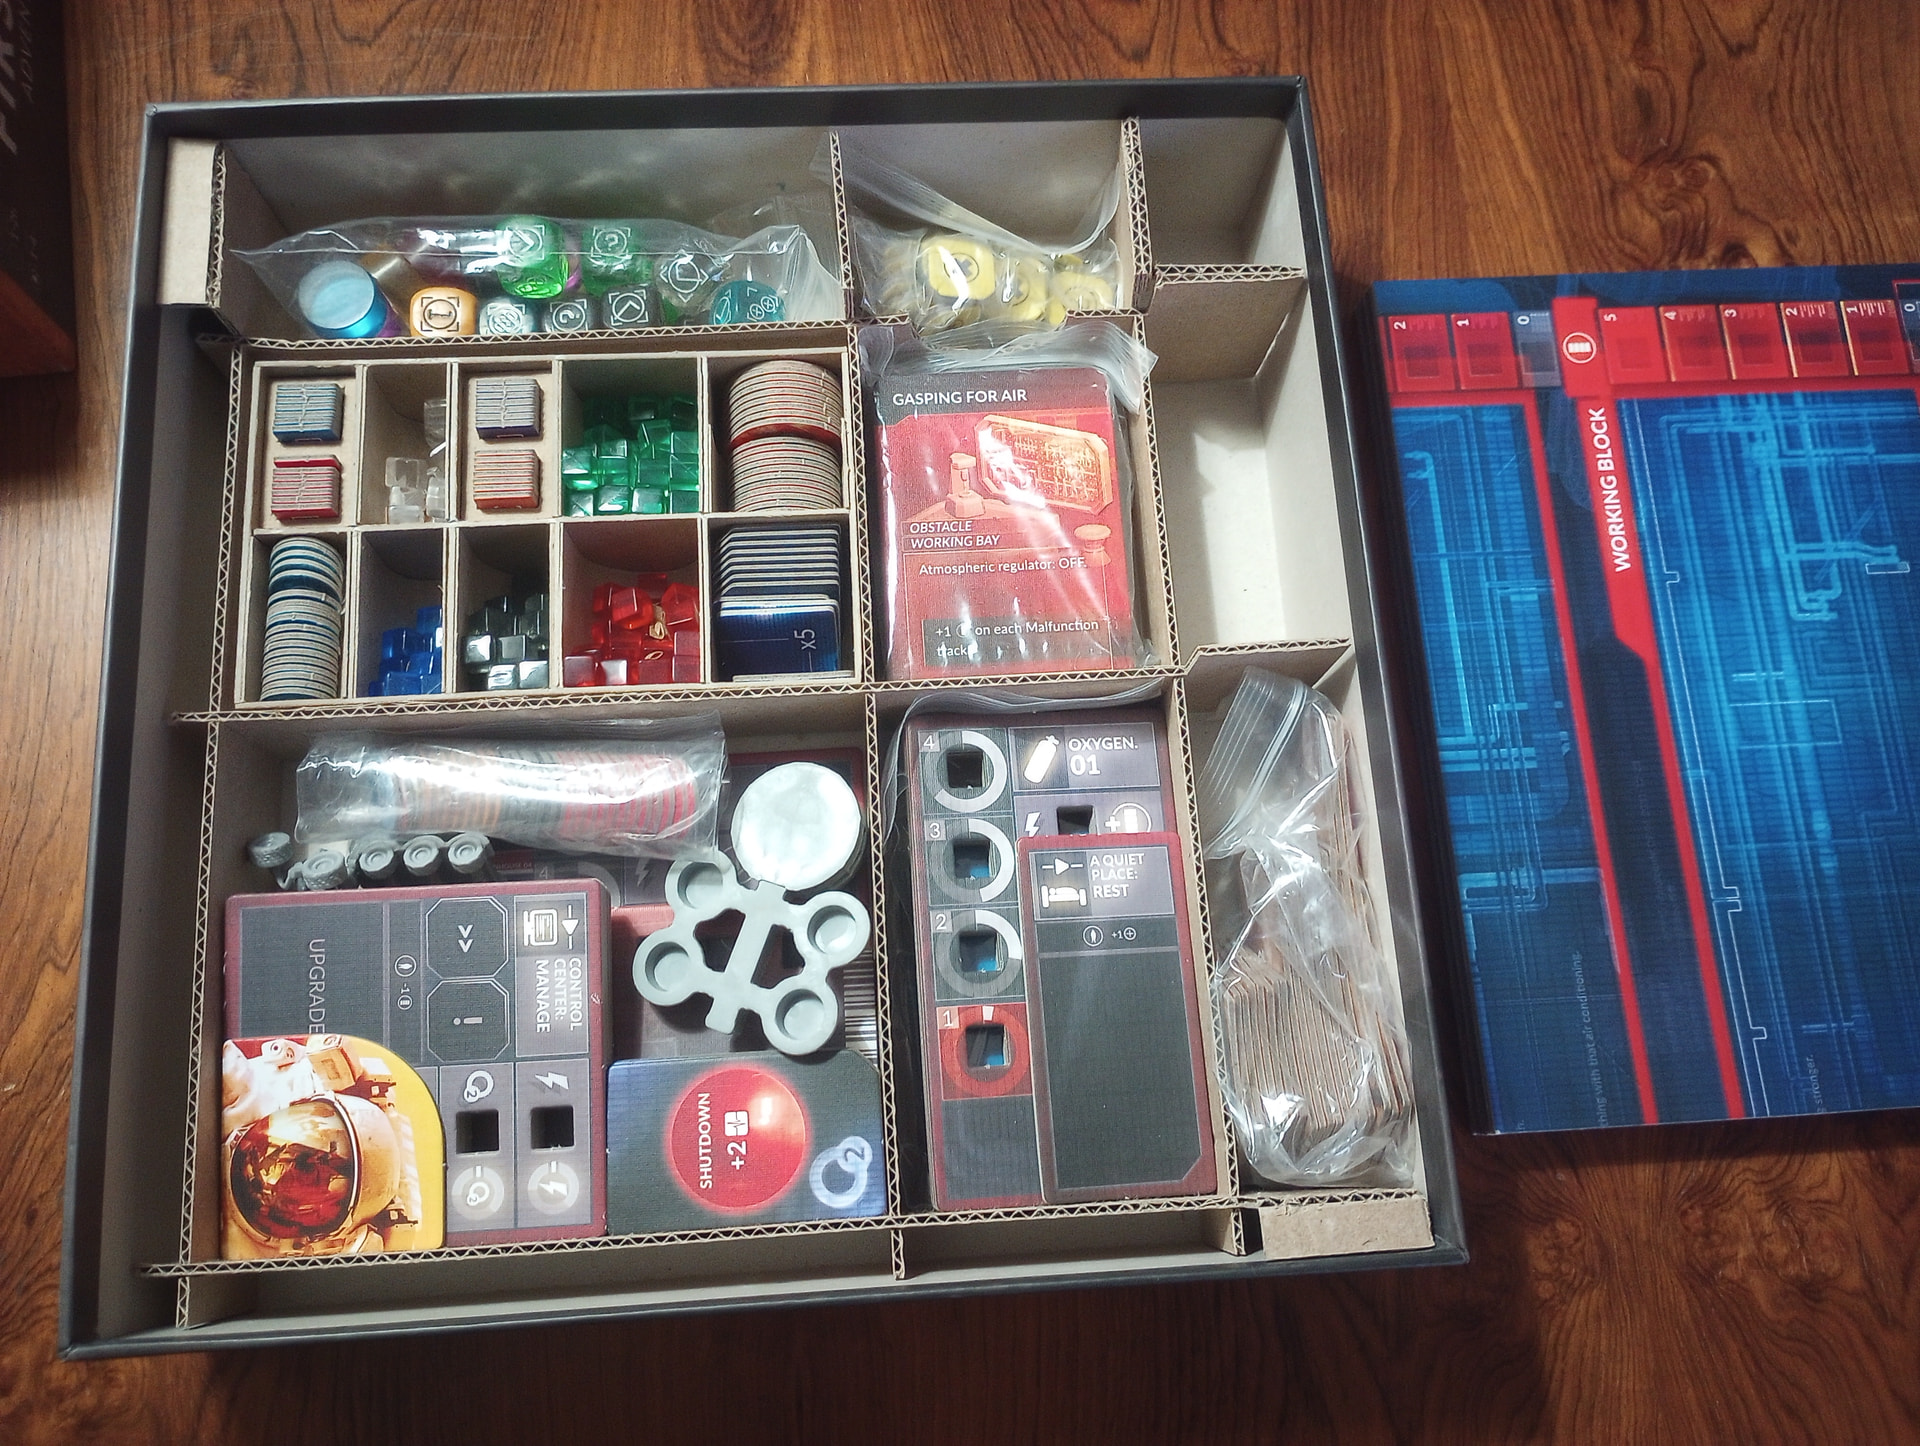

In this case, to make room for the large folding game board, I made all the walls run at 2 different heights. Near the lower chambers in the bottom left, the walls are cut down to leave room for the board to sit above them. Out near the top and right edges of the box, the walls are higher, to hold the board in place – but still lower than the box’s full height. When it’s packed up with the scenarios and rulebook laying over the board, everything is snug. Three walls in the green pattern and three in the red pattern is all there is to it.
Cardboard: the more you know.